I’ve mentioned before that I don’t particularly like using recipes when I cook. I actually find cooking to be a lot more enjoyable when I can wing it and make adjustments as I go, rather than stopping every other moment to check a recipe for measurements and cook times. My free-wheeling approach is founded on basic culinary principles that can be applied to create endless dishes. And no, understanding culinary methods isn’t tedious, it’s freaking liberating.
Case in point: macaroni and cheese. I don’t know about you but I haven’t used a recipe to make real, homemade macaroni and cheese in years. I realize that there are a few methods for making mac and cheese, and this might not be the way your mom makes it, but this way is simple and consistent and it’s my favorite.
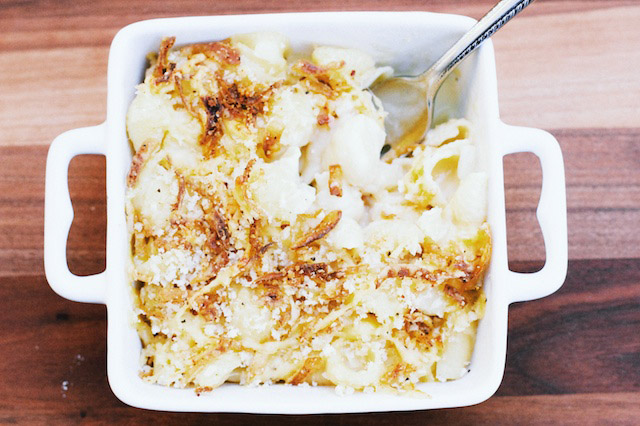
The main piece of culinary knowledge you will need for this macaroni and cheese method is how to make and use a roux. A roux is a thickener composed of one part flour to one part fat (in this case, melted butter). With the roux, you make a béchamel, which is just a fancy French word for milk sauce (made by dumping milk in a roux and whisking while heating). Apart from that, all you need to be able to do is boil some pasta.
Here’s the break-down: yes it’s verbose, but if you read it you can stop reading mac and cheese recipes forever.
–Melt some butter in a pan over medium heat, add an equal amount of flour, whisk.
When I say “some” butter I mean between two tablespoons and a quarter cup, depending on how much mac and cheese you are making. If you want enough sauce to cover a whole box of elbows, better go with a quarter cup. I also usually sauté some aromatics, like onions and garlic in the butter before adding the flour, which I recommend, but it’s not necessary if you’re not into it.
–Add milk, whisk.
Ta da! That’s Béchamel! I never measure this either, but what you’re looking for is the right consistency. Keep in mind that roux-thickened sauces don’t reach their full thickness until they start to bubble, so be patient. Start by adding about a cup of milk, then add more as it starts to thicken, and stop when it looks nice and…saucy. You want it thicker than your standard gravy, but not by much. You’ll probably use between two and four cups of milk total, but stop when you reach the right consistency. As a side note, my grandma usually makes bechamel with half milk and half chicken stock. It cuts a few calories and actually tastes great.
–Remove the pan from the heat, and add the cheese.
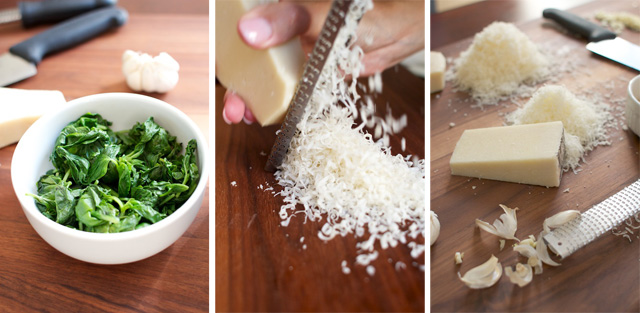
Shred your cheese before-hand so it melts easily. You need to get the pan away from the heat before you add the cheese because, if you heat cheese too much, it will separate and give the sauce a gross, grainy texture – this I know from experience. The residual heat from the pan and the béchamel will be enough to melt the cheese. Add the cheese a handful at a time and whisk until smooth. As for the type of cheese, I like stronger flavors because they are going to be diluted by the pasta. This last time I used two types of gouda: a young, melty cheese and a sharp, nutty, older cheese. Another traditional combination is sharp cheddar, gruyere, and parmesan. You could also do blue, swiss, sharp provolone, monterey jack (probably not all at once) or whatever cheese happens to be your favorite. If you’re going to be spartan about it go with sharp cheddar. If you wanted to make it naughty, with a nod to the boxed childhood favorite, you could even add american cheese or “processed cheese-food” to the sharp cheddar. Whatever you want, I won’t tell.
-Season the sauce.
Now’s the time to contemplate spices and add-ins. You’ll need salt and pepper, obviously, but you should select your spices and accoutrements to compliment your cheese and satisfy your whims. A quarter teaspoon of dry mustard does amazing things for cheddar, and swiss (with bacon and spinach maybe!) goes really well with a tiny dash of nutmeg. White pepper adds a little something to just about everything and fresh herbs are always welcome. Want southwest mac and cheese? Add some roasted chiles and cumin. Honestly, it’s hard to go wrong with pasta and cheese.
-Cook your pasta, drain, and add the sauce.
I prefer small pastas for mac and cheese – pastas that can be loaded on a fork without any twisting or trouble. Though if you were going for alfredo, fettuccine would be a natural choice. Definitely salt your pasta water liberally. When the pasta is done cooking, add the sauce to the drained pasta, stir it all up and taste it again. The sauce gets diluted by all that pasta, so you may need to add more seasoning. You could stop here if you just want a stove top-style mac and cheese and it would be wonderful. But if you’re ok with dirtying another dish…
-Arrange the mess in a baking dish.
‘Nuff said.
-Add crunchies and bake.
In my mind, no casserole is complete without a top layer of something crunchy. The traditional topping would be butter-tossed breadcrumbs with a little bit of left-over cheese. For this batch I used breadcrumbs tossed with butter and fried onions. I’ve also used crushed croutons and crumbled bacon. Really, as long as it’s crunchy and you think it will taste good I say give it a go. Bake at around 350 degrees for about 20-30 minutes, or until it’s brown and bubbly.
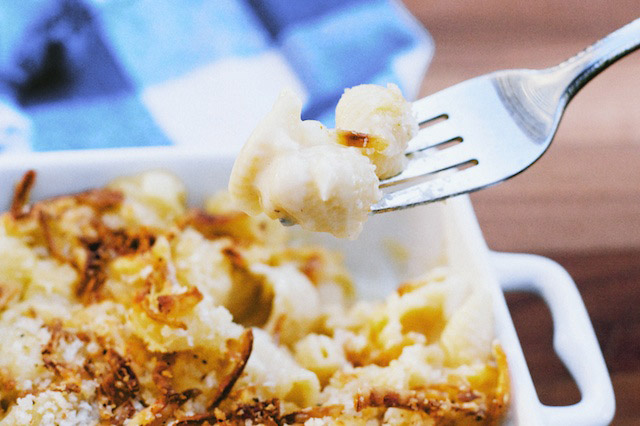
Now that you truly understand the process of making macaroni and cheese, all you need to know about the version in the picture is this: gouda, shells, panko and fried onions.
For more ideas for flavor combinations, check out this clever infographic from the Washington Post.
