It’s fall! You have probably noticed that where your grocery store’s corn bin used to be, there are now flats of apples and pears. You now have my permission to start eating pumpkin things, and baking pie and busting out those holiday spices. It’s time to embrace the season, and maybe even go beyond the pumpkin spice/cinnamon apple realm of fall foods. Like maybe into pear territory – and maybe for dinner.
I’m a big fan of the way pears pair with savory flavors. If you cook them in butter and salt them up, they take on a mildly sweet complexity that doesn’t feel at all out of place on a dinner plate. A couple of years ago I blogged about a sandwich stuffed with pears and brie and mustard (it’s awesome by the way, and the mustard and brie offer a perfect foil to the sweetness of pears). This recipe uses gorgonzola dolce to steer the fruit solidly into entree territory.

I’m way too lazy to make my own pasta dough, so I used store-bought wonton wrappers. It totally works, and Giada does it too so I don’t feel bad.
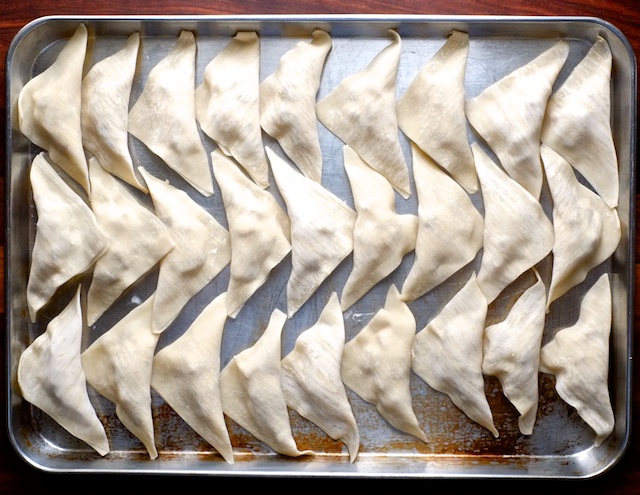
This recipe makes too much ravioli for one dinner (unless you are feeding a pile of teenagers) so I recommend cooking up as many as you can eat in one day, and freezing the rest. Spread them out on a baking sheet to freeze them, and when they are solid throw them in a plastic bag for long-term freezing. When you’re ready to serve them again just whip up some sauce and drop the ravioli into boiling water straight from the freezer. They’ll be ready to eat in about 5 minutes.
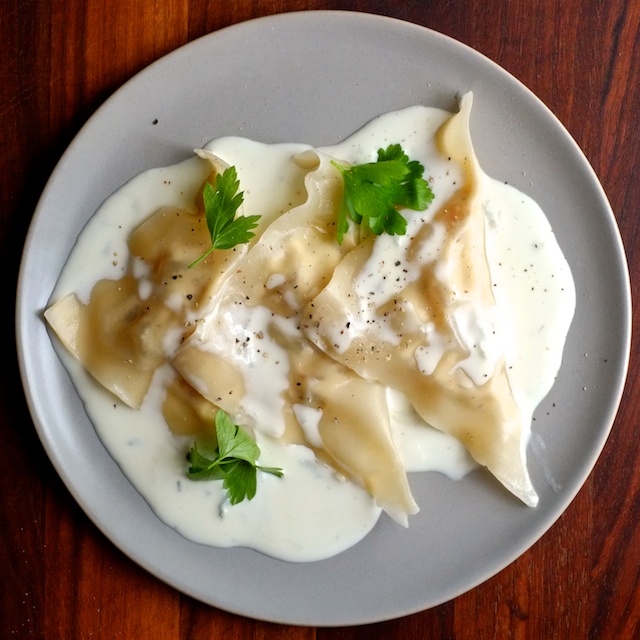
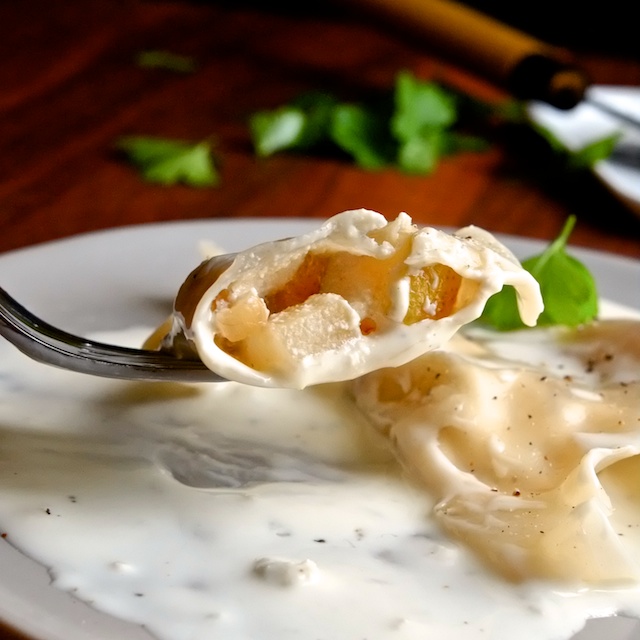
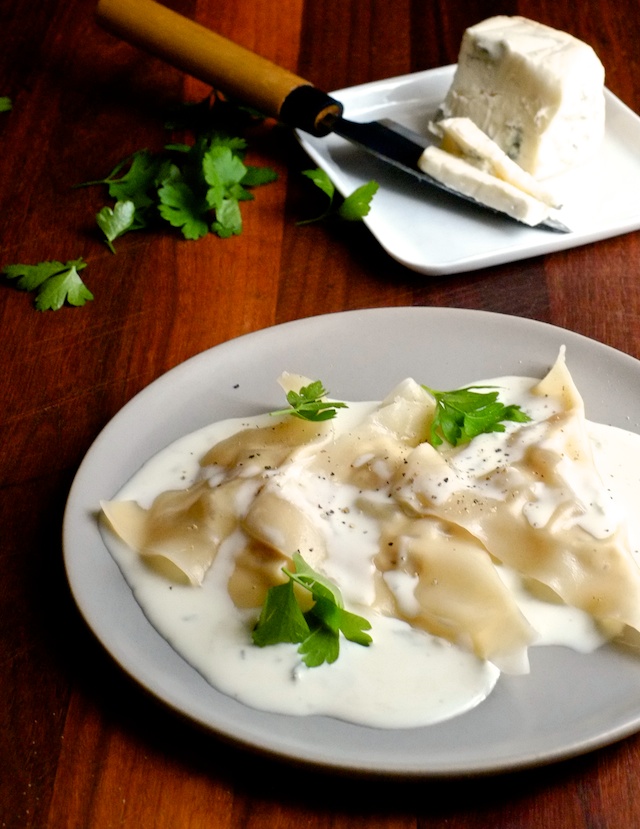
Pear and Ricotta Ravioli with Gorgonzola Sauce
Ingredients:
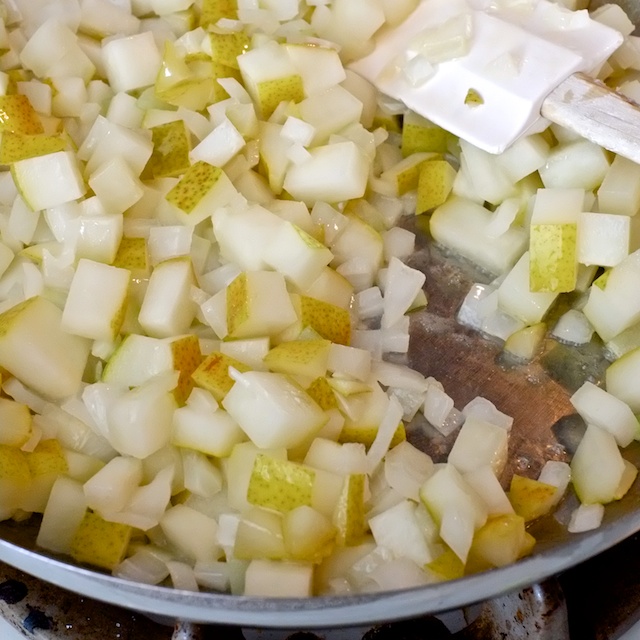
-2 pears, diced
-1 onion, diced
-2 Tbsp butter
-1 lb. tub of whole milk ricotta
-a pinch of nutmeg
-1 tsp honey
-1/4 tsp lemon zest (approximately)
-1 tsp lemon juice (eyeball it)
-salt and pepper to taste
-fresh, store-bought wonton wrappers
-1 1/2 cups heavy cream
-about 1/2 cup gorgonzola dolce, cut into pieces
-parsley, for garnish
Method:
1. Sauté pears and onion in butter over medium high heat until pears are soft and browned.
2. Make ravioli filling by mixing ricotta with the cooked pear and onion mixture, nutmeg, honey, lemon zest, and lemon juice. Taste the filling and season with salt and pepper. You want the mixture to be balanced between sweet and savory. The gorgonzola sauce will bring a lot of salt to the dish, so be sure to keep the filling balanced.
3. Assemble ravioli by spooning about 1 1/2 tsp filling into the middle of each wonton wrapper. Wet the edge of each wonton wrapper with water, and press the edges together, checking for any little gaps and closing them up with a pinch. Do your best to keep the filling away from the edges, because it will prevent the ravioli from sealing along the edges. Make as many raviolis as you can with the filling, and set them aside on a baking sheet or plate.
4. Make the gorgonzola sauce by putting the cream in a small sauce pan over medium heat. Allow the cream to reduce slightly until it is somewhat thicker than when it went in the pan. Take the pan off the heat and add the gorgonzola cheese. Stir until the cheese is melted, returning the pan to very gentle heat only if the cheese doesn’t fully melt. Taste the sauce – it should be quite salty from the cheese alone, but add more salt and pepper if you feel it’s needed.
5. Cook ravioli in boiling, salted water for 2 minutes, or until the ravioli is heated through and floats to the top of the water.
6. Serve ravioli with gorgonzola sauce, and garnish with parsley.
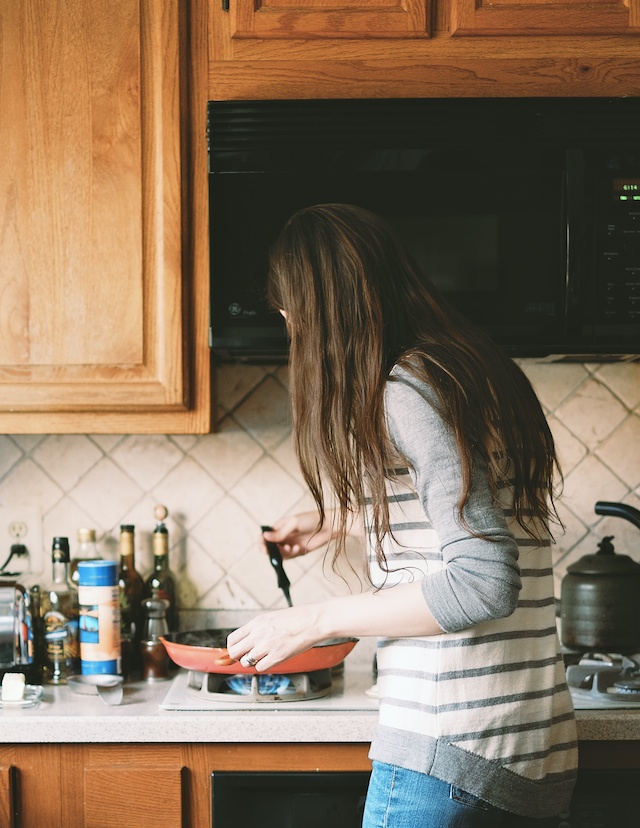
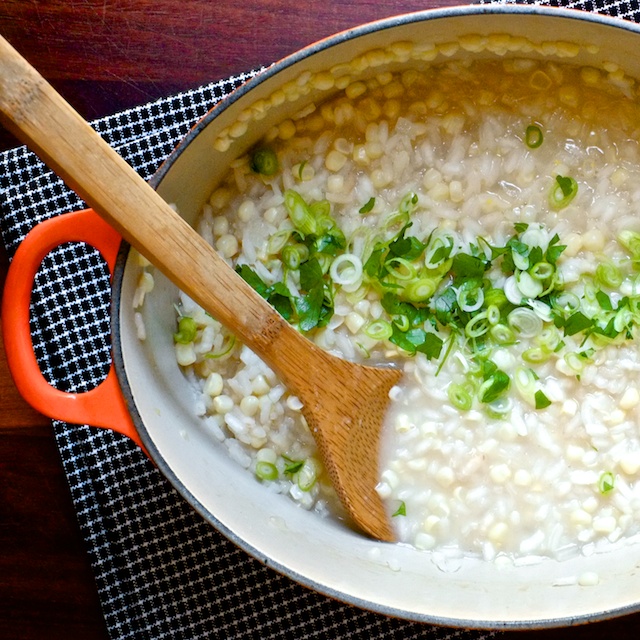
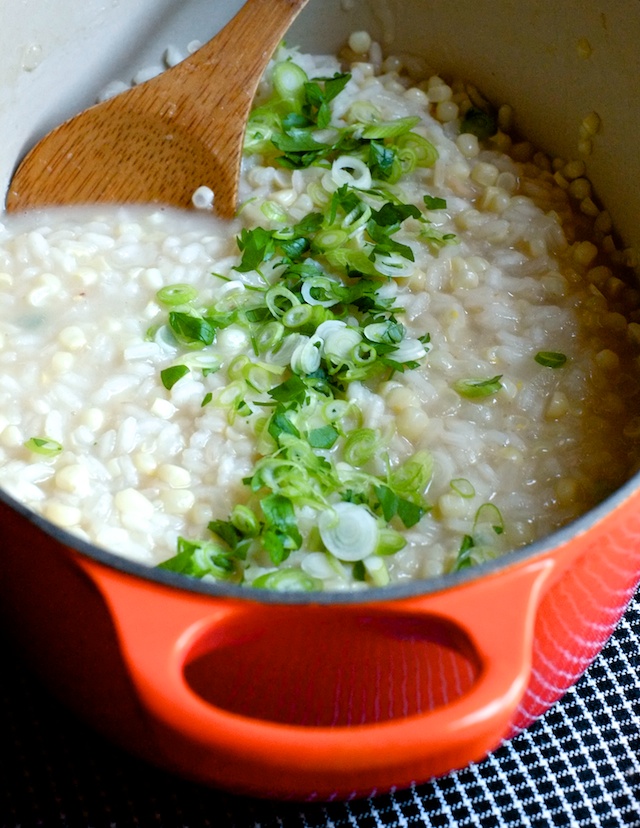
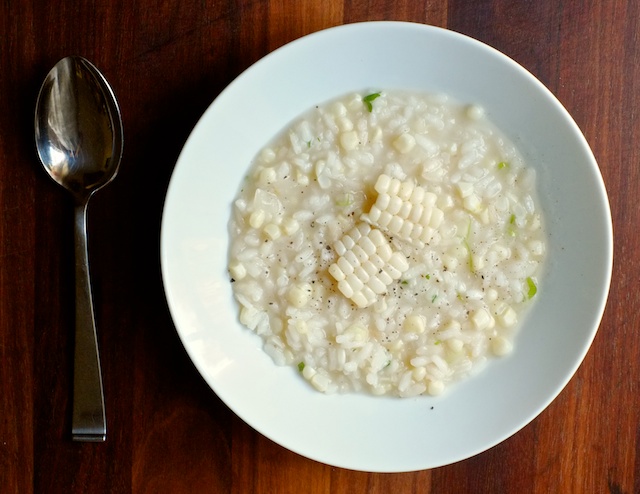
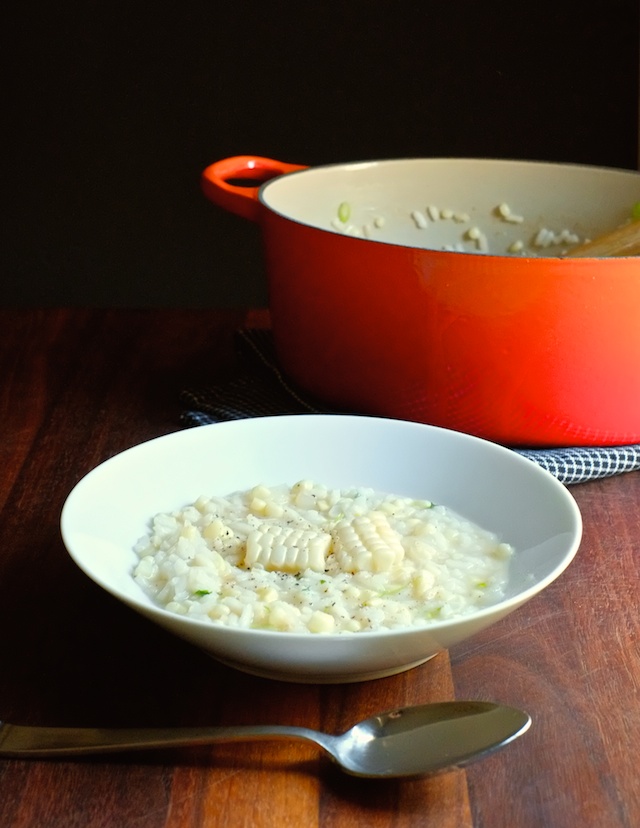
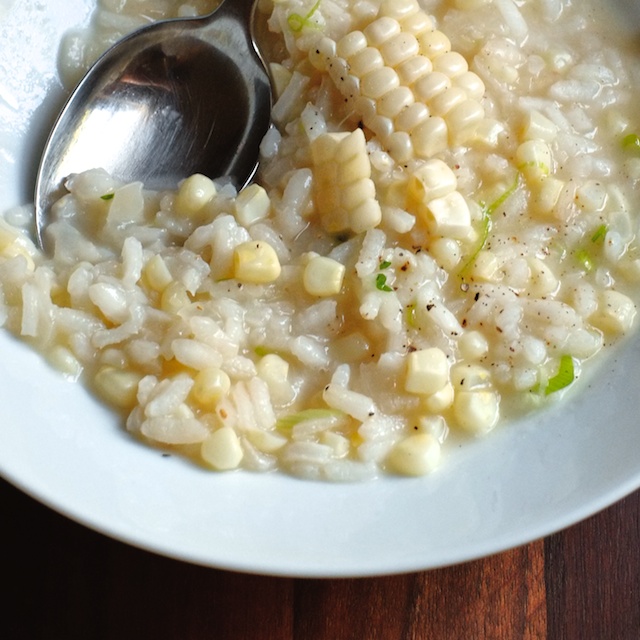 Fresh Corn Risotto

These look absolutely amazing!
carrie — October 8, 2014