Welcome to your first independent, functional kitchen! We’ve talked about the gear, you know the rules, now it’s time to stock the larder. But let’s be strategic about it. For your very first pantry we need to keep things minimal and manageable, but smart and versatile. We need foods that will last a long time, because study groups and parties will pop up, and responsibly-planned dinners will be overruled. We also need foods that are real, inexpensive, nutritious, and easy to prepare. It’s a tall order, but it can definitely be done.
This proposed plan revolves around complex carbs, affordable proteins, frozen fruits and veggies (they last the longest), and a powerhouse list of flavor-enhancers. This is not a diet plan, and I don’t recommend eating the foods on this list exclusively (I’d be tired of it after a month or so), but it’s a really solid starting point that you can return to a few times a week to keep your food expenses in check. I’ve also developed a list of easy, tasty recipes that can be made using only the items on this list, which is really nice for those days when you’re out of cash and you have to rustle something up on the fly.
Because I love you, I went to the trouble of pricing out the entire list at Whole Foods in Annapolis so you could have an idea of what a worst-case scenario total cost might be. Whatever products Whole Foods didn’t have (or that I added to the list later), I priced at Wegmans.
So, without further ado, your 30-item basic pantry setup:
The Carbs:
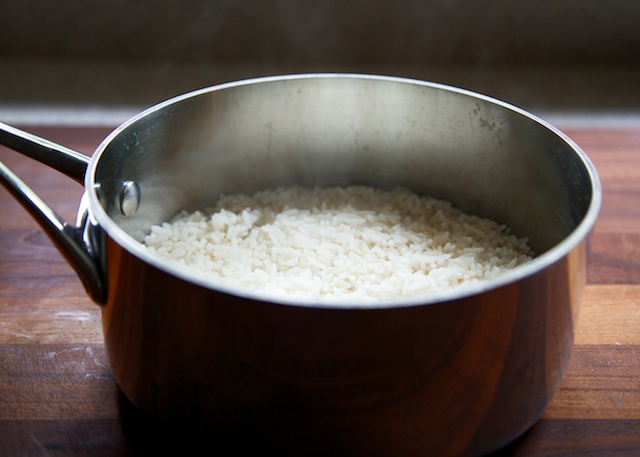
1. Rice – I recommend brown rice cooked using this method in a small, deep-sided baking dish or oven-safe pot (that means all-metal construction, no plastic handles that will melt in the oven). White rice is ok too, but not quite as healthy. Cook white rice according to the package, with maybe a tiny bit less water than called for. WF: brown rice $5.50/5 lb bag (which should last you a long while)
2. Canned beans – I like pinto beans best, but lentils and black beans are also awesome. WF: pintos $1.30/can, get 4 or so
3. Whole wheat bread – I feel like a sandwich is the quintessential fast and easy college meal. Store your bread in the fridge and it will last for weeks without growing green spots. WF: $3.90/loaf
4. Whole wheat pasta – Quinoa pasta is another good option. I’m trying to keep you away from white starches, but if you like regular pasta best, I get it. Weg: $2.50 per 1lb box
5. Rolled oats – Oatmeal is a perfect go-to when you’re craving a sweet-ish breakfast, and it plays well with add-ins. WF: $2.00/lb
Affordable Proteins:
6. Eggs – These are the ultimate affordable protein, and they cook faster than anything. WF $2.60/dozen (cage free)
7. Ground beef or turkey – Ground meat is always the cheapest. I’d recommend switching it up between beef and turkey. Turkey is lower in fat but beef has lots of iron. Store them in the freezer for months. WF: 6.00/lb of 85/15 ground beef
8. Ham – Ham is probably the most versatile sandwich meat on the planet. It works for breakfast, lunch, or dinner, as a side, in a sandwich, or chopped up in a pot of beans. WF: $5.00 per half pound of black forest ham at the deli
9. Almond butter – More expensive than peanut butter, but also a lot more versatile because the flavor of almonds is a little less distinct. It’s high in calories, but full of good fats and protein. I find that most brands need an extra pinch of salt to taste their best, even in sweet applications. WF: $7.00 per jar
10. Almond milk – I like the vanilla flavored, unsweetened kind best, on cereal or in oatmeal. I have an overnight oats recipe coming up that this stuff works really well in, and it requires zero cooking. Regular milk also works, but doesn’t last quite as long and isn’t quite as good for you. Weg: $3.00 per half-gallon
11. Cheese – This is halfway between protein source and flavor-enhancer, and worth keeping around because it’s versatile and lasts a good month in the fridge. I like bricks to grate myself, but since you are in college I will give you a temporary pass to buy pre-shredded. Cheddar is the most versatile of all. WF: $2.40 per small brick
Frozen fruits and veggies:
12. Broccoli – Cheap, healthy, super versatile, and liked by most. WF: $1.70 per bag
13. Loose-leaf spinach – Frozen spinach in a bag is easier to use than the kind that’s frozen into a brick. You can use a little at a time, seal it back up and put it in the freezer for later use. The flavor is inoffensive too, so you can work it into lots of meals for a shot of nutrition when you need it. Weg: $1.30 per bag
14. Frozen blueberries – These are probably the most antioxidant-packed berries around. They’re also delicious and especially awesome in cereal or oatmeal. WF: $4.00 per bag
The flavor enhancers:
15. Onions – Onions are “cured” after they’re pulled out of the ground to toughen up their papery skins and make them shelf-stable for up to a month. I wouldn’t make chili, beans, or any soup without them. WF: $2.00 per lb (an onion is about half a pound)
16. Garlic – Same deal as onions: lasts forever on the shelf, totally awesome flavor (especially for asian dishes) and super cheap. WF: $6.00 per lb (never buy a pound of garlic at once, you’ll spend about $1.30 for two bulbs)
17. Sandwich condiments – Get your favorites. I recommend mayo and mustard for a classic ham and cheese sandwich. Both last forever in the fridge. WF: mayo $3.30 mustard $3.50
18. Fine sea salt in a big shaker – Trader Joe’s and Whole Foods sell big blue cans of sea salt for about two dollars. I like the flavor of sea salt or kosher salt better than iodized salt, and you’re too young to be worried about re-filling a matching set of salt and pepper shakers anyway. WF: $2.oo
19. Black pepper with a built in grinder – Fresh-ground is best, but grinders are a pain to refill. Do yourself a favor and buy pepper with a built in grinder. WF: $3.50
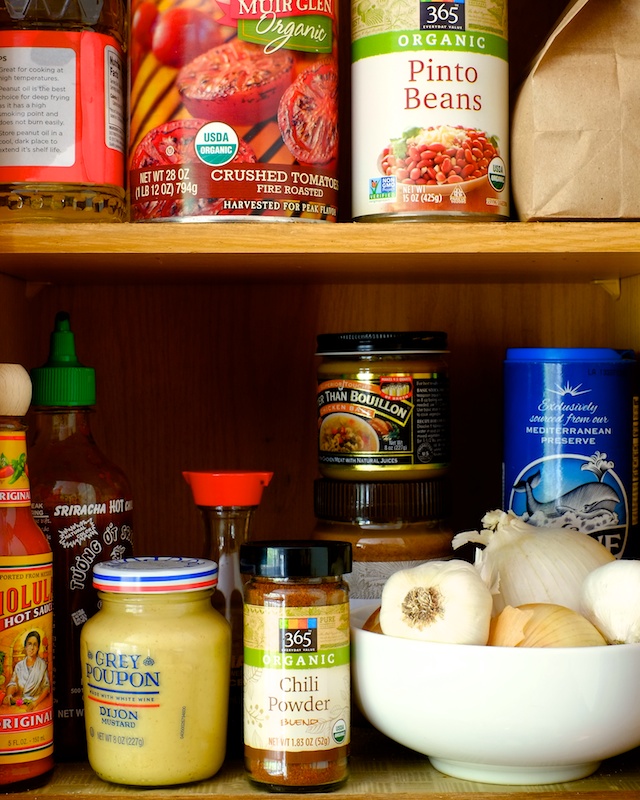
20. Cumin – Beans and cumin are best friends. Plus you need cumin for my upcoming college chili and burrito bowl recipes, which are awesome. WF: $3.00
21. Chili Powder – Big flavor, mandatory for chili, mandatory for college. WF: $4.00
22. Honey – One of the healthiest sweeteners you can buy, versatile, lasts forever. WF: $4.00 per bottle
23. Salsa – Rice + beans + salsa = dinner. Canned and jarred tomatoes are also full of vitamin C which means no scurvy for you. WF: $2.70 per jar
24. Soy sauce – Super flavorful, essential for my ham fried rice and one-pot beef and broccoli noodle recipes. Weg: $2.20 per bottle
25. Sesame oil – Secret weapon for asian recipes. Weg $4.00 per bottle
26. Hot sauce – I recommend Cholula and Sriracha. Why not get both? WF: Cholula $3.50 Sriracha $3.00
27. Crushed tomatoes – I prefer fire-roasted, but plain is also ok. Steer clear of basil-flavored tomatoes for maximum versatility (basil is distinctly Italian). Necessary for chili, or add onion and butter and you have a simple, delicious sauce for pasta. WF: $3.30 per large can, get two
28. Butter – Can be stored in the fridge or freezer, delicious on toast or to cook with. WF: $3.50 per lb
29. Neutral oil – I prefer peanut oil. For those recipes where you need very high heat or where butter would be too heavy. Weg peanut oil $5.00 per 32 oz bottle
30. “Better than Bouillon” flavor base – This is the Cadillac of flavor bases. Add water and you’ve got broth. Add noodles, a poached egg, frozen spinach, soy sauce and sesame oil, and that’s an awesome soup. I use chicken flavored bullion the most, but vegetable bullion is similarly versatile. It’s really good added to rice cooking water too! WF: $6.00 per jar
Total if you buy everything in one trip, at Whole Foods (which won’t happen more than once): $115.20
There’s a lot you can do with this pantry that doesn’t really require a recipe. For example, you could make:
-Toast and eggs, in any iteration. Scrambled egg sandwich, over-easy with hot sauce, omelet with cheese – the possibilities are abundant. And if you think you don’t like eggs, it might be because you don’t like the way your mom makes them. Experiment with different egg preparations because the flavor changes massively with each one.
-Step it up with a fritatta – add cheese, ham, and broccoli or spinach to your eggs
-Toast with almond butter and honey (don’t forget a pinch of salt)
-Oatmeal with almond butter and honey
-Grilled cheese sandwich
-Ham and cheese sandwich
-Rice and beans with salsa (and cheese! and a fried egg!)
–Pasta with simple tomato sauce. Add garlic and italian seasoning (and parmesan cheese) for a more traditional plate of spaghetti.
Coming up next, five awesome recipes you can make with just the stuff on the list, including:
–College Chili
–The Homemade Burrito Bowl
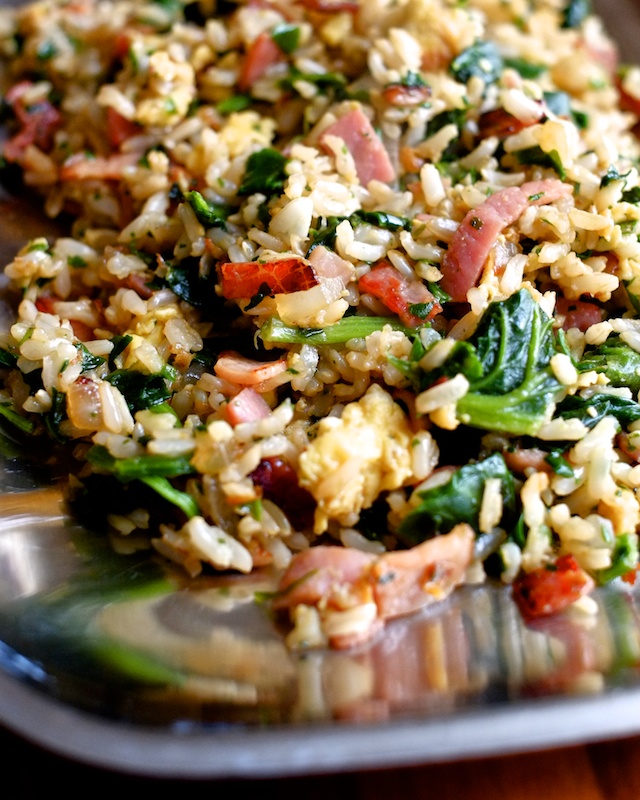
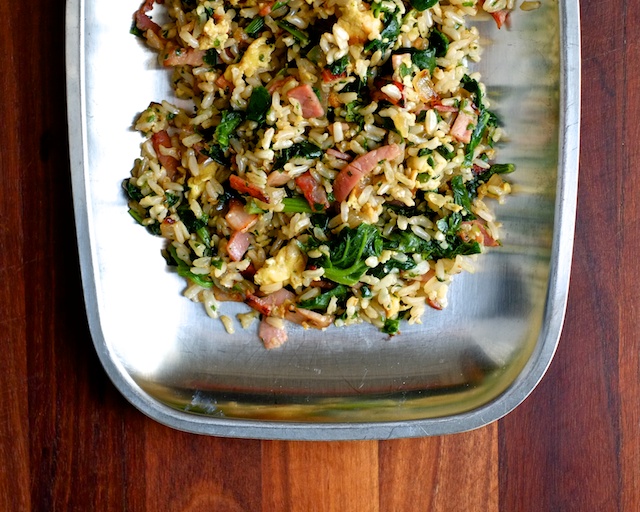
–Ham Fried Rice with Spinach
–One Pot Beef and Broccoli Noodles
–Overnight Blueberry Almond Butter Oatmeal
Stay tuned!