Sauce Series in Practice – Homemade Mayo in 30 Seconds

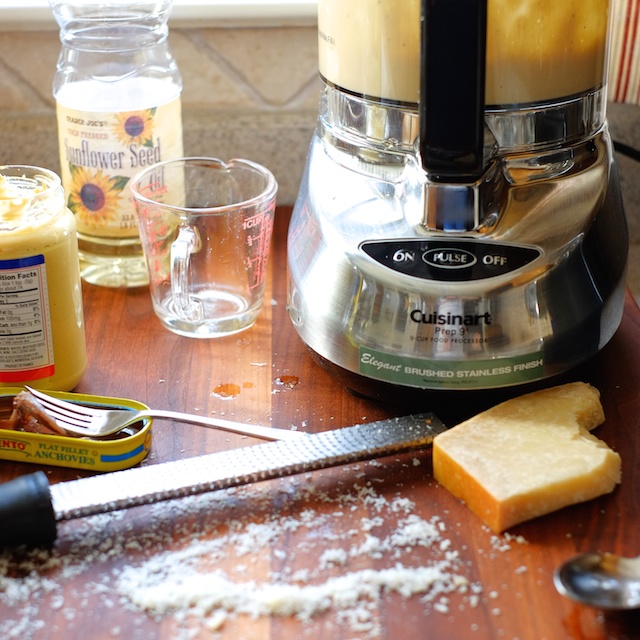
In the caesar dressing recipe, we covered a food-processor method that works really well for making creamy, emulsified sauces. That same method works perfectly for making mayo, but what I’m about to introduce you to is a bit more fun.
sauce series - mayo

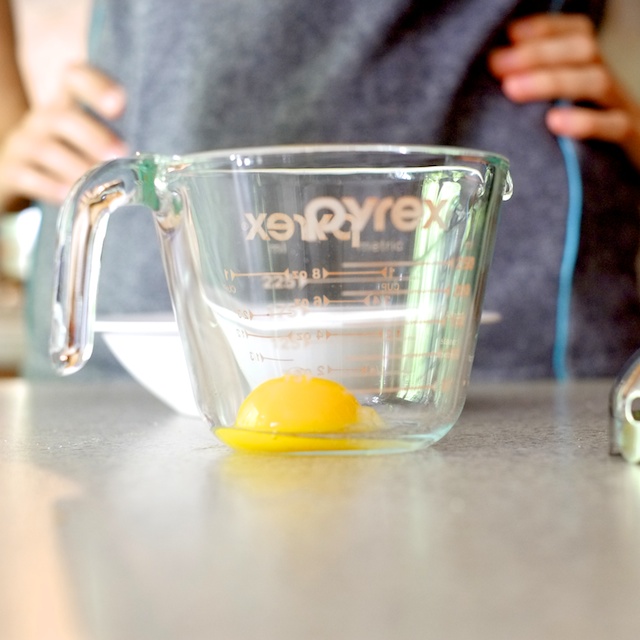
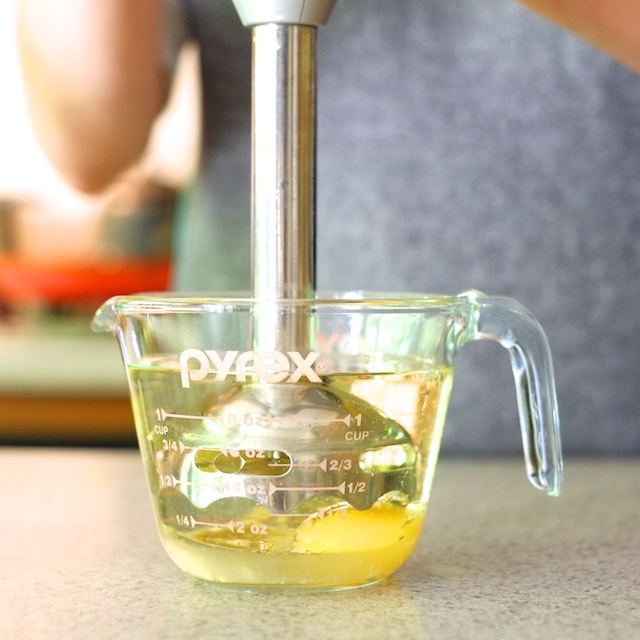
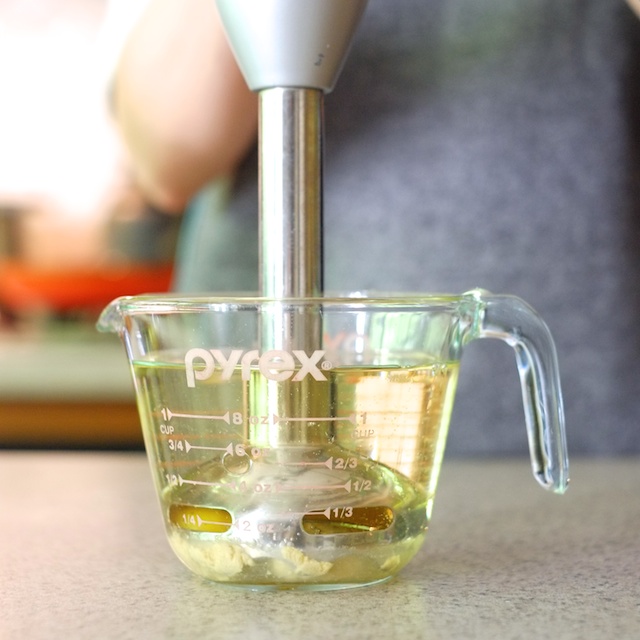
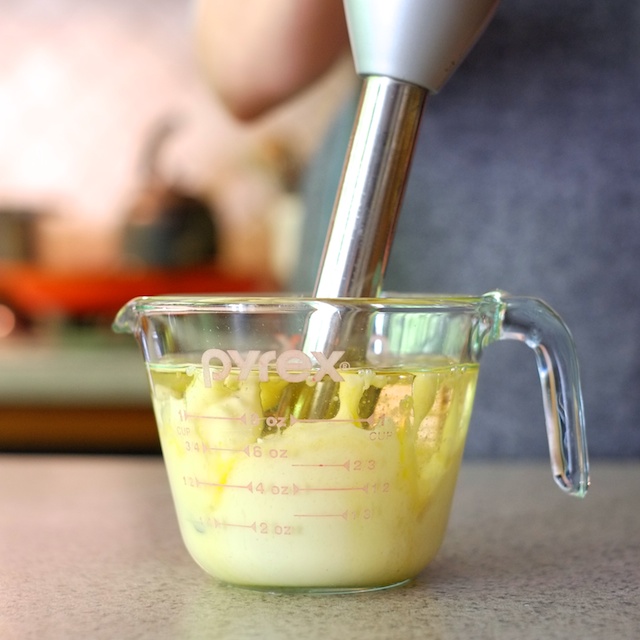
Mayonnaise can be made very quickly with a hand blender.  This means no standing over the food processor pouring oil, and it means you get to watch the magic happen. This is some really cool-looking chemistry. Because oil is lighter than egg yolk, lemon juice, and water, it floats to the top. The blades of the hand blender will emulsify the yolk with the lemon and water, and the holes on the side of the hand blender will let the oil in just slowly enough to make mayo happen.
sauce series - mayo

For this to work, you have to let the oil and liquid settle after you get your stick blender to the bottom of the cup. You MUST NOT start your blender until it’s nestled at the bottom of the cup and the oil has had time to re-separate. You may end up needing to tilt the blender very slightly to allow more oil in after you begin, but be super, super careful, because over-tilting will introduce too much oil too quickly and ruin the mayo.
sauce series - mayo

Lastly and MOST importantly, you have to find the right sized vessel. I was able to pull it off with a one-cup pyrex, but not before ruining my first two batches. The size of the cup you use is critical – it should be just big enough to allow your hand blender to touch the very bottom and it will ideally be straight-sided. I’m convinced my over-tilting along with the sharp flare of the pyrex I used are the culprits of my failures. If your hand blender came with a tall mixing cup, that’s the one you should use.
sauce series - mayo

If you have all your ducks in a row cup-wise and blender-wise, you’re ready to go. Just give your oil time to settle after introducing the blender and before you start blending, and tilt the blender very slightly if you need to introduce more oil. Maybe also make sure your oil and eggs are well-stocked. There may be a bit of a learning curve as you figure out your blender/cup dynamic. But once you get it, it’s like magic. Tasty magic.
sauce series - mayo

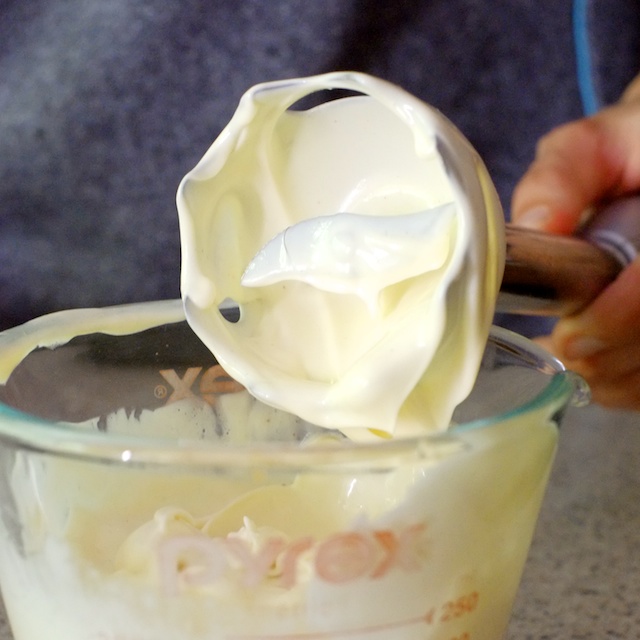
See the recipe I use, with a really helpful video at one of my favorite websites, Serious Eats. Theirs is a little more honestly titled “2-minute mayo” but I was mostly referring to the blendy witchcraft part with my title, which really is 30 seconds, if not less. Plus mine sounds better.

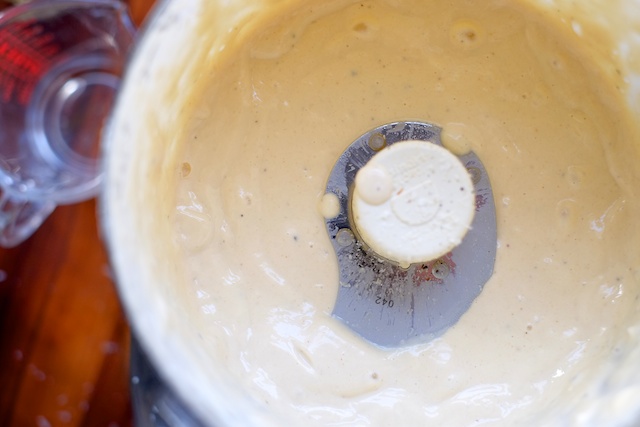
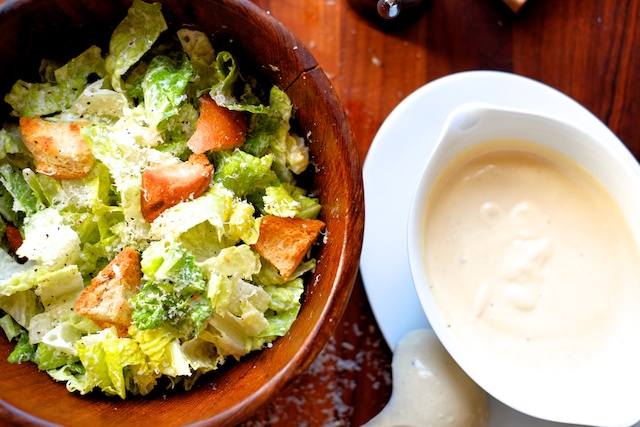
If you want to be a little safer or you don’t have a hand blender, make your mayo in the food processor by combining the yolk, lemon juice, water, and salt first with a few pulses, then stream in the oil very slowly with the machine running. It should take you almost two minutes to add it all, but when you finish you’ll have mayo that looks exactly like the above shot. And now you’re a kitchen sauce wizard so congrats.
  1. I had a mayonesa con limon by accident once and now regular mayo is bland to me. Would I just add lime juice to above recipe? You may have to experiment for me, please! Had no idea you could just whip up your own mayo.

    Amy — July 15, 2014
    1. Yes you could totally use lime juice instead of lemon in the above recipe, and add more if you want. I would probably just start by swapping out the lemon for lime without changing the amount and then add more lime at the end if it was needed. And how did you accidentally have mayo con limon? Is it sold near the boring, regular mayo? It sounds pretty delicious.

      courtney — July 15, 2014
    2. reply
cancel reply

Sauce Series in Practice – Caesar Dressing from Scratch

Caesar salad is a bit of a naughty salad. Romaine lettuce, while tasty, has almost no nutritional value, and apart from that we’re basically chowing on bread, cheese, and mayonnaise. If caesar salad isn’t going to be good for me, it needs to be as delicious as possible. Luckily, I’ve perfected the art of garlicky, cheesy, peppery, tastebud-punching caesar dressing.

sauce series - caesar dressing

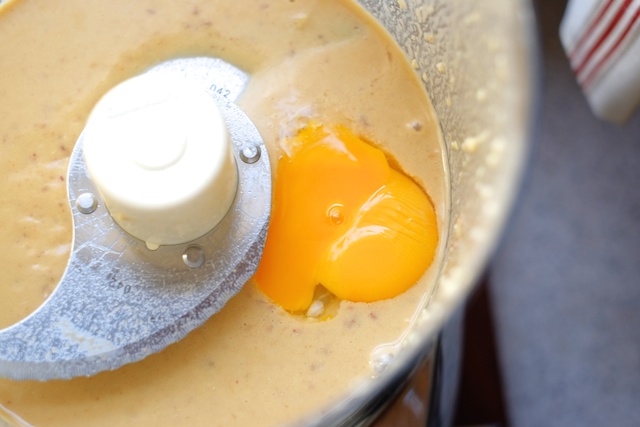
Caesar dressing was the first emulsified sauce I made in a food processor, and it was a bit life-changing. Watching a bunch of flavorings mixed with egg yolk and a lot of oil slowly turn from a splattery liquid to a creamy, rich dressing was like discovering a hidden (tiny) super power. None of these things are inherently creamy, but I push this button and they become so.

sauce series - caesar dressing

The secret is in the yolk. Really it’s not secret, just science, but the fact that I don’t understand it makes it sort of like a mysterious secret.

sauce series - caesar dressing

And here’s the dressing after adding the oil:

sauce series - caesar dressing

This dressing is strong enough that you don’t need a ton, but let’s be honest, you will probably use a ton.

sauce series - caesar dressing

sauce series - caesar dressing

Homemade Caesar Dressing

Ingredients:
2-4 anchovies (or 1-1 1/2 tsp anchovy paste, use just a tiny bit if you’re scared but you really won’t taste it)
1 medium clove garlic
1 tablespoon dijon mustard
2 tablespoons champagne or white wine vinegar
1 egg yolk
1/2 tsp worcestershire sauce
1/2 cup neutral flavored oil (I like organic sunflower oil)
1 cup parmesan grated with a microplane (less if using a larger grater)
salt and pepper to taste

Method:
1. Add the first six ingredients to the bowl of a food processor and pulse until liquified and well combined.
2. Scrape down the sides of the food processor bowl and re-fit the lid (make sure you use a lid with some kind of bowl-access hole). With the processor running, stream in the oil very slowly. It should take you over a minute to add all of the oil.
3. Scrape down the sides of the bowl again. Your dressing should be quite thick at this point. Add your parmesan cheese and pulse a few times to combine. Taste and add salt if necessary and lots of black pepper.
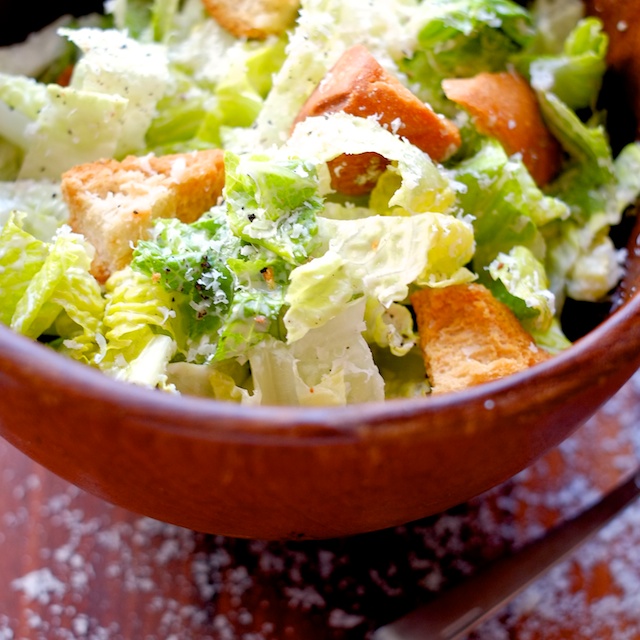
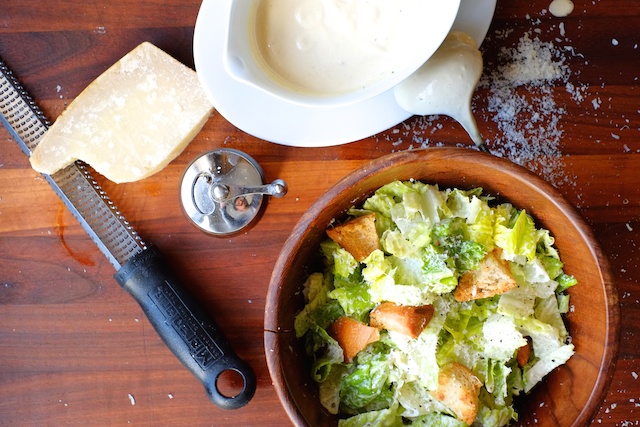
4. Serve in a salad with chopped romaine lettuce, homemade croutons (get a french loaf, cut or tear it to pieces, coat with olive oil, toss with salt, bake at 375 until golden brown) and extra parmesan and pepper.

cancel reply

Sauce Series Part 4 – Emulsions

We’re in the final phase of the sauce series – huzzah! I’ve been wanting to do this series forever and I’m glad I’ll be able to move the freak on and use it as a reference point in future recipes. This sauce topic can be ironically dry, it’s just so important, it needs to be covered. Brass tacks and whatnot.

Our final sauce-making method is emulsion. The technical definition of an emulsion is a fine dispersion of two liquids which aren’t soluble – which in the culinary world means oil and something watery. So, technically, a plain vinaigrette with just oil, vinegar, salt, and pepper is an emulsion while it’s well shaken, it’s just not a very stable one, since it likes to separate as soon as it’s still.

sauce series - emulsions

Stabilizing an emulsion can be done with anything viscous – honey or mustard in a vinaigrette, peanut butter in your thai peanut sauce, or even ketchup in barbecue sauce – but all of these will settle or break over time (to some extent) and require manual re-emulsification. These emulsifications are easy to make and difficult to bungle, but they are just the tip of the iceberg.

sauce series - emulsions

The most transformative and temperamental emulsions are made with egg yolks and a lot of fat. The French mother sauce we’re dancing around is hollandaise, but the most ubiquitous emulsion in our pantries is good old mayo.

sauce series - emulsions

Handmade hollandaise and mayonnaise are famously difficult to make. The amount of whisking required to aerate the yolks enough to introduce fat, and the stamina required to continue whisking furiously while pouring the merest stream of oil into the yolk – it’s basically heroic. And add too much fat, or simply add it too quickly, and the sauce becomes a broken, sloshy mess. Luckily, somewhere around the 1970’s the food processor was invented. If you have one, you will be able to make mayo on your very first try without any pre-emptive muscle conditioning, and I’ll show you how.

sauce series - emulsions

I’m not saying there isn’t any value in making mayonnaise with a trusty analog whisk. I’m sure it’s very educational, and someday my curiosity might compel me to give it a try. But if you aren’t completely entranced by the chemistry of it, there isn’t really a need. Plus, I love food-processor technology. But not as much as mayonnaise. But I still love technology. Always and forever.

Up next, to illustrate (with technology): caesar dressing from scratch and homemade mayo in 30 seconds.

cancel reply

Sauce Series in Practice – Grilled Potato Salad with Scallions and Rustic Romesco

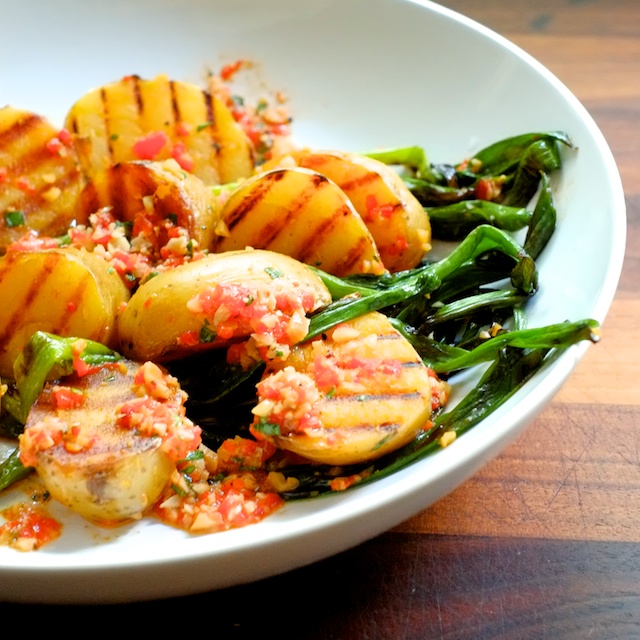
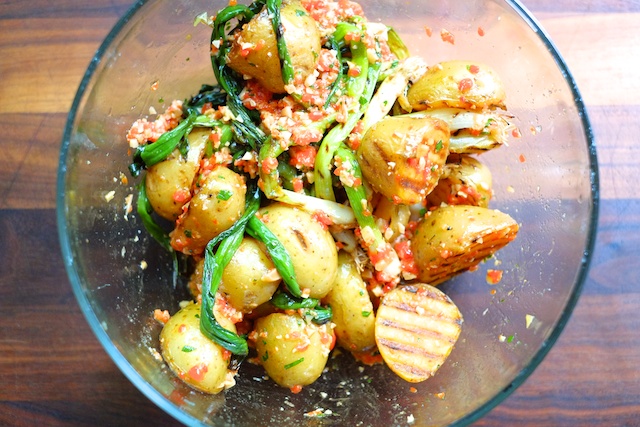
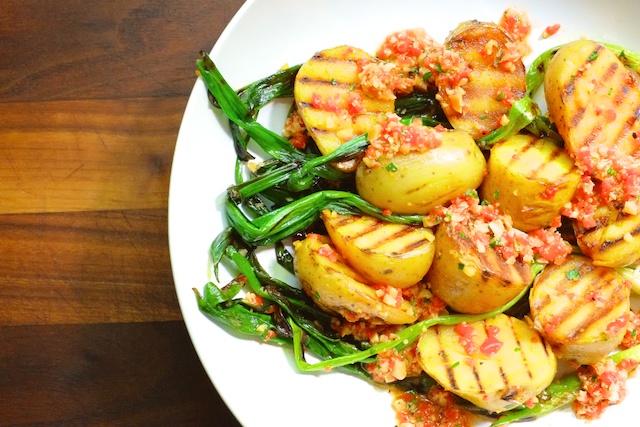
Romesco sauce is kind of like a Spanish pesto, made with roasted red peppers, garlic, almonds, and parsley. There’s an episode of No Reservations where Anthony Bordain travels to Spain and takes part in a springtime ritual of charring spring onions over coal, dunking them in romesco and eating them whole, which is what inspired this recipe. I used green onions (aka scallions) instead of spring onions (they’re pretty similar) but the combination of romesco and blistered onions was mind-blowing. OH and it’s completely VEGAN.

Sauce Series in Practice - Grilled Scallion and Potato Salad with Rustic Romesco

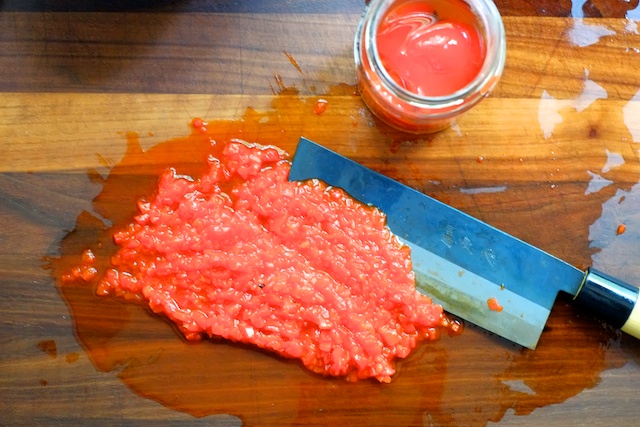
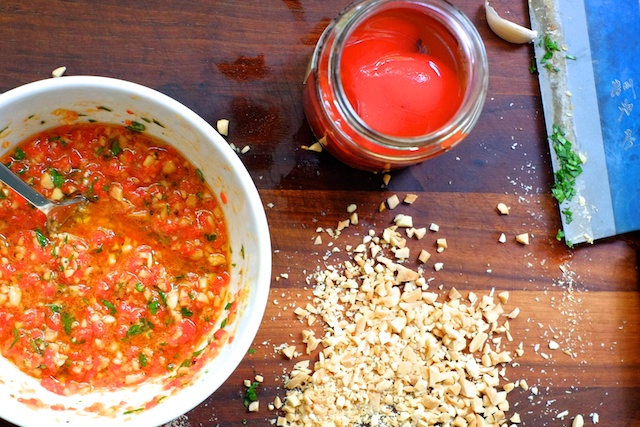
To highlight the technical options in making a chopped sauce, I decided to forego the food-processor with this romesco and get choppy with my knife. It takes a bit longer this way but I really like that I can see all the ingredients in the sauce.

Sauce Series in Practice - Grilled Scallion and Potato Salad with Rustic Romesco

Sauce Series in Practice - Grilled Scallion and Potato Salad with Rustic Romesco

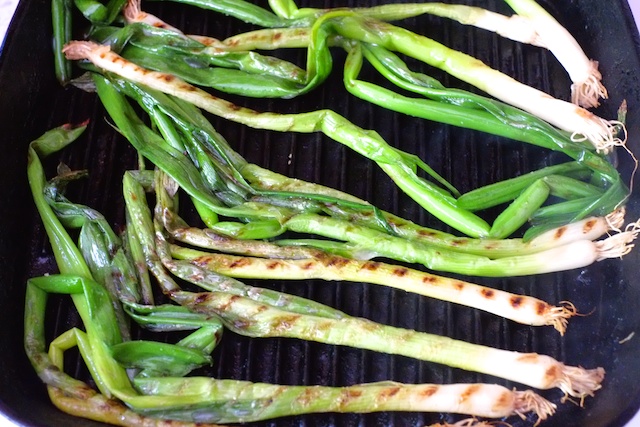
I trimmed my onions of any shrively bits and grilled them whole. You can take off the root ends if they freak you out (which they do for Cody) but if you wash them well and don’t mind a little extra knife work in the eating process, you can leave them on. You could probably even eat them – I don’t know. I think they look kind of cool. Anyway, toss them with a little olive oil and salt and put them on the grill (or grill pan) until they’re nicely marked.

Sauce Series in Practice - Grilled Scallion and Potato Salad with Rustic Romesco

I pre-boiled my baby potatoes, tossed them with olive oil and salt, and grilled them too.

Sauce Series in Practice - Grilled Scallion and Potato Salad with Rustic Romesco

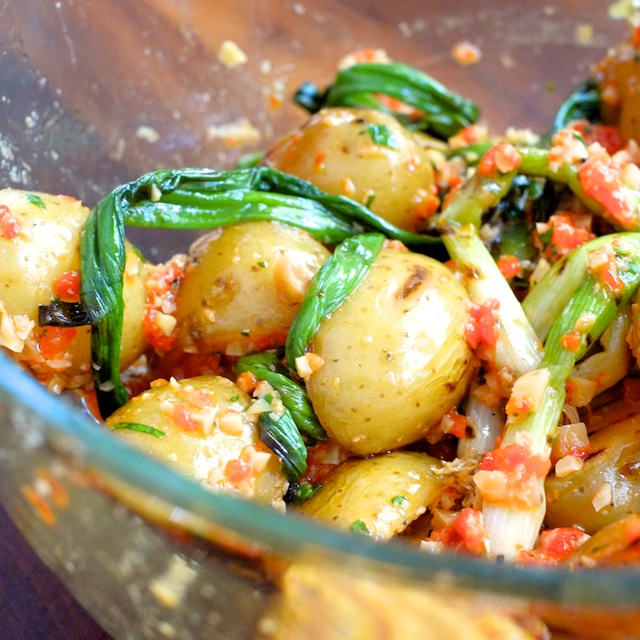
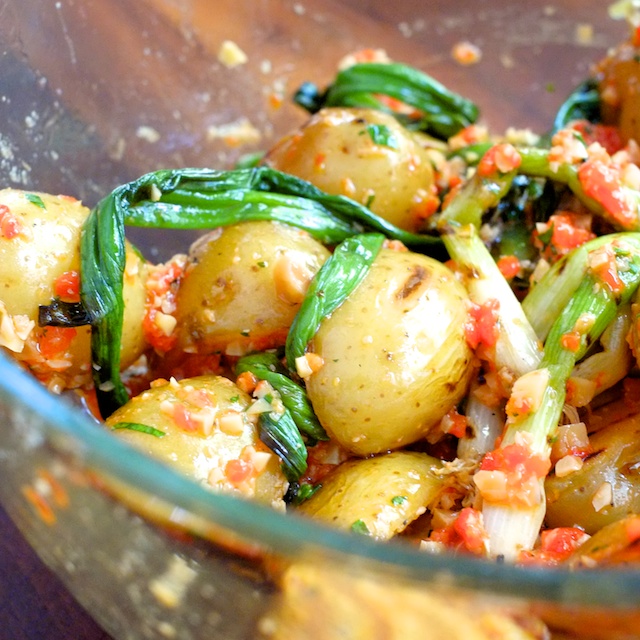
Then you just add the romesco, toss and taste for seasoning. Honestly, the grilling makes this a really hearty-tasting potato salad. You won’t miss mayo a bit.

Sauce Series in Practice - Grilled Scallion and Potato Salad with Rustic Romesco

Sauce Series in Practice - Grilled Scallion and Potato Salad with Rustic Romesco

Grilled Potato Salad with Scallions and Rustic Romesco

Ingredients:

Romesco Sauce:
one small jar roasted red peppers (use two medium red bell peppers if you want to roast yourself)
1/2 cup sliced almonds, toasted
2-3 small cloves of garlic
one small handful of flat leaf parsley
1-2 tablespoons sherry vinegar (white wine or red wine vinegar wouldn’t suck)
3-4 tablespoons olive oil (extra virgin if possible)
salt and pepper to taste
optional: a few dashes of hot, smoked paprika

Salad: 
2-3 bunches scallions
1-2 pounds baby potatoes
A few tablespoons of olive oil to coat vegetables
salt to taste

Method:
1. Make the romesco sauce – chop the first four ingredients very small and combine in a bowl.
2. Add the vinegar, olive oil, salt and pepper, and paprika (if using) to the roasted red pepper mix. Taste and adjust seasoning.
3. Boil potatoes whole until cooked through but not mushy. Allow the potatoes to cool and slice them in half. Toss with olive oil and salt and set aside.
4. Wash and trim your green onions, toss with olive oil and salt.
5. Preheat your grill or grill pan over medium-high heat. Grill onions and potatoes in batches until they are nicely marked. Set aside cooked onions and potatoes in a mixing bowl.
6. Add romesco sauce to cooked potatoes and onions, toss, taste for seasoning, and serve.

  1. This looks so so delicious.

    carrie — June 27, 2014
    1. reply
cancel reply

Sauce Series in Practice – Tomato Sauce

Everyone needs a great tomato sauce recipe in their back pocket. I know it’s easy and even tempting to get your pizza sauce or spaghetti sauce from a jar, but making tomato sauce from canned or even fresh tomatoes is so easy, and so delicious, there’s no good reason not to. Plus you’ll feel pretty fancy and confident knowing you can make it yourself.

There’s a rather famous tomato sauce recipe that’s been going  around the blogosphere in recent years, created by the late Marcella Hazan. It’s absurdly simple, but somehow transformative – and it’s come to be known affectionately as Marcella sauce.

sauce series in practice - tomato sauce

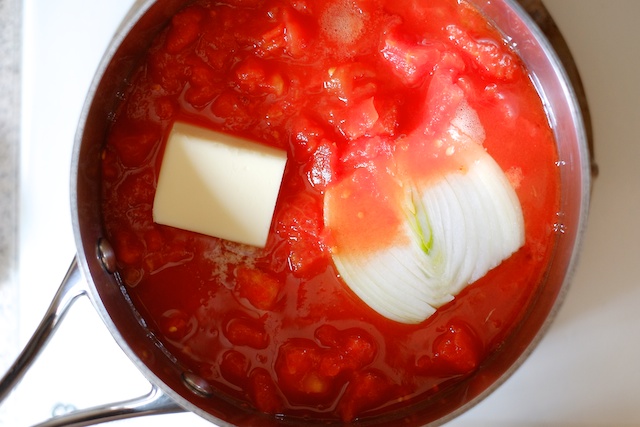
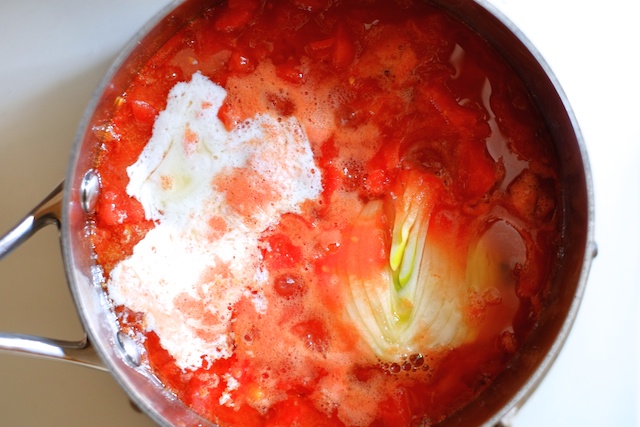
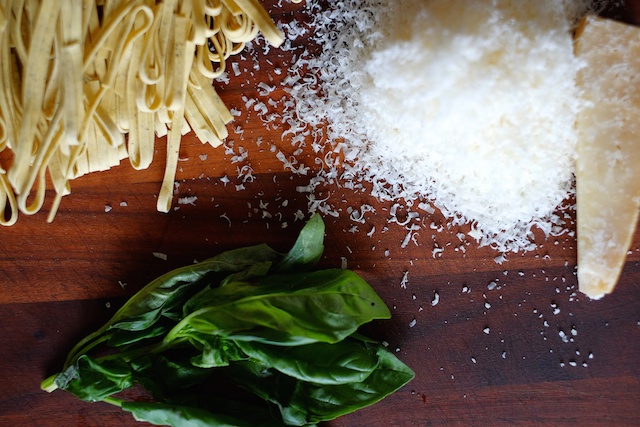
The recipe uses only four ingredients – tomatoes (fresh if they are in season, canned if not), onion, butter, and salt.

sauce series in practice - tomato sauce

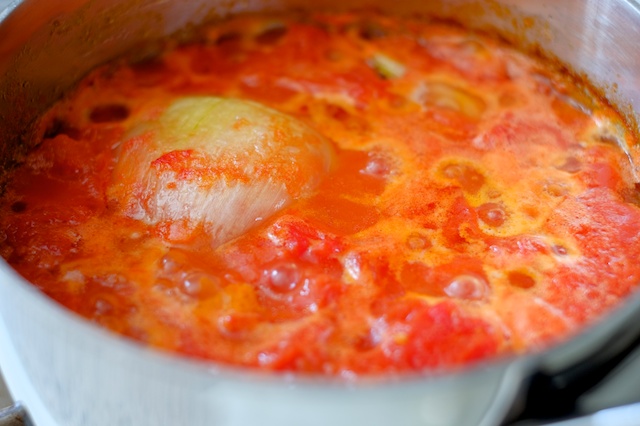
You throw them in a pot together and simmer them for a long time. The onion gets really soft and the butter smoothes out the acid of the tomatoes, until it’s all sweet and surprisingly rich (that’d be the butter).

sauce series in practice - tomato sauce

The flavors in this recipe are really clean and straightforward and mellow. They taste fantastic on their own, and if you’ve never made it before you should really try it plain. But they also make an excellent canvas for embellishment.

sauce series in practice - tomato sauce

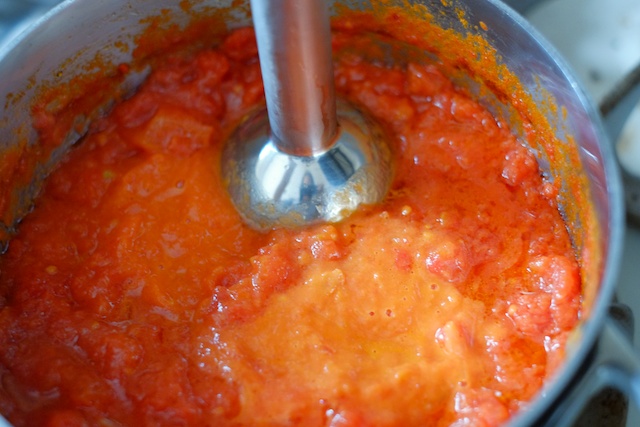
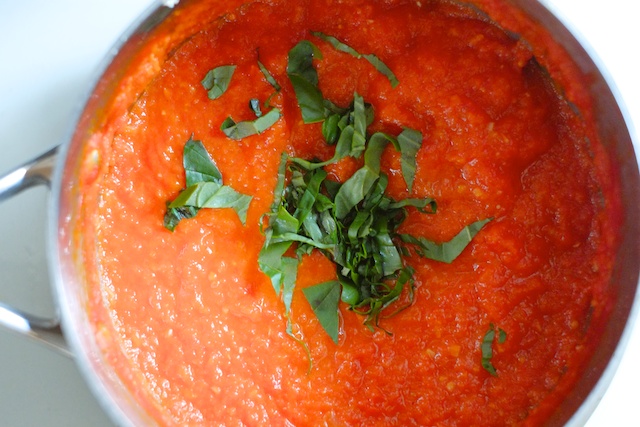
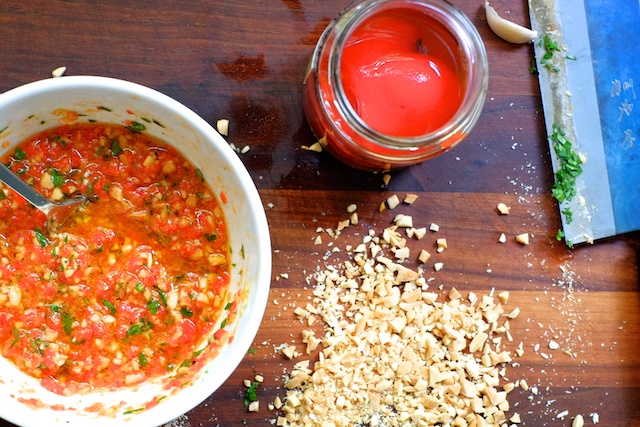
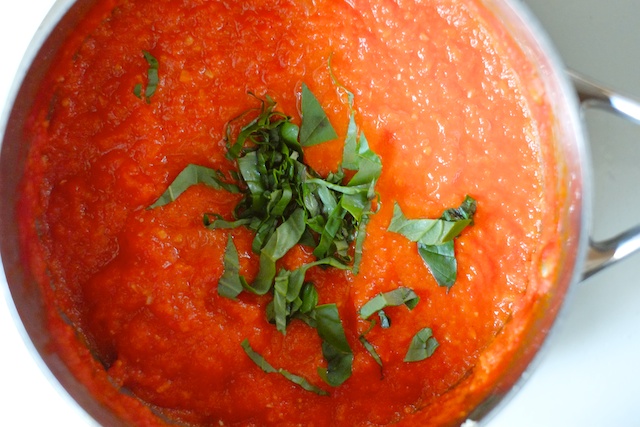
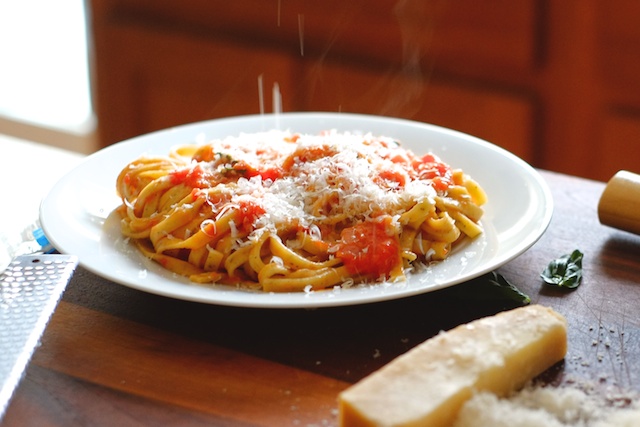
After removing most of the onion and buzzing the tomatoes and butter into a nice smooth sauce, I like to add basil, finely minced raw garlic, and sometimes a shake of red pepper. Purists may disapprove, but I like what I like. Another minute or two on the stove to mellow out the garlic slightly, and it’s ready for pasta.

sauce series in practice - tomato sauce

sauce series in practice - tomato sauce

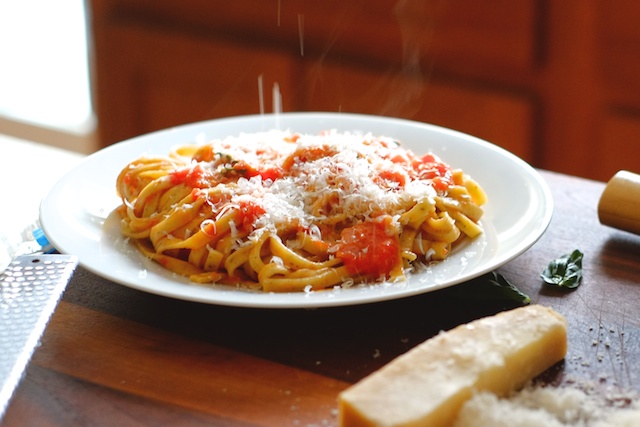
And in my house, no pasta is safe from cheese.

sauce series in practice - tomato sauce

Marcella Sauce (and variations, adapted from Essentials of Italian Cooking)

Ingredients: 
tomatoes (canned or fresh diced)
butter (3 Tbsp per pound or can of tomatoes)
onion (one half per pound or can of tomatoes)
salt, to taste

Optional Embellishments:
garlic, minced
basil, torn or chiffonade
oregano, minced
crushed red pepper
parmesan cheese, grated

Method:

1. Put your tomatoes in a sauce pan with the butter and onion. You will need at least one pound of tomatoes for every two servings you plan to make. I usually use two small cans of tomatoes or one 28 oz can for four servings, but the recipe can be scaled to suit your group. Simmer the tomatoes, onions, and butter over low heat for 45 minutes to an hour, until the onion is very soft.
2. Remove the onion (I like to leave about half of what was cooked) and blend the tomatoes with a hand blender or mash with a potato masher until you reach your desired consistency. Taste and add salt.
3. Serve as-is for a kid-friendly pure tomato flavor, or add embellishments. Cook for an additional few minutes if you are adding raw garlic at this point, to allow the flavors to soften. Use your sauce to top pasta or pizza or eggplant or chicken parmesan or any other item in your vicinity that appears to need saucing.
 

cancel reply

Sauce Series Part 3 – Chopped Sauce

I know what you’re thinking. Why would anyone need to chop a sauce? Sauce is the antithesis of all things that actually require chopping, right? But making solid food in it’s natural state turn into sauce, requires a lot of chopping.

Chopped sauces get their texture from the actual physical mass of their collective ingredients. So, for a chopped sauce to have any body at all, the ingredients included have to have body. Tomato sauce, for example, takes a solid vegetable and essentially breaks it down with blades or blunt objects (and the help of heat) into a relatively smooth material suitable for coating noodles.
The primary requirement for making a chopped sauce is brute force. We aren’t working at the molecular level with these, creating any new chemical bonds or manipulating proteins in starch to thicken an already smooth liquid. If we want our ingredients to become sauce we have to make them. Probably with blades.

sauce series chopped sauces

The method of making chopped sauces is so straightforward I hesitate to call it a technique. It’s more of a category. But thinking of tomato sauce and pesto sauce in the same column can inspire some playful deconstruction. Take my romesco sauce above – romesco is usually made in a blender or food processor, but I decided to go rustic and just use my knife. Similarly, tomato sauce can be made with a food processor, hand blender, a potato masher, or Italian grandma style, with tomatoes crushed in hand.

chopped sauce 2 (1)

And if you can make a cooked tomato sauce with hand-crushed tomatoes, why not a fresh tomato sauce that’s finely diced with a nice, sharp knife? Or a chimichurri that’s perfectly pureed and pourable?

chopped sauce 1 (1)

Chopped sauces are really flexible and really difficult to screw up. The only real requirement is that the ingredients each bring a lot of flavor and texture to the table. We don’t typically get to do a lot of reduction with chopped sauces, to the ingredients themselves need to be able to stand up, and you need to season them well. That’s literally it.

chopped sauce 1

Up next, my favorite basic tomato-basil sauce and rustic romesco potato salad. Sharpen your knives and dust off your immersion blenders, we’re chopping sauce!

cancel reply

Sauce Series in Practice – Steak With Pan Sauce

Any time you cook a piece of meat in a pan, you’re in a ripe situation for making pan sauce. Think of it as bottled steak sauce’s sophisticated older sister that works as a curator or something fancy. That makes bottled steak sauce the frat boy little brother. What I’m saying is, it’s an upgrade.

sauce series in practice - pan sauce

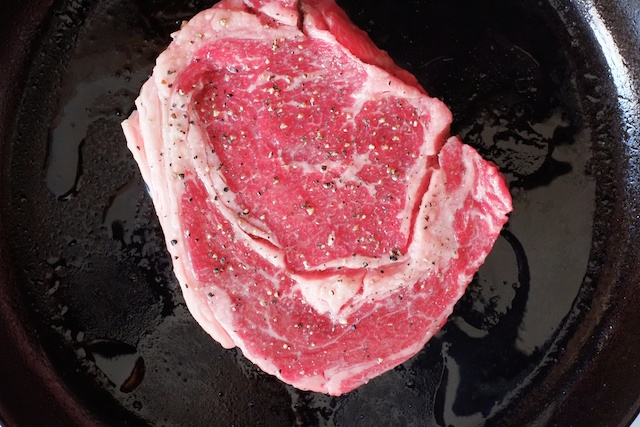
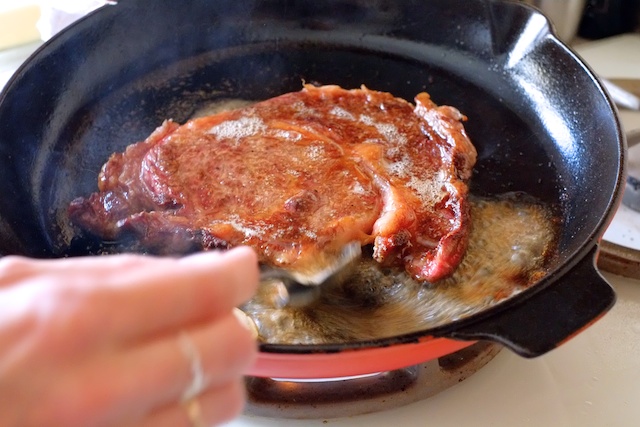
So say you’ve cooked a steak in a pan. This is another thing that deserves it’s own post, but just know that you should cook steaks over pretty dang high heat, put oil on the meat instead of in the pan (less time for smoke to happen) and season it liberally with kosher salt or sea salt and pepper.

sauce series in practice - pan sauce

After I’ve flipped the steak, and it’s nearly done, I add a pat of butter to the pan, sometimes with a sprig of thyme or crushed clove of garlic, and baste the steak until it’s finished cooking. Then let it rest for a few minutes on a cutting board or plate – just enough time to make a pan sauce.

sauce series in practice - pan sauce

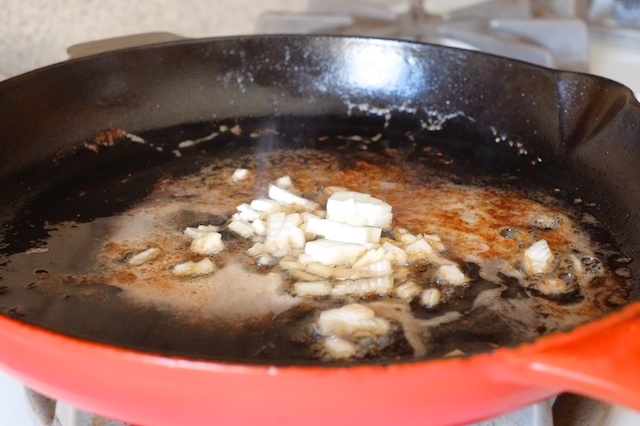
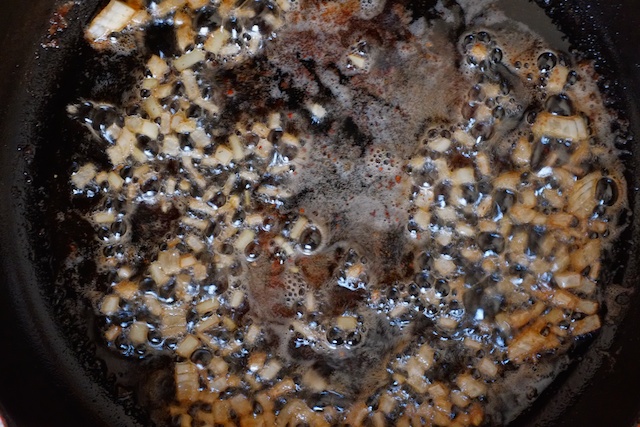
If you’ve butter basted your steak, you’ll have plenty of fat to work with. Over medium heat, use the leftover fat to sauté some finely diced onion or shallot or garlic (or two of those, three might be redundant).

sauce series in practice - pan sauce

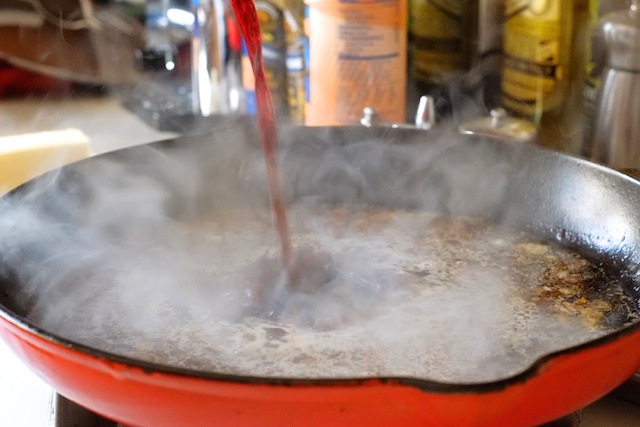
When the onion is translucent, it’s time to deglaze all the brown bits from the bottom of the pan. I like to use about a half cup of beef broth with about a quarter cup of red wine to make enough sauce for two. If I’m feeding more people, I will double that amount.

sauce series in practice - pan sauce

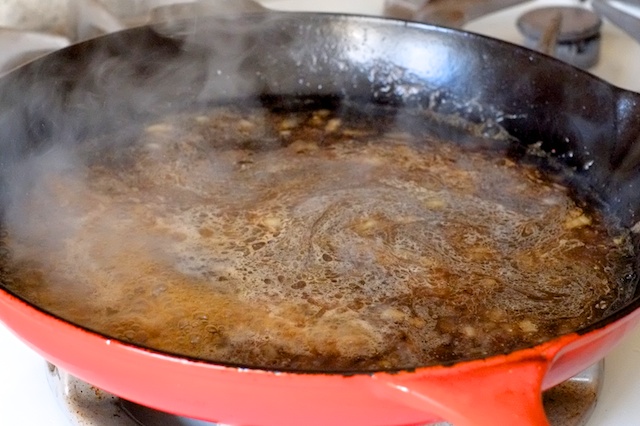
When the liquid is in the pan, you can return the heat to medium-high or high to start reducing. Don’t add any salt, because salt from the steak will be left in the pan, and after reducing the sauce may be quite salty on its own.

sauce series in practice - pan sauce

sauce series in practice - pan sauce

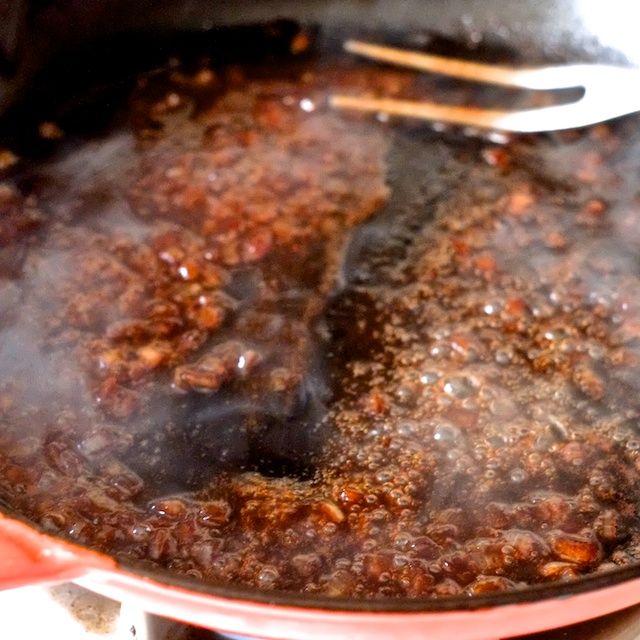
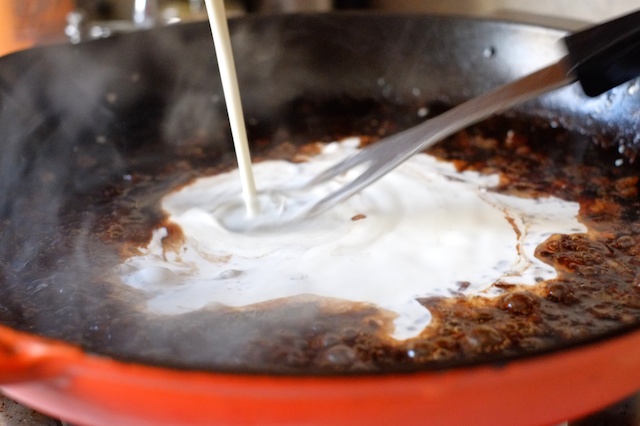
When the liquid has reduced by at least half it’s volume and got all shiny and somewhat thickened, add about 1/4 to 1/3 cup of cream.

sauce series in practice - pan sauce

Heavy cream works best here because the fat gives it some stability over higher heat (which means it won’t curdle). Allow the cream to incorporate and reduce until it reaches your desired consistency.

sauce series in practice - pan sauce

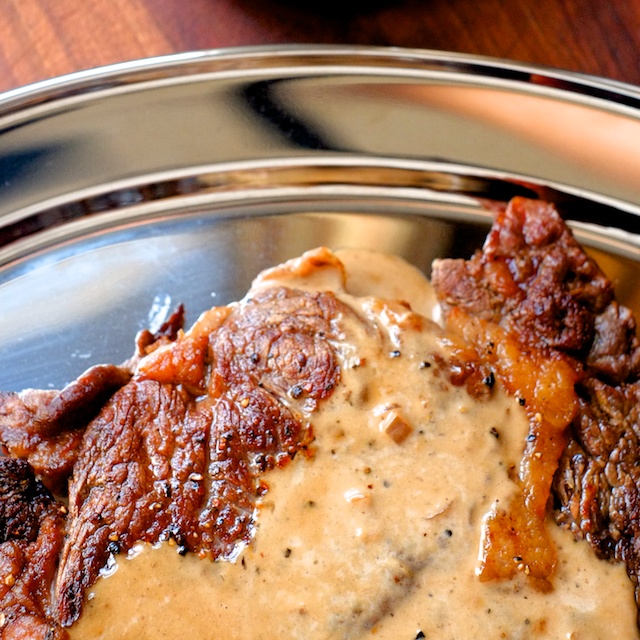
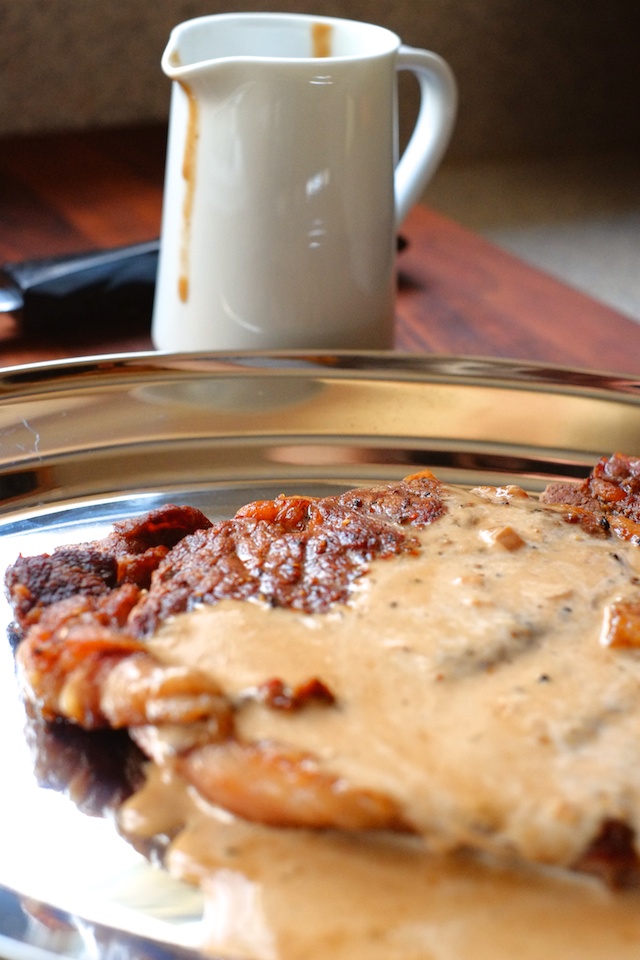
When the sauce looks nice and clingy but not super thick, it’s done. The flavor should be pretty strong, but without any residual booziness from the wine and it should have a bit of richness from the cream. Taste it and add salt and pepper if it’s needed and a squeeze of lemon if you like a little brightening.

sauce series in practice - pan sauce

You can make a pan sauce to go with any meat you feel like cooking. The only real variation would be to swap out red wine for white to go with chicken or fish, or even pork. But really it’s up to you.

The breakdown of my method for pan sauce:

– Sauté a few tablespoons of finely diced onion or garlic (or both) over medium heat in the same pan that cooked your meat. Add fat if necessary.

-Add flavorful liquid – I like a mix of one part wine to two parts broth, but this is up for interpretation. Broth with apple cider might work really well with pork for example. You want a little meatiness and a little acid/fruitiness. I’ve even mixed broth with a few teaspoons of vinegar for a similar effect. Do not add salt at this point.

-Reduce the liquid until it’s shiny and will hold a line for a fraction of a second in the pan.

-Add cream or butter for richness and body (a splash is fine, more is also fine) and reduce it again over medium heat until it’s lovely and thickened and the right texture for draping across a steak. If it’s too thin, keep it bubbling until it thickens further, but note that it shouldn’t be as thick as a roux-thickened gravy. This is just a different animal.

-Taste the sauce and add salt if needed, a few grinds of pepper, and a squeeze of lemon if you want to brighten it up.


cancel reply

Sauce Series in Practice – Roasted Tomato Caprese Salad With Balsamic Reduction

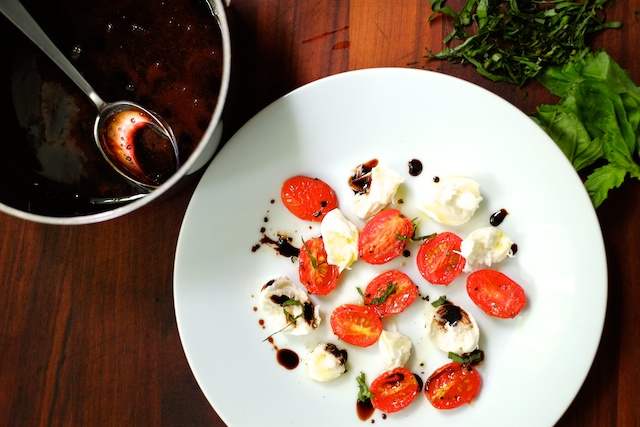
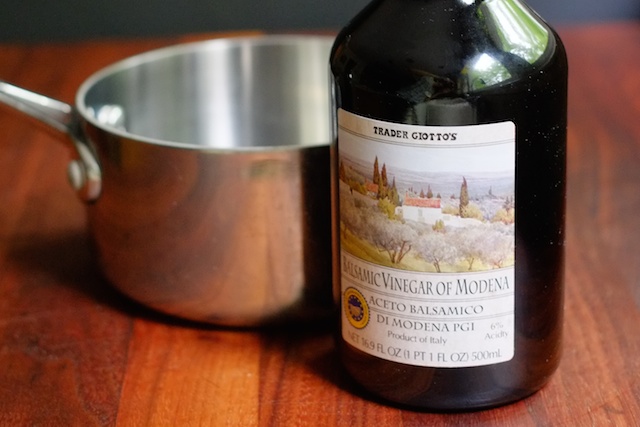
If you are a fan of balsamic vinegar, you really owe it to yourself to try making a reduction. Those little bottles of balsamic glaze you can buy at the store are much cheaper to make at home with regular old balsamic vinegar, plus they’re stupid easy and really delicious. Reducing balsamic vinegar concentrates the inherent sweetness while softening the acid, to the point that it almost tastes like a syrup (which pairs surprisingly well with strawberries and also, of course, caprese salad).

roasted tomato caprese with balsamic reduction

I happen to really like the taste of cheap balsamic vinegar, because I like acid more than is normal, but this sweet balsamic reduction is worth pulling out when you want things to taste fancy.

roasted tomato caprese with balsamic reduction

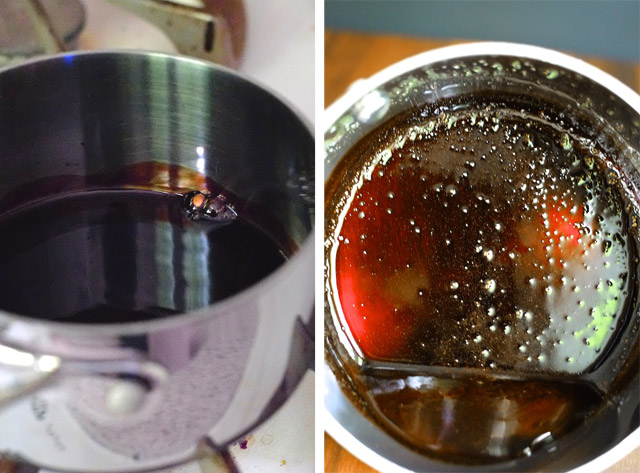
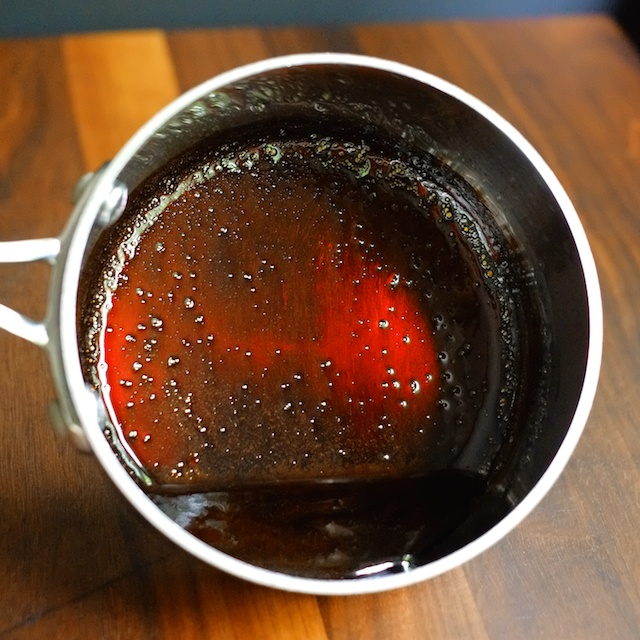
Your reduction will end up being half the volume of the vinegar you start with, so pour as much vinegar as you need into a small pot and set it over low heat. Allow it to bubble around the edges very very gently, and take it off the heat when it’s reached the right level of reduction (half the original volume) and taken on a slightly syrupy texture.

roasted tomato caprese with balsamic reduction

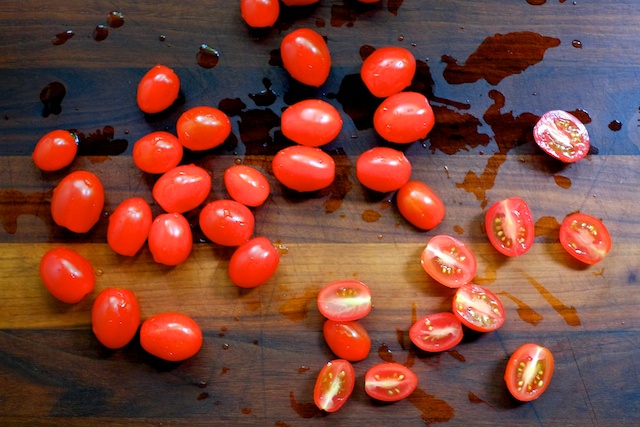
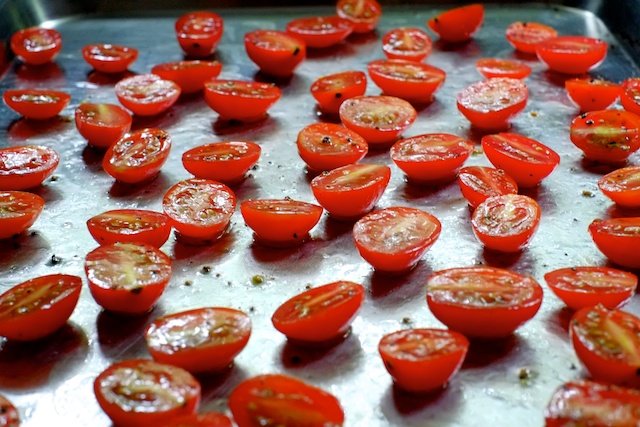
As most of you probably know, it isn’t tomato season yet. But that doesn’t need to get in the way of a nice caprese salad. Grape tomatoes tend to be more flavorful than other tomatoes in the off season, and to make them even tastier (and more able to stand up to the balsamic reduction) roast them.

roasted tomato caprese with balsamic reduction

Cut them in half, coat them in olive oil, salt, and pepper, and roast them in a low oven (around 300 degrees fahrenheit) for about an hour.

roasted tomato caprese with balsamic reduction

There’s your nice balsamic reduction, ready to adorn your salad.

roasted tomato caprese with balsamic reduction

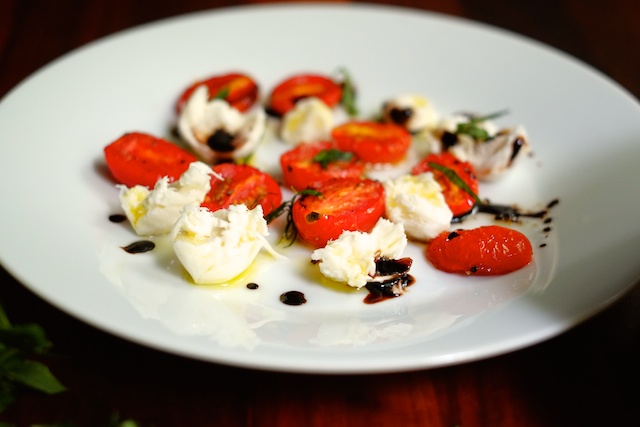
This is a frou frou version of the rustic caprese I like to make in the summer, but isn’t it pretty? Dressed simply with extra virgin olive oil, chiffonade of basil, torn bocconcini mozzarella, salt, and the easiest reduction of all time.

cancel reply

Sauce Series Part 2 – Reductions

Reduction is a really good method of sauce-making for cooks to approach after they’ve learned their way around a roux. When you reduce a liquid to make sauce, you concentrate the flavors present in the liquid. The method is not any harder to get the hang of than starch-thickened sauce, but reduced sauces offer a lot more flavor and complexity per ounce.

Reduced sauces also make use of all the big flavor bombs in the pantry – vinegar, wine, liquor, lemon juice, and often times some sort of allium (garlic, onion, shallot, etc.). These aren’t sauces for the faint of heart. Reductions are for decorating plates and giving food punch and edge. While these sauces aren’t the meal (the way serious gravy can be), they definitely make it. Reductions will almost never be as thick as starch-thickened sauces, but I think that makes them a little more elegant.

The simplest kind of reduction is straight liquid in a pot, heated until it’s reduced in volume. That’s it. It’s how people turn balsamic vinegar into balsamic glaze.

sauce series part 2 - reduction

Speaking of balsamic vinegar, sugary liquids like balsamic vinegar and fruit juice are actually something to be careful with. While they are really wonderful in reduced sauces, liquids containing sugar need to be reduced slowly and checked frequently because they will turn to syrup and then candy if you cook them too long or too hot. And honestly I don’t know much about making candy, so go there at your own peril. This is sauce-making after all. A good rule of thumb is, if the sauce you’re making is mostly comprised of a sugary liquid, allow it to reduce by only about half of it’s volume, and do it over medium-low heat at the highest.

sauce series part 2 - reduction

Reduction is a great method to use when you want to make use of some fond. A combination of wine and broth is perfect for deglazing any lovely brown bits left in your pan after cooking a hunk of meat. The moment you know your liquid has reduced enough to be called sauce, is when it can hold a line in your pan for just a moment – it looks like this:

sauce series part 2 - reduction

Butter is an important player in reduced sauces because it adds a bit of heft, richness, and gloss to what could otherwise be a lip-puckering salty and tart sauce. Cream is another common addition, which serves the same purpose as butter. Butter should be whisked in after the sauce is finished cooking, while cream should be added after the initial liquid has reduced, but given some additional cooking time to thicken further.

sauce series part 2 - reduction

Reductions are sometimes used in sauces that require multiple methods to achieve. These sauces are typically more advanced, the most famous being demi glace and beurre blanc. Real demi glace is essentially a mix of veal stock and brown gravy made with roux, which is then reduced until thick. Beurre blanc is made with reduced white wine and sometimes stock, emulsified with butter until thickened and slightly frothy.

Technically anything that’s been allowed to simmer and reduce in volume is a reduction of some kind, but when a sauce gains most of it’s texture from the reduction process, that’s when I call it a reduced or reduction sauce. There aren’t any hard and fast rules, it’s just concentrating liquid with heat and evaporation, which sounds more sciencey and intimidating than it feels when you actually try your hand at the stove. Up next, by way of illustration, I’ll show you a great salad to use up a balsamic reduction and my favorite pan sauce to serve with steak.

cancel reply

Sauce Series in Practice – Bechamél and Cheese Sauce

Bechamél sauce is probably the most versatile sauce I’ve ever learned to make. It is essentially milk thickened with roux, which creates a sauce that blankets food like nothing else. But it almost never ends there. With egg and nutmeg it becomes the custardy topping for moussaka, with cheese it’s just the thing for mac, and thinned with a little broth it transforms into creamy soup (goodbye cream-of-whatever).

sauce series bechamel and cheese sauce

I made a batch with 3 tablespoons each of flour and butter, and two cups of whole milk. Whole is my preference, but two or even one percent will also work. Skim milk bechamél would be a mistake IMO.

sauce series bechamel and cheese sauce

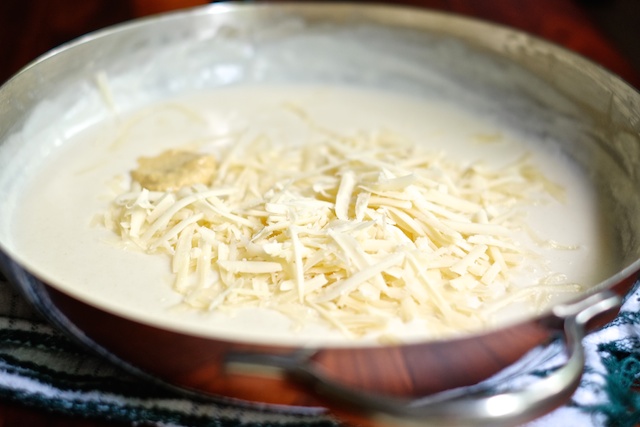
Mornay sauce is made with gruyere and parmesan cheese melted into bechamél sauce. I like to add a dollop of dijon or dry mustard for flavor almost every time I’m making cheese sauce. Somehow mustard makes cheese sauce taste cheesier. I made a variation on classic mornay here with gruyere (no parm) but bechamél is my go-to base for cheddar cheese sauce, blue cheese sauce, fontina cheese sauce, you name it.

sauce series bechamel and cheese sauce

The most important piece of advice I can give you for making cheese sauce is to grate your cheese and add it to your sauce OFF THE HEAT. If you allow cheese sauce to bubble, the cheese will curdle and make your sauce grainy. Higher-fat milk in your bechamél will help guard against this happening, but it’s best to keep cheese away from direct heat and allow the residual heat in the bechamél to do the melting.

sauce series bechamel and cheese sauce

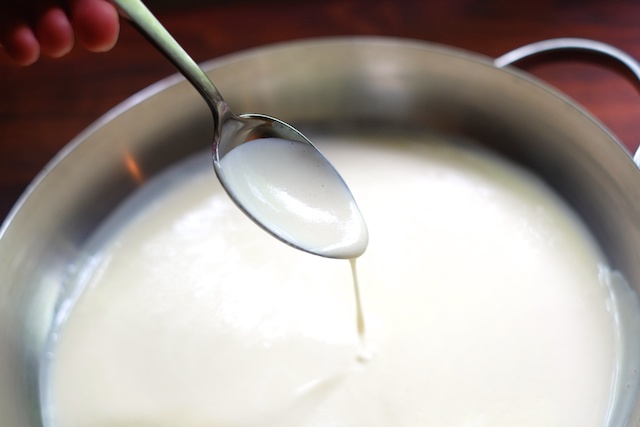
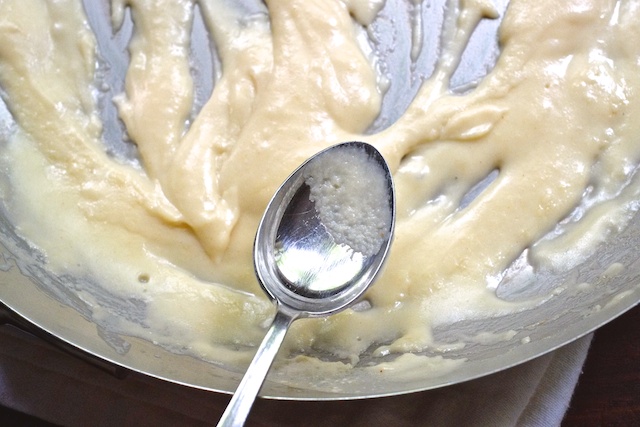
Above is a cheese sauce with properly melted cheese and a nice, smooth consistency. The sauce below was left on the heat, and now has a visibly grainy texture.

sauce series bechamel and cheese sauce

What you do with your cheese sauce is up to you. I made an open-faced croque madame, which is like eggs benedict but with mornay instead of hollandaise and a fried egg instead of poached. Proper madames have two slices of bread, ham and swiss between and nicely broiled mornay on top with the egg added last. I was too impatient to wait for proper broiling. It was delicious anyway.

sauce series bechamel and cheese sauce

sauce series bechamel and cheese sauce

The breakdown of my formula for bechamél and cheese sauce:

1. Make roux with 1 1/2 to 2 tablespoons each of flour and butter per cup of milk, depending on how thick you’d like your sauce to be. 1 1/2 tablespoons of flour and butter per cup will make a thinner sauce, 2 tablespoons of flour and butter per cup will make thicker sauce.

2. Add milk to roux while whisking. Bring mixture to a simmer over medium heat and allow to bubble for a few minutes until sauce is nicely thickened. This is plain bechamél. Season now if you intend to use it plain (white pepper and the tiniest pinch of nutmeg are traditional but not mandatory).

3. To make bechamél into cheese sauce, remove it from the heat and stir in grated cheese. If the residual heat from your bechamél isn’t enough to melt your cheese, return the pan to the stove over very low heat. Stir the sauce until it’s melted and smooth. You can add as much or as little cheese to your sauce as you like. The amount needed will vary depending on the strength of your cheese’s flavor (blue, for example, requires a lot less). For mac and cheese, I like to use almost a cup of grated cheese for each cup of bechamél, but a little less than that is ok. For the mornay above I used more like 1/2 cup of cheese for each cup of bechamél. It’s hard to go wrong.

4. Taste your cheese sauce before adding seasoning. Cheese can be quite salty on its own. Make any necessary adjustments by adding salt or pepper, more cheese, or even more milk if your sauce is too salty and it can stand some thinning (but remember sauce should be a little salty – you aren’t eating it straight). Consider adding mustard or hot sauce for brightness and punch.

  1. this is so super helpful. i use cream of chicken for a lot of things, but keep thinking, i would love to not be feeding my family MSG. what is MSG? i have no idea. but i heard it's bad. mono sodium glutamate? https://www.youtube.com/watch?v=AdJFE1sp4Fw thanks for educating me!

    miranda — June 5, 2014
    1. Oh man. I love that jimmy kimmel clip. The coughing guy with the eyebrow is so bad. I have a clip for you about msg. http://m.youtube.com/watch?v=k1oR0EYaOHY&feature=kp and as for making a good cream of chicken swap, I'd make an extra thick chicken gravy and add milk, so it's like a half bechamel half gravy. For cream of mushroom I'd do all bechamel and just add mushrooms. Fun stuff to play with huh!

      courtney — June 5, 2014
    2. reply
  2. Mmmmmmm! I make a low carb cheat: dab o butter or oil - a tablespoon of sour cream and the swiss cheese.

    Amy — June 14, 2014
    1. reply
  3. […] -white bread -leftover stuffing -leftover turkey -leftover cranberry sauce -bacon -one recipe bechamél sauce with a cup of shredded gruyere cheese to melt into every cup of sauce (plus a small handful of […]

    Thanksgiving Sandwich Showdown | Sweet Salty Tart — November 24, 2015
    1. reply
cancel reply