
There are as many knife skills tutorials on the internet as there are food websites so I will likely be echoing a lot of the things you’ve probably already been told. That said, my personal knife philosophy is a bit simpler and further distilled than most, so hopefully you will find it useful.
There are three distinct knives that every functional kitchen should have in its drawers: a paring knife, a bread knife, and a chef knife. The chef knife will be used for ninety percent of kitchen tasks, but try cutting a bagel with a chef knife and you’ll see why a bread knife is mandatory. To be honest, I rarely do any paring, but it’s handy to have a smaller knife around for tasks where a chef knife would be clumsy. My chef knife is pictured above on the right. It’s a Victorinox knife with a “fibrox” handle, nothing fancy, but it’s sharp and comfortable and it was under thirty dollars. The other two knives are Wustof and they belong to my parents ’cause I’m cheap.
I have come away from reading and watching knife tutorials in the past feeling overwhelmed and discouraged by the delicate cuts, precarious positioning, and every professional chef’s ability to look straight into the camera while breaking down onions at a mile a minute. While the skills outlined in their tutorials will make you faster and safer (while cutting at sixty miles per hour), those of us who don’t need to be able to chop five pounds of potatoes in thirty seconds can get by with fewer rules. So here are my cardinal rules: Keep your knives sharp, watch your fingers, and hold your chef knife like this:
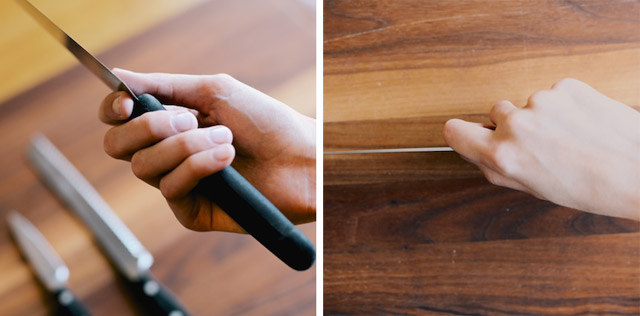
Pinching the blade like this will help you control your knife better. The sharper your knives are, the less brute force is required to cut your food, and the less likely you are to do anything spastic. Bread knives can be held without pinching the blade, but make sure you use minimal downward pressure when sawing into your bread, and let the bread knife’s teeth do the work. We’ll talk about paring later.
Now for some practice. Because I think my onion-dicing method is the best, I’m going to show you how it’s done. Start by removing the stem end of an onion and leaving the root end in tact (the root end is the hairy looking end FYI).
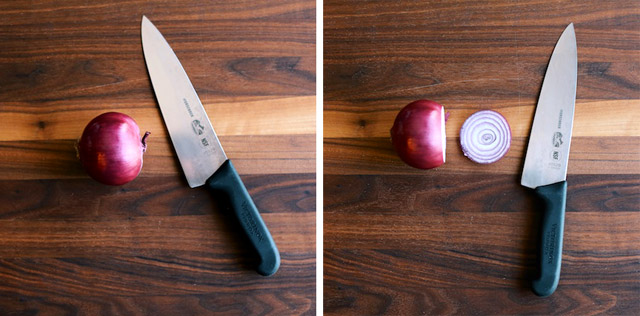
Then, cut the onion in half longitude-wise (you know, like on a globe) and remove the outer-most layer. Use the tip of your chef’s knife to cut the onion radially without cutting through the root.
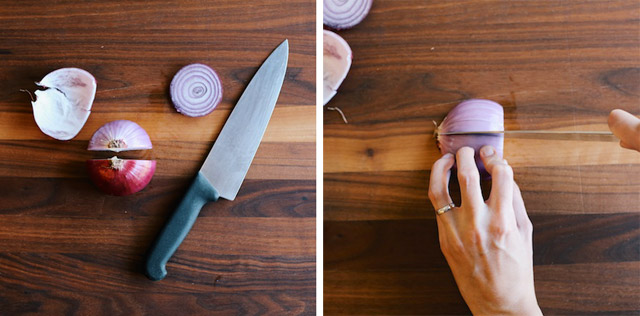
See! That’s what radial cuts will look like on your onion half. From there, you just cut slices in the opposite direction (as pictured below) and end up with lovely diced onions.
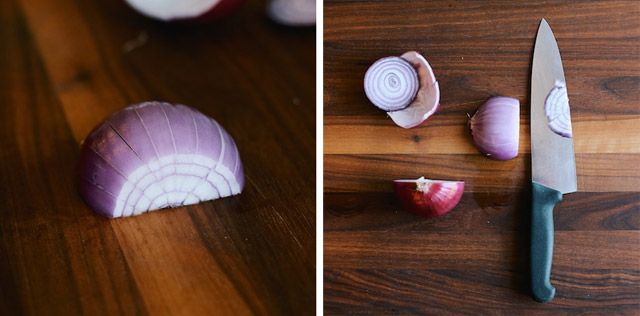
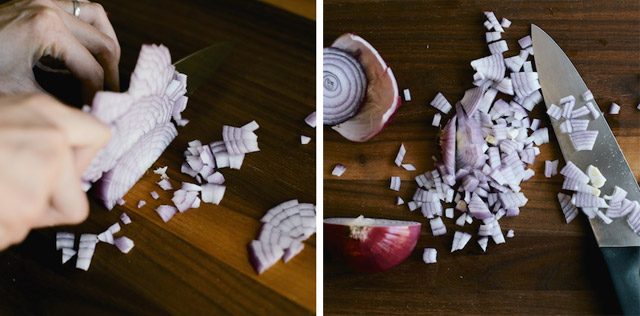
As you can see, I haven’t mastered the art of keeping my fingers tucked in while chopping. Maybe one day I will, but in the meantime I’m going to watch my fingers and keep chopping precisely how I like.
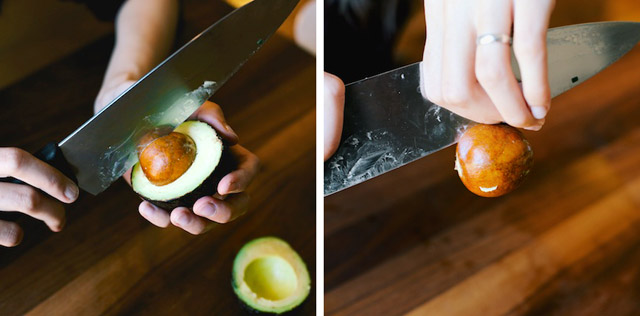
Ah, avocados. However you like cutting these is fine with me, but I will offer this suggestion for removing your pit from your knife: pinch the pit from the opposite side of the knife until the pit pops off the blade. A little less dangerous than simply grabbing it, wouldn’t you say?
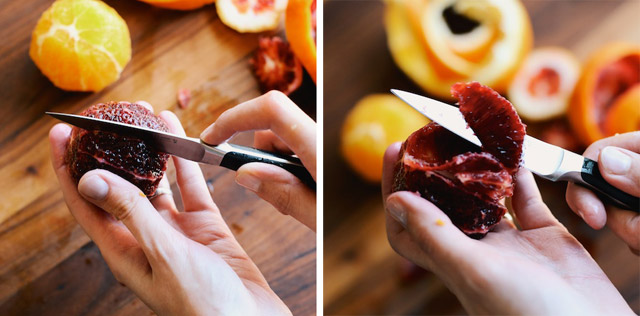
And here’s how you pare the peel from an orange. I like to start by removing the top, and from there you work the blade through the peel with your thumb, wiggling the knife back and forth as you go (since it’s hard to saw with such a tiny blade). It’s kind of hard to describe, but the pictures should help.

It’s not mandatory that you remove the peel in one solid coil. I have lots of practice because I was picky about my grapefruits growing up. No skin allowed.
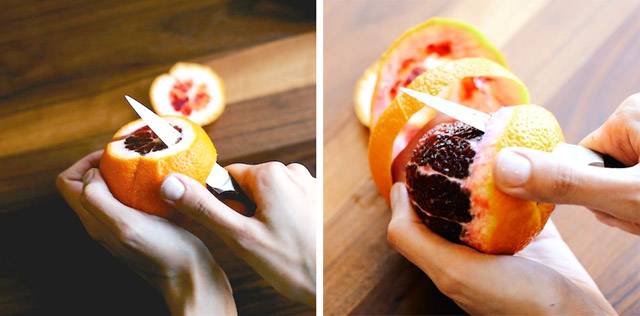
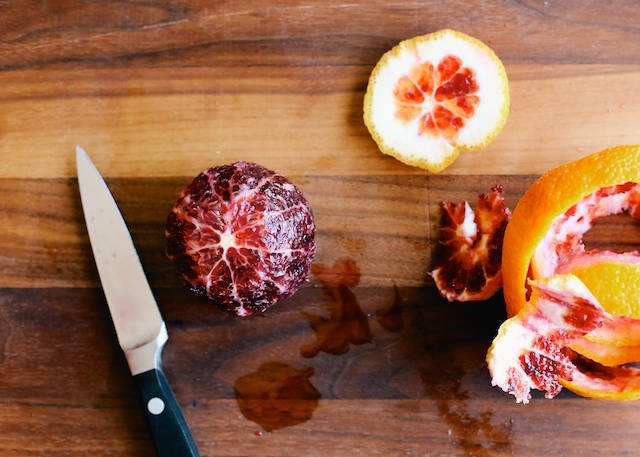
Now I’m taking the sections of the orange out from between the membranes. All you do is slide your blade between the membrane and the fruit on either side of each section, and they will pop out easily. This would be stupid to do with a chef knife, obviously, and thus the paring knife finds its validation.
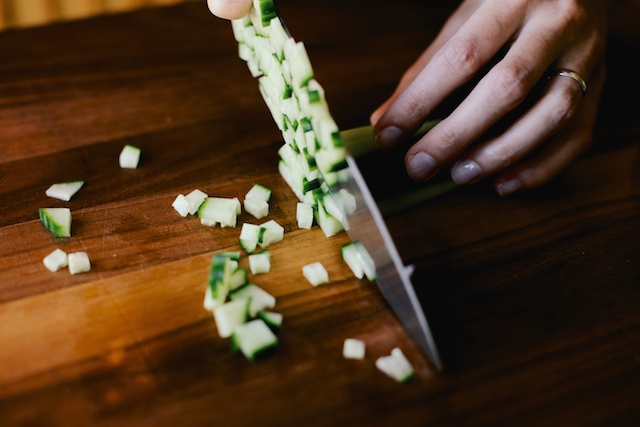
OH hey, while we were learning all about knife skills we prepped enough fruits and vegetables for a pretty salad.
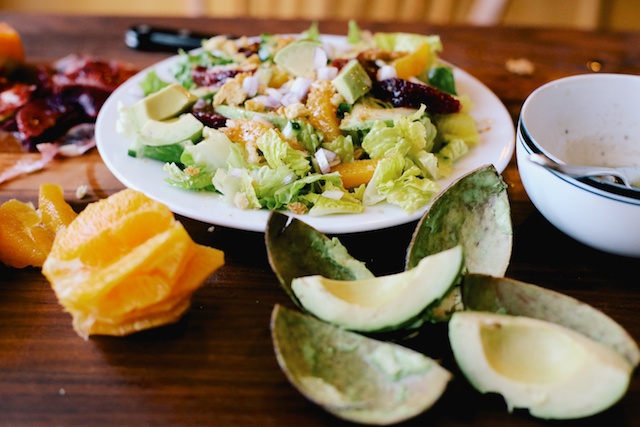
Whip up a vinaigrette with two tablespoons of lemon juice, a tablespoon of red wine vinegar, three tablespoons of olive oil and a teaspoon of honey. Season with salt and pepper and top it all with crushed croutons (preferably homemade).
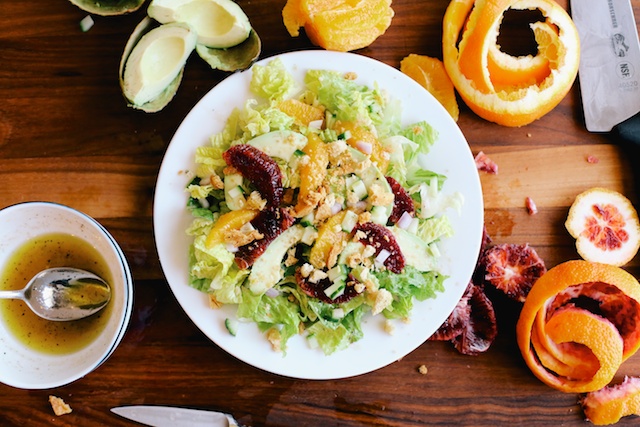
A fruitful conclusion to a very basic tutorial. Now go chop something.

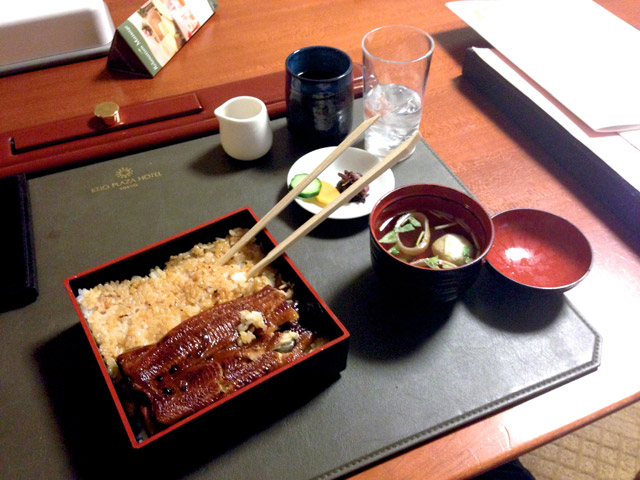





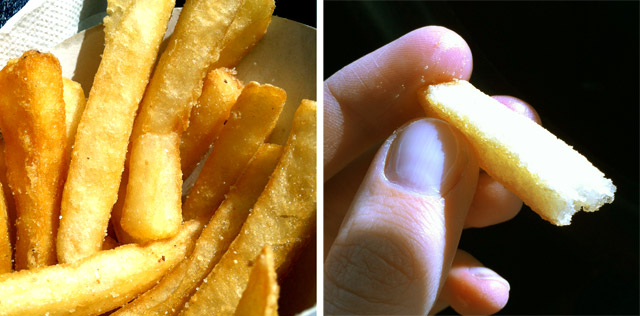


how in the world is that eel? that.is.large.
Caitlin — April 24, 2013It was large, and tasty. They took the eel and split it down the middle, doubling the width. The photo has two pieces stacked on top of each other.
Cody — April 28, 2013