Freezer-Friendly Korean Beef Lettuce Wraps

Freezer-Friendly Korean Lettuce Wraps

When I say “freezer friendly lettuce wraps” I mean the filling, of course. Do not expect to be able to freeze a leaf of lettuce and have it come out the other side remotely resembling lettuce. That said, if you make this filling in advance and freeze it, one day after you stick it in in the fridge to thaw you’re a washed lettuce leaf and a sliced avocado away from dinner.

You need one special ingredient for this recipe: gochujang (Korean red pepper paste) but the stuff  is delicious, lasts forever, and has the potential to be quite versatile. I was introduced to and quickly became obsessed with the Korean sesame/garlic/gochujang flavor combo while in Tanegashima, where we had a few Korean barbecue places within walking distance of our hotel. Gah, I miss real Korean barbecue (or, er…the Japanese interpretation we ate). But these lettuce wraps help.

I do hope I have time to make another batch and stick it in the freezer before I go into labor and (I’m assuming) neglect my kitchen for a who knows how long.
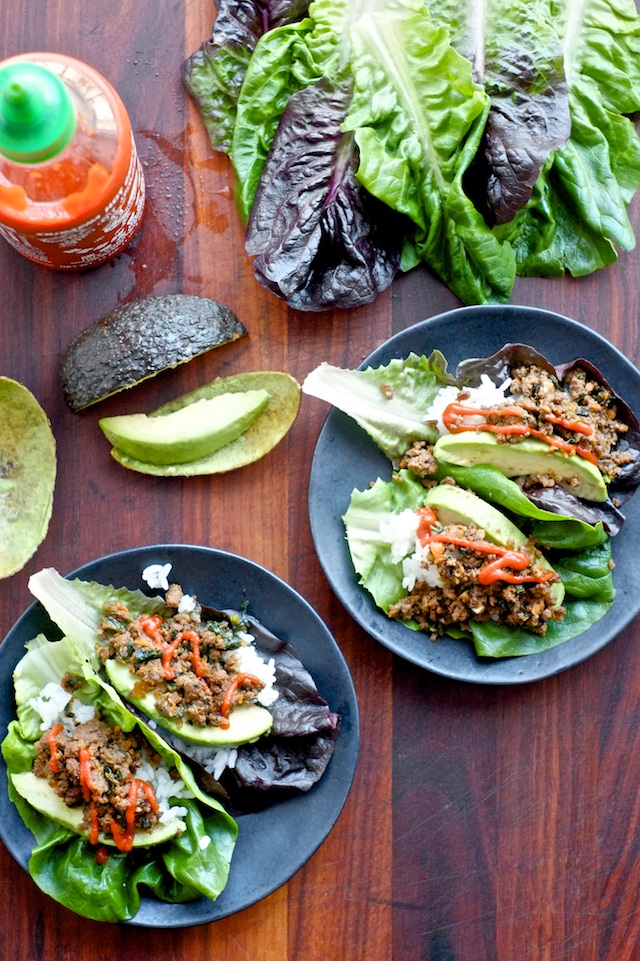
Freezer-Friendly Korean Lettuce Wraps


Freezer-Friendly Korean Beef Lettuce Wraps
serves about 6

Ingredients:
1 Tbsp neutral oil, like peanut
1 medium onion, diced small
1 box mushrooms (button, baby bella, shiitake, about 10 oz)
2-3 small carrots
2-3 cloves garlic, minced
1 lb ground beef
1 cup frozen spinach (I like the leaf spinach because you can measure out as much or as little as you want without thawing the whole package)
1 1/2 Tbsp gochujang (Korean red pepper paste)
3 Tbsp soy sauce
1 Tbsp toasted sesame oil
2 tsp honey
4 green onions, sliced
leaf lettuce or romaine, for wrapping
avocado slices
sriracha, for topping
optional: rice


Method:

1. In a large pan over medium heat, cook diced onion until translucent. Chop mushrooms and carrots very small (I like to use a food processor to make quick work of it) and cook them along with the onion. When most of the water has cooked out, add garlic and cook until fragrant.

2. Add ground beef and brown it in the same pan as the veggies, breaking up while cooking. When the beef is cooked, add spinach (straight from the freezer is fine) and thaw in the pan, stirring occasionally.

3. Add gochujang, soy sauce, sesame oil, and honey to the pan and stir until well incorporated. Taste for seasoning and add more soy sauce if it’s not salty enough for you.

4. To freeze for later serving, transfer the cooked filling to a freezer-friendly container, allow it to cool, label and store it in the freezer for up to 3 months. The night before you are ready to eat it, transfer the container from the freezer to the fridge to thaw. Reheat the filling in the microwave or in a pan until it reaches 165F.

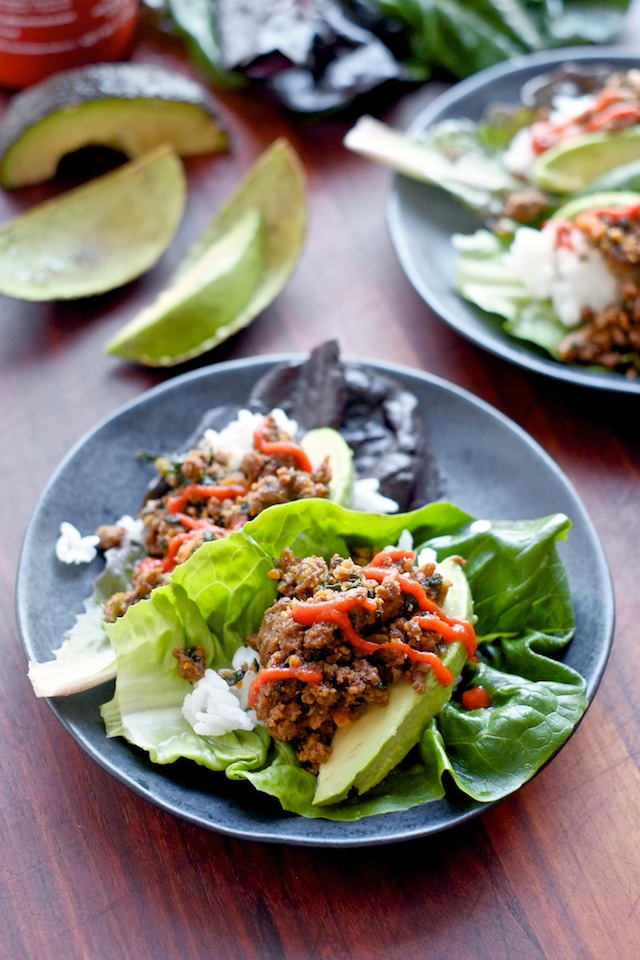
5. Top with sliced green onion and serve with lettuce, sliced avocado, sriracha, and rice.
cancel reply

Veggie-Loaded Stacked Enchilada Casserole

Veggie-Loaded Stacked Enchilada Casserole

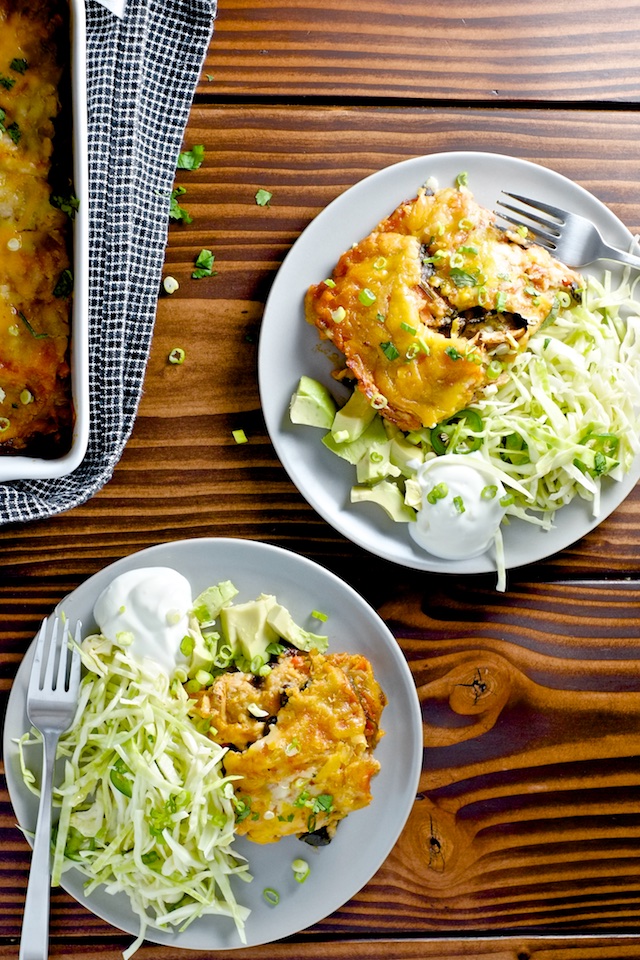
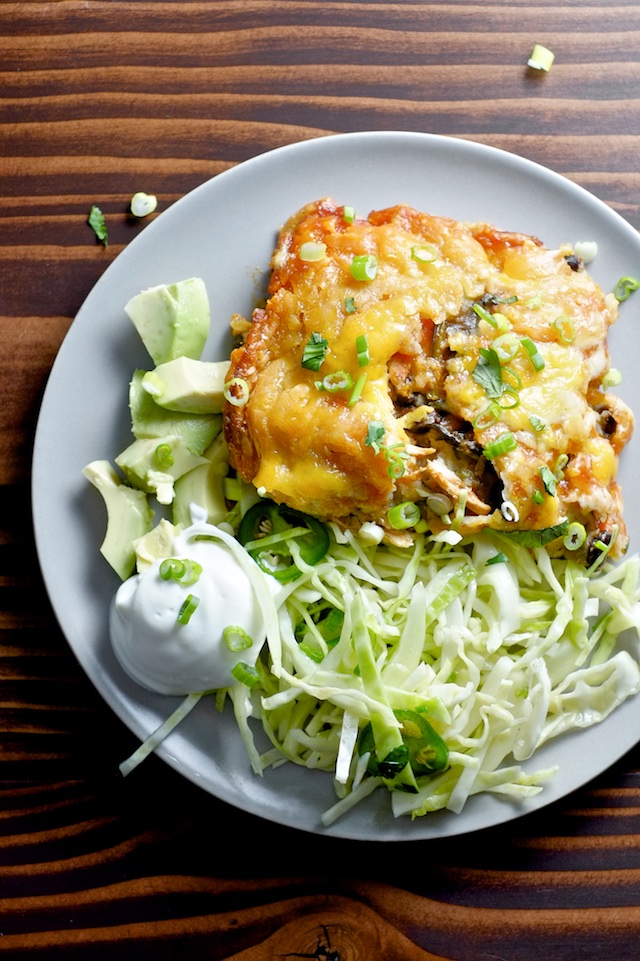
Does anyone in this world not love enchiladas? And with the exception of being sort of heavy, casseroles are objectively awesome. This casserole is comforting, delicious, and packs in a lot of healthy veggies that make it feel a touch lighter than your average “easy cheesy whatever bake”. But make no mistake, it is easy and cheesy and freezer-friendly, and also delightfully, golden-brown-and-deliciously baked.

I have grand plans to get a couple of these assembled and frozen before I go into labor (sometime in the next six weeks (eep!)) because I never get sick of the flavor of enchiladas (you could say I’ve tried) and it’s basically a complete meal on it’s own.

Veggie-Loaded Stacked Enchilada Casserole

It’s also flexible. Don’t like shredded chicken? How about some ground beef? Don’t like black beans, go for pinto. Have some corn you need to use up? Throw it in. You’re a vegetarian? Add more veggies and beans and get rid of the meat. The tortillas and enchilada sauce are responsible for holding everything together and imparting loads of flavor, so substitute veggies and meats as you see fit. Just make sure everything is pleasingly salted before it goes into the oven and you’re in the clear.

Veggie-Loaded Stacked Enchilada Casserole

On the topic of enchilada sauce, I love making my own, and have had success with Rick Bayless’ version (so delicious but kind of a pain) as well as this one from Gimme Some Oven. That said, I feel like making enchilada sauce and putting together a casserole in one night is kind of a lot to ask, so if you have a favorite store-bought version, use it. But next time it seems worthwhile to you to make enchilada sauce, make a double or triple batch and freeze some for later.

Veggie-Loaded Stacked Enchilada Casserole


Veggie Loaded Stacked Enchilada Casserole
makes one 9×13 pan

Ingredients:
1 medium onion, diced
1 medium to large bell pepper, diced
2 medium zucchini, shredded
2 medium carrots, shredded
1 tbsp olive oil
2-3 cups fresh spinach
1-2 cloves garlic, minced
1 tsp cumin
about 1 tsp kosher or sea salt (or more to taste)
3 cups red enchilada sauce (you can make your own or buy it)
1 can black beans
about 1 lb meat of your choice, cooked (shredded chicken, pork, ground beef, etc. all good OR add more veggies and an extra can of beans for a vegetarian version)
10-12 taco sized corn tortillas
2-3 cups shredded cheddar cheese

Method:

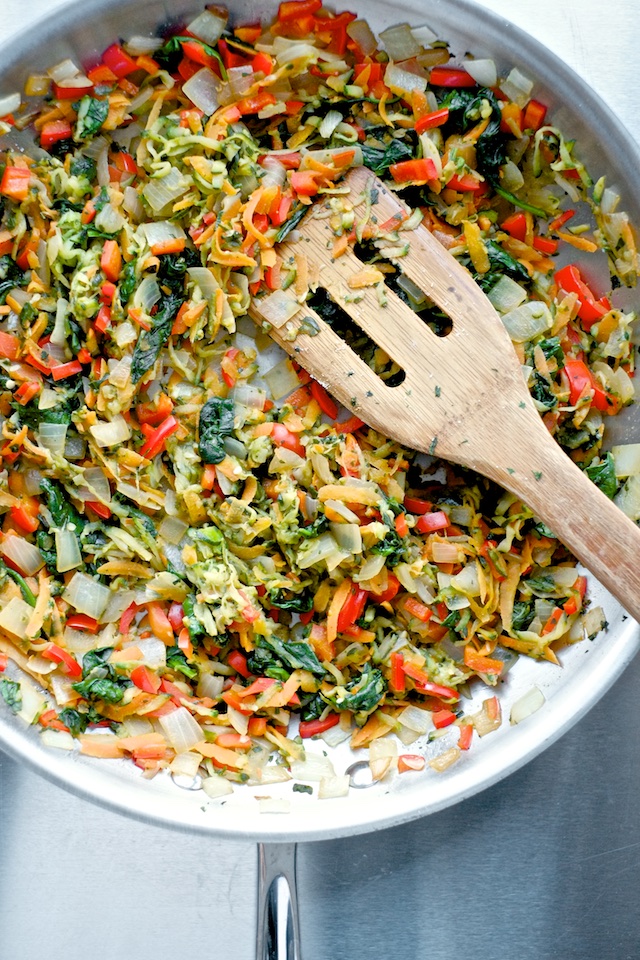
1. Dice onion and pepper and shred zucchini and carrots. Cook with olive oil in a large pan over medium heat until vegetables have softened and given off most of their water. Add garlic, spinach, cumin, and salt, and cook until the spinach is wilted. Taste for seasoning and set aside.

2. Cook the meat you are using if necessary, season to taste with salt and set aside.

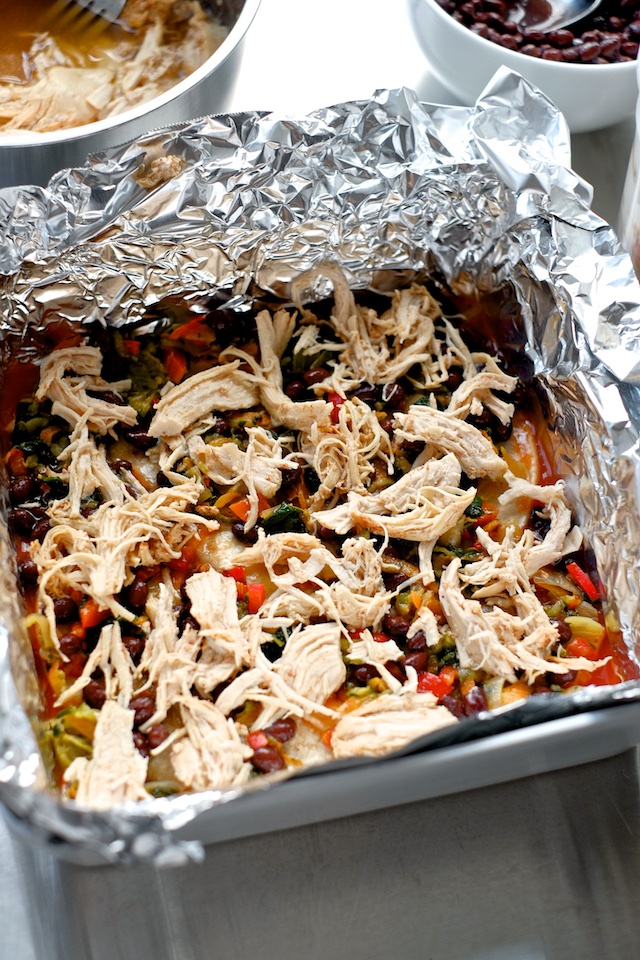
3. In a 9×13 casserole, spread a thin layer of enchilada sauce over the bottom. Use 3-4 tortillas (rip pieces to fill in gaps) and cover the bottom of the pan. If you intend to freeze the casserole, line the pan with foil before you start layering so you can pop the casserole out of the pan after it’s frozen for easier storage.

4. On top of the tortillas, layer 1/3 of the veggies, 1/3 of the meat, 1/3 of the beans, and 1/3 of the remaining enchilada sauce. Top with about 1/4 of the cheese (so you can have the heaviest layer on the top).

5. Repeat the layering process two more times, finishing with the rest of the enchilada sauce and a blanket of cheese.

6. If you want to freeze the casserole for later, cover it with plastic wrap and pop it in the fridge until it’s solid. Then lift the casserole out by the foil and peel the foil away being careful to not leave any shreds behind (heavy duty foil is best for this). Wrap the whole casserole in at least two layers of plastic wrap and label it.

7. If you want to bake and serve immediately, preheat your oven to 350 and bake for 30-40 minutes or until the casserole is bubbly around the edges and hot throughout.

8. To bake from frozen, preheat the oven to 300, pop the casserole back in it’s pan, and bake, covered with foil, for 2 1/2 to 3 hours, or until a thermometer inserted in the center reads 165 F.

cancel reply