I think freezers are seriously underrated. Sure, they keep ice cream icy and can make it possible for “busy moms” to prep a month’s worth of dump meals in one afternoon, but they are more.
Foodies tend to regard freezing as a lesser form of food utilization, more suitable for homesteaders and people wanting to liberate themselves from the kitchen rather than revel in it’s sensory possibilities, but I think they misunderstand.
Freezing is practical, yes, but until you have experienced the joy of a fresh tub of scratch-made pesto with real sun-fed summer basil in the middle of December…or the delight of warming a pot of homemade twenty-something-ingredient curry that tastes as good as if someone else made it (because you barely had to lift a finger this time), you don’t really appreciate what freezers are capable of.
I’m a fan of freezing. It’s a less-technical, more versatile method of preserving food than canning, it helps me minimize food waste, and it keeps me well fed on nights when I’m too busy to make proper food. Freezing is giving gifts to future me. With a little knowledge and a few strategical tweaks to your cooking routine, you can turn your freezer from a parking garage for half-eaten ice cream tubs into a treasure box of culinary possibilities and, yes, weeknight liberation too.

On storage:
Temperatures: the freezer in your house should be at zero degrees Fahrenheit at the highest. Foods you plan to freeze should be brought to room temperature or fridge temperature before being stored in the freezer.
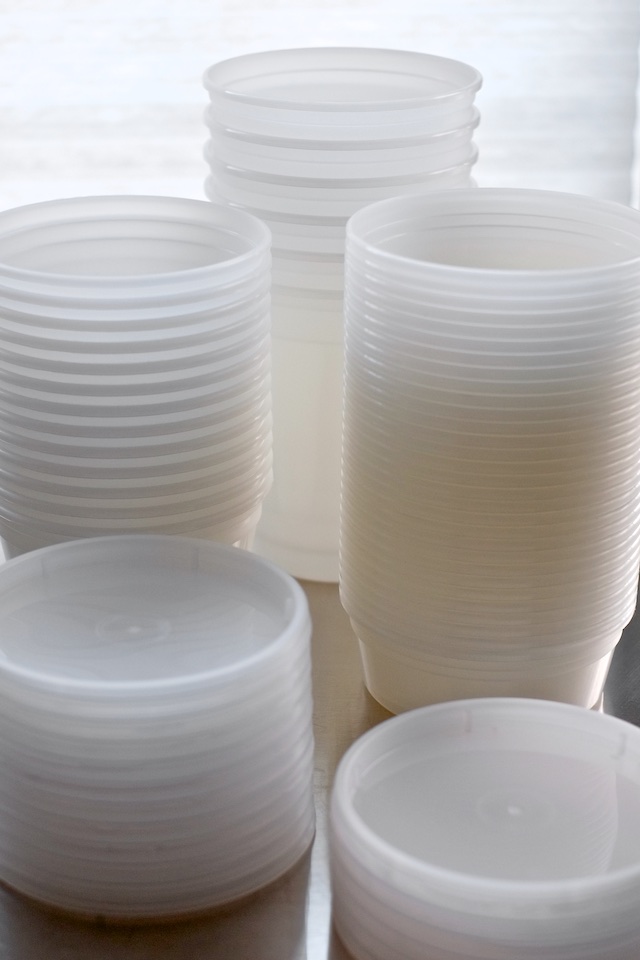
Containers: I threw away all my tupperware and replaced them with these uniform, stackable, one-lid-fits-all containers in cup, pint, and quart sizes. They are dishwasher safe, microwave safe, freezer safe, and recyclable. They come in big packs so I don’t feel bad giving them away or getting rid of them when they get stained. If you don’t feel like you need as many as come in a box, go in with a friend and split the cost. Ziploc brand freezer bags are also totally unbeatable, and can even hold soup or sauce for flat freezing and easy stacking.
Wrappings: I use heavy duty foil and plastic wrap from Costco (that slidey cutter is amazing). Freezer paper is also a thing, but I haven’t bothered. Educate me if you like.
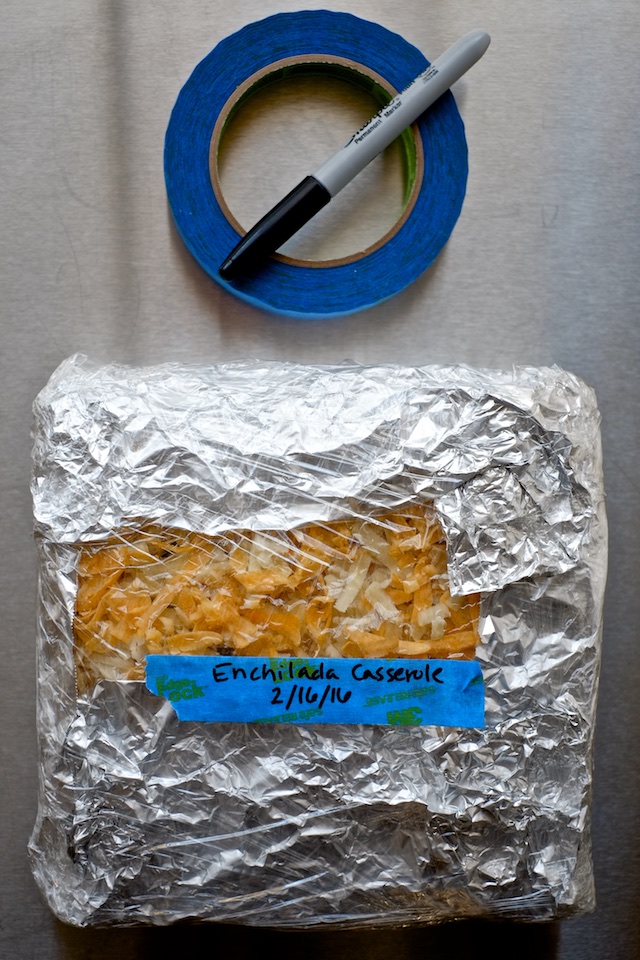
Labels: You can buy labels or you can get a roll of blue painter’s tape and a sharpie (painters tape is the easiest to remove). You do need to label your food though, because you will forget what it is.
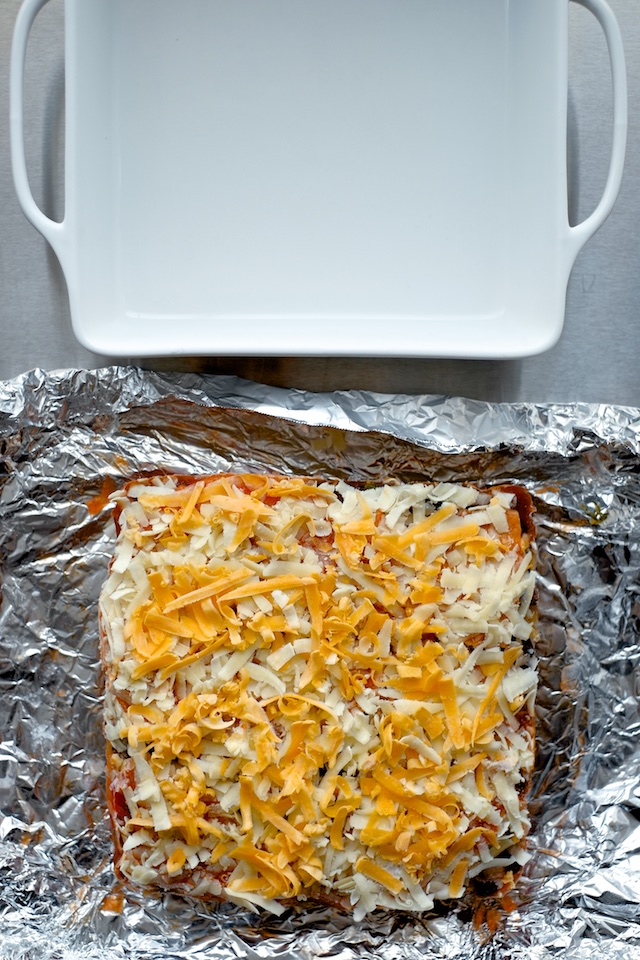
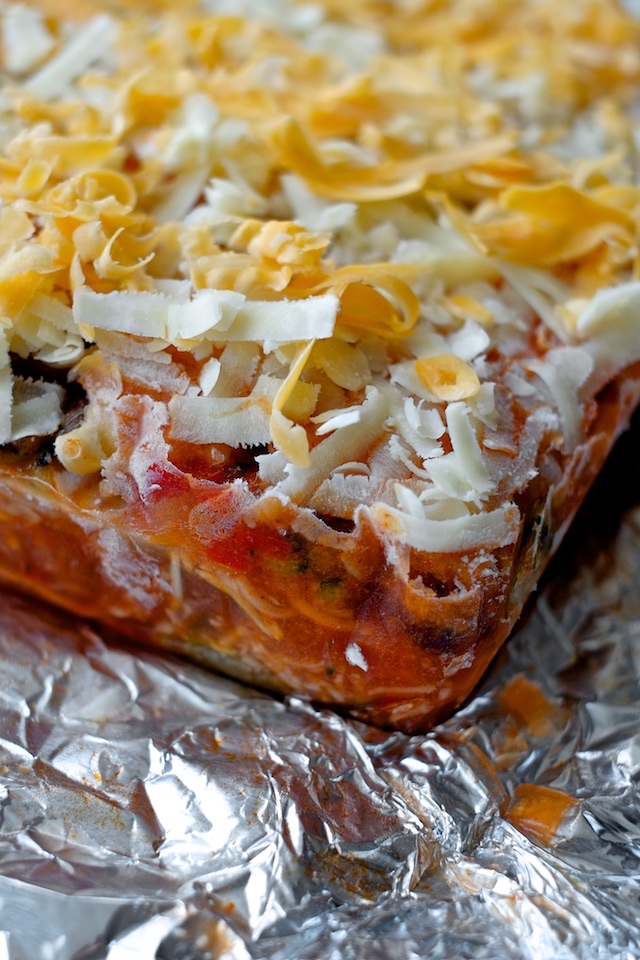
Freezing casseroles: Rather than buy a load of disposable casserole tins, freeze a casserole in your baking dish lined with heavy duty foil. When it’s solid, pop out the casserole in a brick, wrap it up with plastic wrap, label it, and put your clean and unoccupied casserole dish back in the cupboard.

On re-heating:
Be gentle: Letting frozen food defrost overnight in the fridge is usually best. If you don’t have time for that (and sometimes I don’t), take it out of it’s wrapping and defrost in the microwave (using the actual defrost setting). For chilis and soups you can defrost in a saucepan over low heat.
Don’t panic: Some frozen things look ugly when they first start to thaw, but with some stirring and time getting warm they almost always turn out the way they started.
Mind the temperature: Foodsafety.gov says we should all reheat our foods to 165 Fahrenheit, which is the temperature at which most food borne germs instantly die. It’s pretty good advice but I don’t always follow it exactly (though pregnancy has made me somewhat more cautious than usual). Still, if you don’t have a thermometer yet, you should get one and use it when you reheat things, for educational purposes at least.

Foods to avoid freezing:
Some foods fare better than others in the freezer. The following foods tend to do poorly:
Watery/juicy fruits and veggies: unless you plan to cook them or put them in a smoothie, don’t bother trying to freeze any produce with a high water content. Cucumbers, lettuces, fresh spinach and fresh tomatoes, for example, would make a rather mushy salad if they were stored in the freezer. Want a spinach smoothie though? Sure.
Soups that contain pasta: Pasta can technically be frozen successfully, but it’s really tricky when that pasta is suspended in a soup. If you don’t mind super mushy pasta I won’t stop you, but I will maybe judge you. Freeze soup without the pasta and add pasta right before you eat.
Unstable eggy things: Homemade mayo, meringue, hollandaise, sabayon – don’t try to freeze them. They are so delicate to begin with, freezing them will end in runny, splitty, greasy sadness.
Foods to be careful freezing:
Cheesy things: I hear mixed reports about freezing cream cheese, but I keep a batch of frozen cream-cheesy crab dip around for emergencies and it always bakes up nicely. Cheese sauces can be pretty delicate, so if you try to freeze them, reheat them gently. I have had success freezing and reheating potato leek and cheddar soup, but I had to stir it for a while to make it nice and smooth.
Starch thickened soups and sauces: Just be gentle with these. They will almost invariably look fugly when they begin to defrost, but time, gentle heat, and stirring will set them right.
Potatoes: Chunks of cooked potato tend to re-heat with kind of a different texture, but I find that hash brown potatoes do well and mashes only need to be resuscitated with a bit of extra milk or broth.
Strategy:
So now that you know some basics, here are my favorite tips for incorporating freezing into your cooking.
Big Batches: If I’m going to the trouble of making something labor intensive like lasagna or Japanese curry or stew, I always make at LEAST double. That means I can eat it again (and maybe even a few more times) without putting in the work again. It’s like someone else cooked for me which makes it taste even better the second time around.
Strip it Down: What I mean here is that if you are freezing something, freeze it in the most versatile possible format. When I make curry, for example, I will make a huge batch of the sauce by itself. That way I can use the same sauce in the future for chicken curry, pork curry, veggie curry, or whatever I feel like at the time. If you make chili, make a meat-only version so you have the option to use it on chili dogs or add beans and eat it by the bowl.
Focus on Favorites: Most people (especially foodies) have a bit of a mental block about pulling anonymous bags and tubs out of the freezer and trusting them to become dinner. If you freeze foods you didn’t totally love the first time around, I guarantee the leftovers will fall victim to the oubliette effect and be forgotten for eternity. Freeze foods you crave on the reg and don’t waste space on things you “might get around” to “eventually” because you won’t.
Consult Often: Before you plan your meals for the week, check the contents of your freezer for things that have been sitting for a few months and use them for inspiration. Feel yourself reaching for the takeout menus? Check the freezer first.
The most awesome things to freeze:
Cookie dough – pre-portioned into individual balls and bagged so you can have a fresh baked cookie whenever you want.
Pucks of homemade curry paste – freeze them on a piece of parchment paper, uncovered, and pop them into a bag once frozen.
Homemade pesto – I use my one-cup tubs.
Beef stew – freeze it without the potatoes and simmer a spud or two after it’s thawed and reheated.
Lasagna – Brick it and wrap it up.
Hummus – Pint tubs, straight to the fridge.
Tomato sauce made with fresh summer tomatoes – Nothing fresher.
Bolognese – So much work, make it count!
Pie dough – Again with the work, but homemade is definitely better. Might as well make extra.
Scones – Like cookies, you can bake these straight from frozen with a few extra minutes in the oven.
Black bean soup – reheats perfectly.
[…] ingredients for, I recommend making a gigantic batch and freezing the sauce for future dinners (freezing is smart!). I swear, it tastes even better when you have time to forget making […]
The Ultimate Japanese Curry | Sweet Salty Tart — February 24, 2016[…] Cover with plastic and freeze for up to 3 months (brick style is smart!), or bake immediately for 30 minutes in a 350F […]
Real Food Chicken Divan | Sweet Salty Tart — March 18, 2016