Sous Vide Grilled Pork Chops with Garlic Rosemary Butter

Sous Vide Grilled Pork Chops

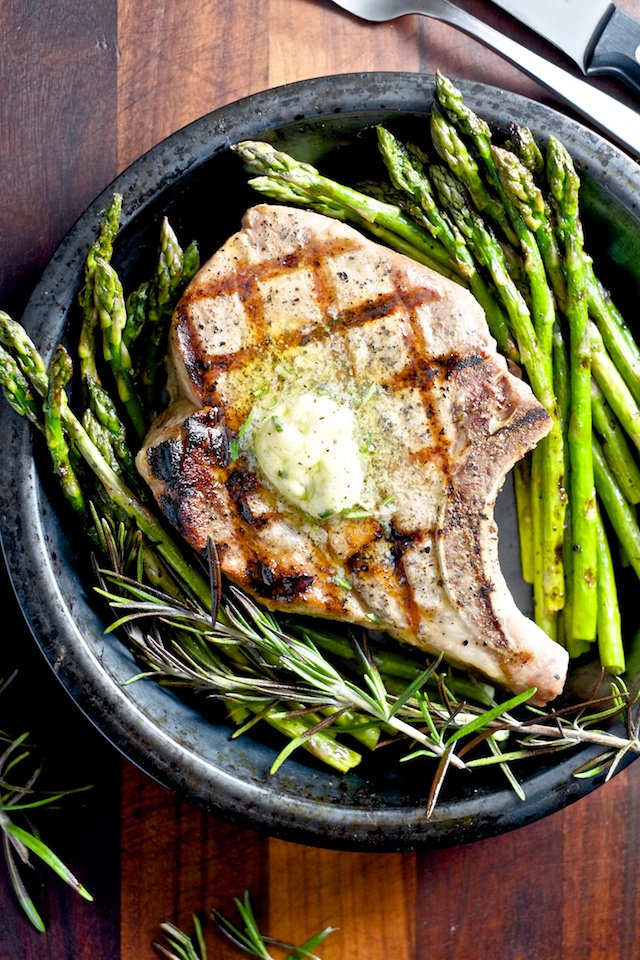
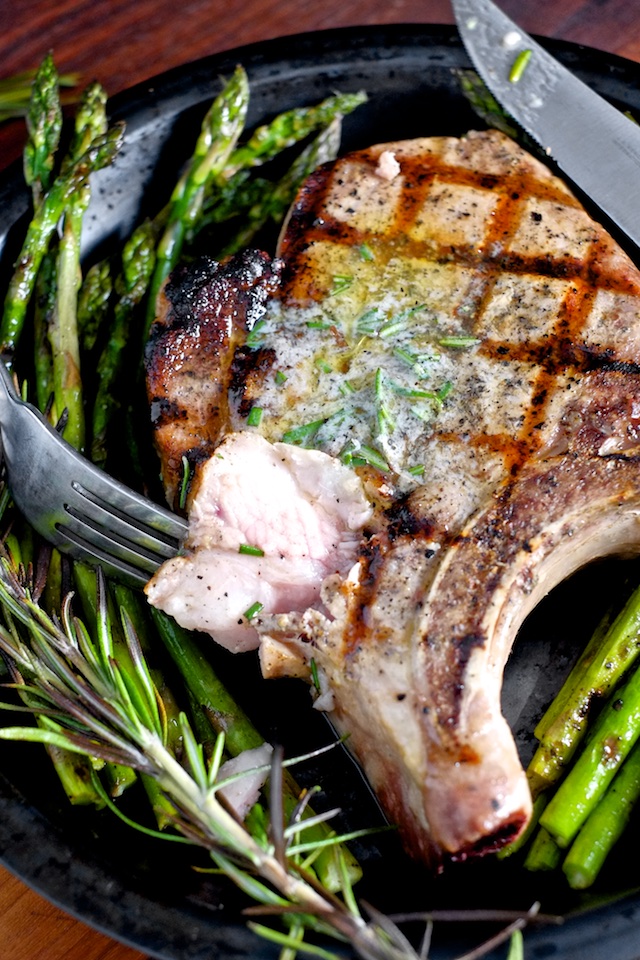
Pork and fire is such a good flavor combination, but the high heat of the grill makes cooking pork tricky, since most people tend to be afraid of undercooking pork and overcooking turns lean pork into shoe leather. How do we get the best of both worlds? Sous vide.

I’ve combined pasteurizing times with the optimal medium-pork temperature for what I think is the best pork chop you can get at home or in a restaurant. A few hours in a water bath followed by a very fast sear on the grill and you have juicy, germ-free, flame-kissed pork chops. It’s a thing of beauty. Gild the lily with garlic-rosemary butter.

Sous Vide Grilled Pork Chops


Sous Vide Grilled Pork Chops with Garlic Rosemary Butter
one pork chop feeds 1-2 people depending on appetites and cuts

Ingredients:
thick cut, bone-in pork chops (about 1 1/2 inches thick)
salt and pepper

Garlic Rosemary Butter (per chop):

2 Tbsp butter
1/2 small clove garlic, grated (or a dash of granulated garlic)
1 tsp fresh rosemary, chopped
black pepper 

Method:

1. Set up your sous vide machine on the edge of a pot or heat-proof vessel. Fill the pot with water and set the circulator for 135F-140F.

2. While the water bath is heating, season your pork chop well on all sides with salt and pepper and transfer it to a zip-top freezer bag. Seal the top except for a small part of one corner, and lower the bag into the water bath until all the air has been allowed to escape through the gap in the top. Seal the bag and drop it in the water bath for 3-4 hours.

3. While the pork chop is cooking, mix together butter, garlic, rosemary, and black pepper and set aside.

4. When the pork chop is finished cooking, preheat your outdoor grill or indoor grill pan over medium-high heat. Grill the pork chop until well-marked on both sides (just a minute or two) and serve topped with rosemary butter.

cancel reply

Sous Vide Grilled Burgers

Sous Vide Grilled Burgers

Burgers are awesome and American and, sadly, one of the more risky things to eat at any temperature under “well-done”. Germs that contaminate beef tend to reside on the outside of the meat, so steak that gets seared on both sides but is medium-rare in the middle is significantly less risky to eat than ground beef, which allows all the germs to get mixed into the center.

Sous Vide Grilled Burgers

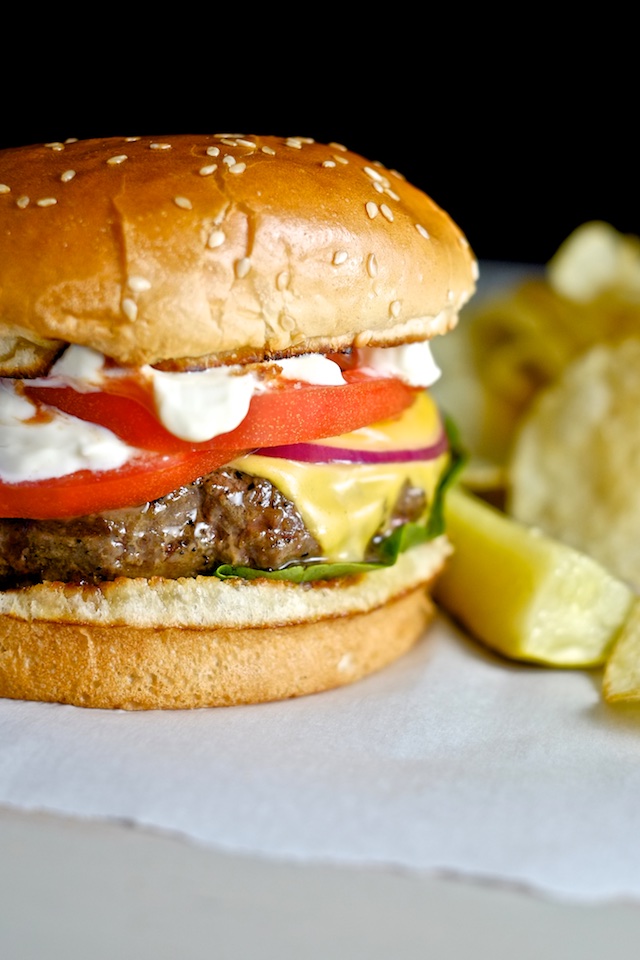
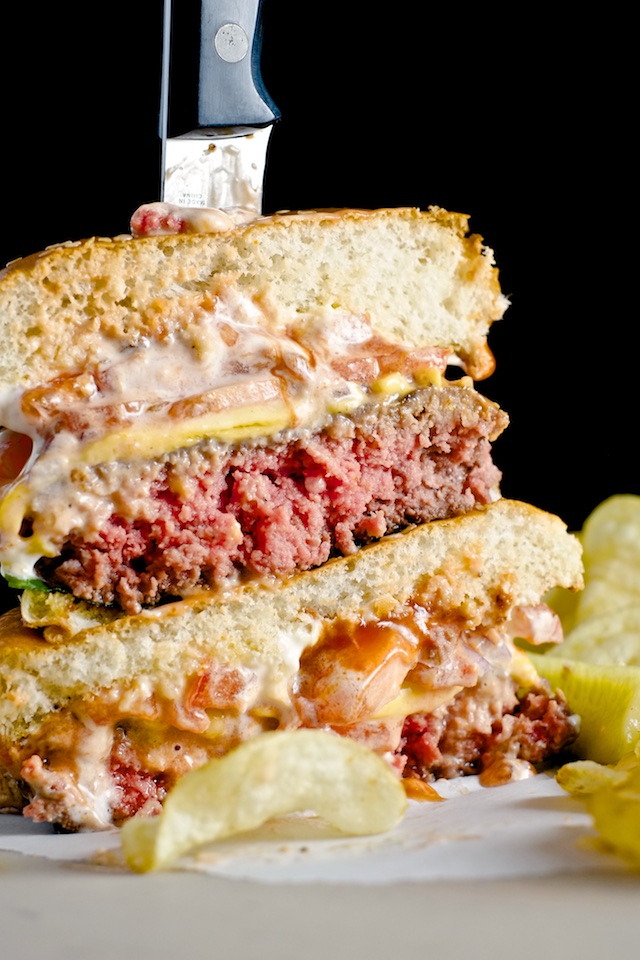
But you like bloody burgers! I get it. A burger is so much more a burger when it’s juicy and sloppy and red in the middle, but I have to admit it freaks me out a little. So I harness the power of sous vide to pasteurize my burger patties while keeping them a perfect, drippy, obscene medium rare. Pretty cool huh?

Sous Vide Grilled Burgers


Sous Vide Burgers
adapted from Serious Eats (my favorite food website) with pasteurization reference to my favorite sous vide chart here

Special Equipment:
sous vide machine
zip top quart sized freezer bags
outdoor grill or indoor grill pan

Ingredients:
ground beef, around 1/3 pound per person
salt and pepper
American cheese, sliced (from the deli, not the wrapped “singles”, 1-2 slices per person)
tomato (1-2 slices per person)
red onion, thinly sliced (a few rings per person)
lettuce (one or two leaves per person)
mayo
ketchup
pickle spears to serve on the side or coins to put on top
burger buns, one per person

Method:

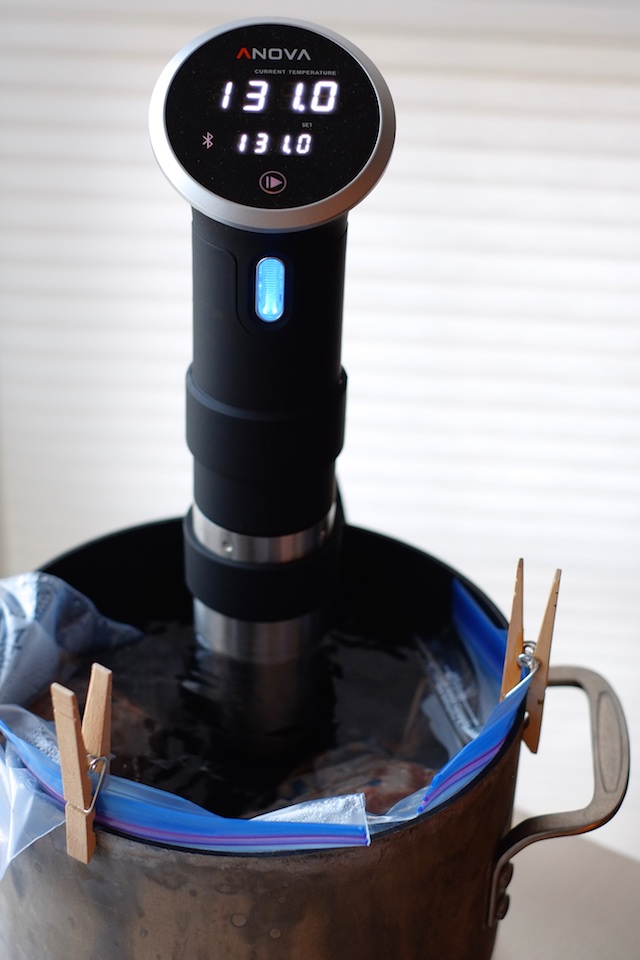
1. Get the sous-vide machine clamped to the side of a large pot or other heatproof vessel. Fill the pot with water and set the temperature to 131F-137F for a “medium” burger. I set mine to 131 for the burger pictured. Crazy how red it looks, right? That’s because ground beef gets more oxygen than whole cuts of meat, so it will always be redder. No need to freak out. 131F is really the lowest temperature you can use if you are trying to pasteurize a patty this thick. Any lower and the length of time required for the center of the patty to be sufficiently heated through would put us in the “danger zone” for food safety times. As long as you are above 131F you can let those fatty patties sit in their water bath for as much as 4 hours without losing quality.

2. While your sous vide bath preheats, get your beef divvied up into nice, thick patties (up to about three centimeters or one inch) that are just a smidgen larger than the buns you plan to use. It’s not worth using the sous-vide process if your burgers are much thinner than 3/4 inch, so keep that in mind. Salt and pepper the outsides and gently lay them in your freezer bags.

3. Seal the bags up most of the way, leaving a tiny corner open on one side. Remove the air from the bag by lowering it into the hot water bath and allowing air to escape from the open corner. When as much of the air as possible has been removed, seal up the last corner.

4. Arrange your bags in your water bath and clip the sides of the bag to the pot if necessary to keep them bumping around too much. Cook for 3-4 hours to pasteurize fully.

5. When the patties are done, let them rest for ten minutes while you preheat your grill (or indoor grill pan) over medium-high heat.

6. Cook your patties until well-marked on one side (maybe 60-90 seconds), flip once, top with cheese, and cook until marked on the other side. Remove to a plate and get ready to assemble.

7. Toast burger buns if you like and layer on lettuce, cooked burger patties with melted cheese, onion, tomato, ketchup, and mayo. Add pickles if you like. Eat.


  1. I can't believe we haven't tried burgers with our sous vide! Yum!

    Courtney — July 4, 2016
    1. reply
cancel reply

Do You Need a Sous Vide Machine?

Do You Need a Sous Vide Machine?

So there’s this new (-ish) fancy cooking tool called a “sous vide” machine. At first blush it seems like the kind of tool only a food nerd would own (I’ve had mine for about a year) but I have my fingers crossed that this way of cooking goes mainstream. I read somewhere recently that millennials are watching more food-centric TV and spending more money on food than previous generations but, despite the food obsession, we cook less. I think the combination of food TV and lots of dining out might have increased our expectations for what qualifies as “good” food while simultaneously knocking our kitchen confidence. We can track down an excellent food truck and order an artfully balanced series of small plates, but when it comes to making a nutritious and practical weeknight dinner from scratch…maybe not so much.

Besides, while cooking has the potential to lower our grocery bills, we all know that what cooking saves us in cash it costs us in skill development time, practical prep time, and cleanup time – and that’s when our kitchen creations actually turn out edible. What has me so excited about sous vide is it’s ability to reduce if not eliminate a lot of these problems. Sous vide machines enable top-chef level cooking with little to no skill required, less prep, and less cleanup.

So, what is sous vide?

Sous vide is the French term for cooking “under vacuum”, meaning in vacuum-sealed bags. I know, it sounds weird, but the bag part isn’t what makes it awesome. The real magic is in the temperature-controlled water bath into which these bags are submerged.

So, instead of trying to cook a piece of meat to medium-rare temperature of 135 by chucking it in a 500 degree pan and trying to flip it and take it out before it burns (but not a moment before it cooks juuuust enough) you seal your steak in a zip top bag, remove as much air as possible (it’s easy, I promise, no vacuum sealer necessary), and submerge it in a 135 degree water bath for anywhere between 45 minutes and 4 hours (or more) which makes it impossible to screw up. A quick sear in a skillet with some butter after the bath (for flavor) and you have a perfect protein specimen.

Who is it for?

Egg-lovers: Eggs are temperamental little things that really benefit from the precision and delicate handling that sous vide can provide. Those of you that especially love soft-cooked eggs or playing with custards will really enjoy what you can do with a sous vide machine.

Cash-strapped carnivores: Have you ever bought a really nice steak or roast to cook at home and completely torched it? It’s the saddest waste of money. With sous vide it’s really easy to avoid overcooking as long as you keep your sear times quick.

Or, are you too poor for nice steak to begin with? Well, one of sous-vide’s coolest tricks is it’s ability to combine temperature precision with slow-cooking. Cheaper, tougher cuts of meat that require lots of time to get tender will invariably be well-done by the time they are edible (with traditional cooking methods), but with sous vide you can take a tough cut of meat, cook it long enough to break down the connective tissue that makes it chewy, AND keep it medium-rare. It’s the craziest budget hack and it’s really, wonderfully delicious. Check out a slow-cooking medium-rare demo (with sous vide short ribs) here.

Germaphobes: The FDA recommends it’s temperatures for safe cooking because those are the temperatures at which germs instantly die in various proteins. What I didn’t realize was that pasteurization can be achieved at lower temperatures as long as the temperatures are precise and you allow adequate time for the germs to be killed off.

Being pregnant has motivated me to examine the possibilities of sous vide for pasteurization, and it’s been awesomely rewarding. With the help of some really solid research and handy charts by Douglas Baldwin I was able to pasteurize my own eggs for over-easy cooking (normally forbidden for pregos) eat medium-rare steak and even medium-rare pork with total peace of mind after following proper pasteurization temperatures and times. 

Who is it not for? 

I’ve heard that vegetables can be taught to do some cool things with sous vide, but if I’m honest I don’t know if it’s worth the money for the average (non-food-geek) vegetarian or vegan. Unless you’re really into eggs.


Let’s get real:

It’s not cheap: The most inexpensive non-DIY sous vide machine on the market is the Anova which costs $160 at Target. I feel like it’s worth it if it gets you cooking more and losing less food to over/under cooking, but I get that it’s an investment.

You do need a large pot, a skillet, maybe a broiler, and if you’re into it, a torch: You’ll need a big pot or heatproof vessel to use as a water bath, naturally, but it doesn’t have to cost a lot.

The one drawback with sous vide cooking is the inability to get any color on the proteins you cook. Color = flavor, so opting out for the sake of ease would be tragic (unless you’re only planning on making eggs). This is why you’ll need to invest in and learn your way around quick-browning methods like searing in a skillet, broiling, and if you’re feeling nerdy: torching.

You don’t need a vacuum sealer: Even though the name means “under vaccuum”, you don’t need a vacuum sealer to successfully cook sous vide. You can use something called the “water displacement method” which means you put your protein in a heavy duty zip-top bag, seal it most of the way, submerge the bag in water up to the unsealed corner, and then seal it up by hand after as much air as possible has worked its way out. You’ll get 95% of the air out of the bag with water displacement so it will say submerged during cooking and as long as it stays sealed, it’s just as safe as the vacuum.


Great links for getting started:

-I used the Serious Eats guide to sous vide cooking when I was getting started, and I refer to it often.

-The other page I use all the time: Douglas Baldwin’s sous vide guide and pasteurization tables.

-And lastly, my absolute favorite thing to cook in the sous vide machine: RIBS.

cancel reply

One-Pot Three-Cheese Mac

One-Pot Three-Cheese Mac

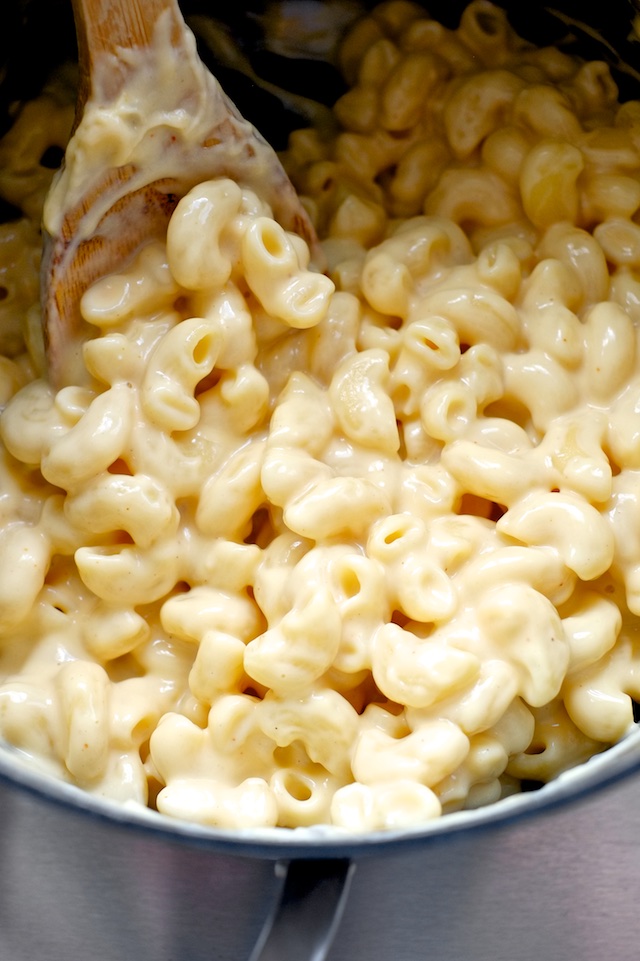
So normally when I make macaroni and cheese, I do the following: make a béchamel sauce in a big pan, melt some cheeses into it, boil a separate pot of salted water, cook my pasta, drain it, and stir it into the cheese sauce. It’s not a hugely involved process, but it does dirty two cooking vessels. Three if I decide I want to bake it with a crispy top.

I already knew one pot pasta was a thing, and I’d even successfully macaroni and cheese’d some gluten free pasta back in the day, but for some reason I’d never tried one-potting my normal macaroni and cheese recipe. I think I assumed one-pot macaroni wouldn’t be as good as the traditional method. But GUESS WHAT…

One-Pot Three-Cheese Mac

It was better.

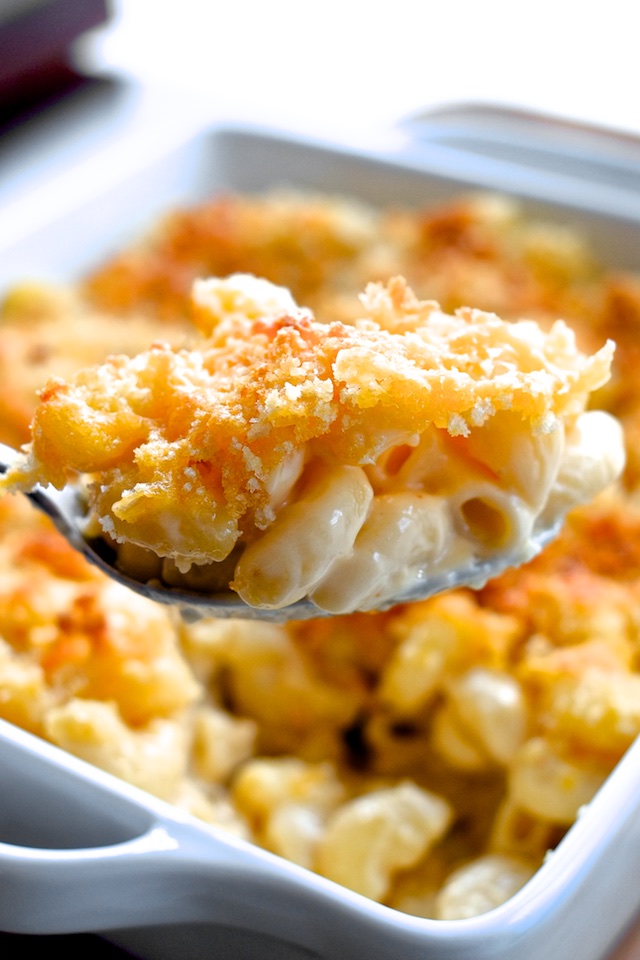
Flavor-wise I couldn’t really tell a difference between my béchamel cheese sauce version and the one-pot method, but texture-wise, the one pot version took the cake. It’s smoother and creamier somehow, and it’s LESS WORK.

So I’m ruined. I think I’ve made my last batch of old-school macaroni and cheese because why would I go back? When this takes a grand total of 10 minutes to make, dirties fewer dishes and tastes amazing? My eyes have been opened and my slapdash weekend lunches will never be the same because I know now that I’m only ever 10 minutes, a box of noodles, and some shredded cheese away from real comfort food.

One-Pot Three-Cheese Mac


One-Pot Three-Cheese Mac
serves about 6

Ingredients:
1 lb elbow macaroni
2 cups milk (plus a little extra on standby)
2 cups broth (chicken or veggie)
2 cups cheddar cheese
1 cup swiss or gruyere cheese
1/2 cup parmesan cheese
1/2 tsp white pepper
1/4 tsp dry mustard
salt, to taste

optional crumb topping:
3-4 Tbsp butter, melted
1/2 cup panko breadcrumbs
1/2 cup shredded cheddar


Method:
1. In a large pot over medium-high heat, combine dry pasta with milk and broth. Bring to a boil and stir occasionally until the pasta is cooked.

2. While you wait for the pasta to cook, between stirs, shred cheddar cheese, gruyere, and parmesan.

3. When the pasta is tender, most of the milk and broth will be absorbed. If the pasta looks too dry or too wet, add a splash of milk or scoop out a tiny bit of the liquid with a spoon (easy fix, right?) Keep in mind that adding cheese will thicken any liquid that is in the pot by quite a bit.

4. Remove the pot from the heat and while the pasta is still very hot, add cheddar, gruyere, and parmesan a handful at a time, stirring between each addition until the cheeses are melted. Add pepper and mustard and salt, to taste.

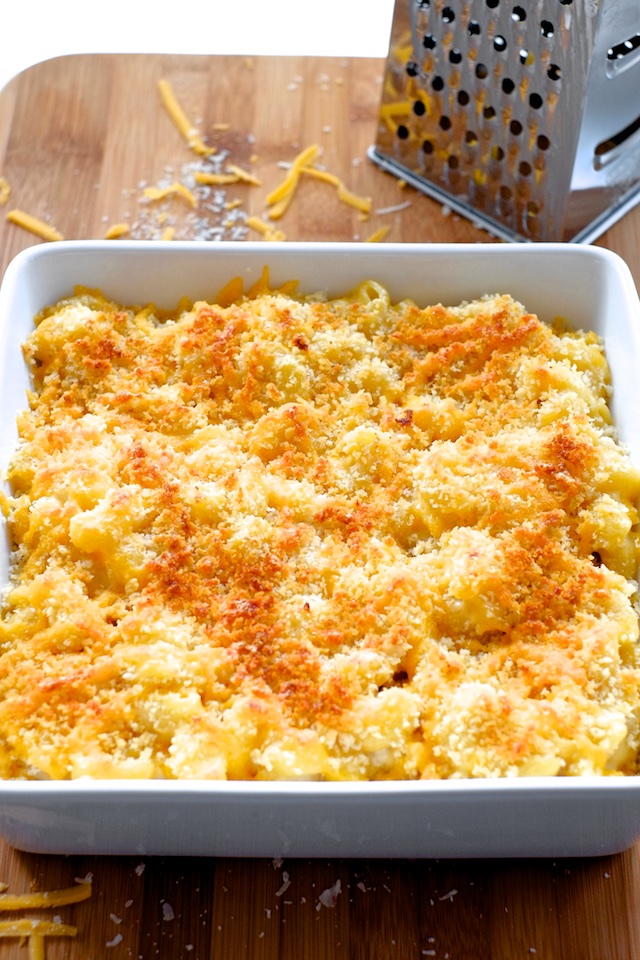
5. If you want a crunchy-topped mac casserole, transfer the macaroni and cheese to a baking dish. Combine melted butter, breadcrumbs, and cheddar and sprinkle over the top of the macaroni and cheese. Broil for a few minutes or until the breadcrumbs are toasted and the cheese is melted.

  1. My mouth is watering!

    Lisa — June 7, 2016
    1. reply
  2. Je souhaite recevoir des messages pour ce site...

    Khadija — October 23, 2016
    1. reply
cancel reply

Baby Stuff

Margot

So I went and had a baby. Her name is Margot.

It’s not really my style to share birth stories on this blog, but I will say that pushing a human out of my body was transformative and humbling in every possible way. And that I’m obsessed with the little nugget, partly because she’s adorable and partly because her feeding/burping/changing/sleeping (lol, not sleeping) schedule necessitates constant attention.

I deserve a cookie because I was disciplined enough to bank some blog posts for a few months worth of content while I’m figuring out how to do life with an infant. Some of it is actually pretty good so I’m excited to share. And I’ll try to Instagram from time to time while I’m in these hazy, gurgling, poopy trenches, but I promise nothing.

Next week: one pot mac and cheese. Hope you like it!

  1. You DO deserve a cookie!

    Amy — June 5, 2016
    1. reply
  2. i love me a good birth story—yay for babies!!

    hannah — June 6, 2016
    1. reply
cancel reply

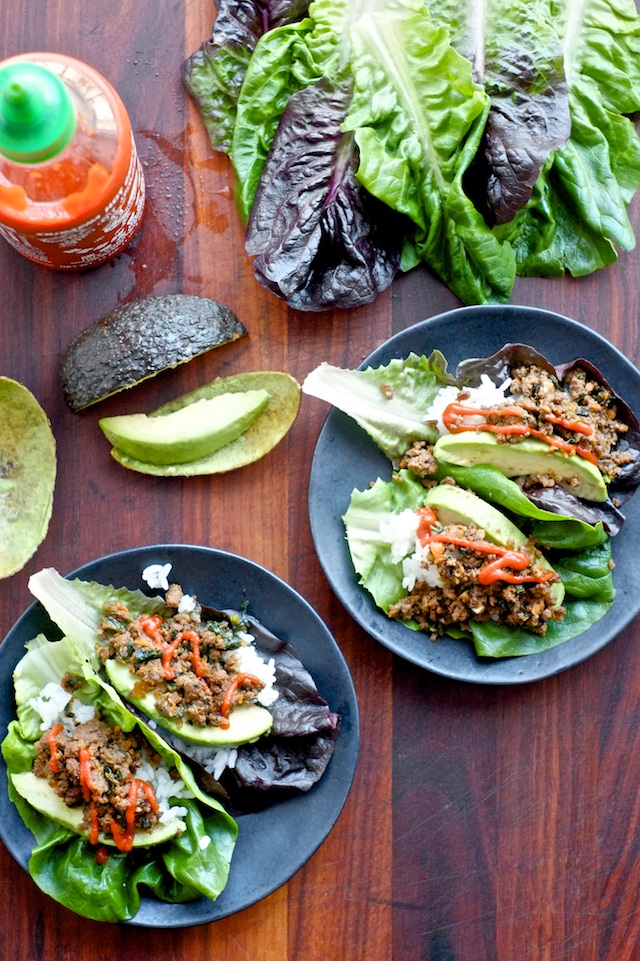
Freezer-Friendly Korean Beef Lettuce Wraps

Freezer-Friendly Korean Lettuce Wraps

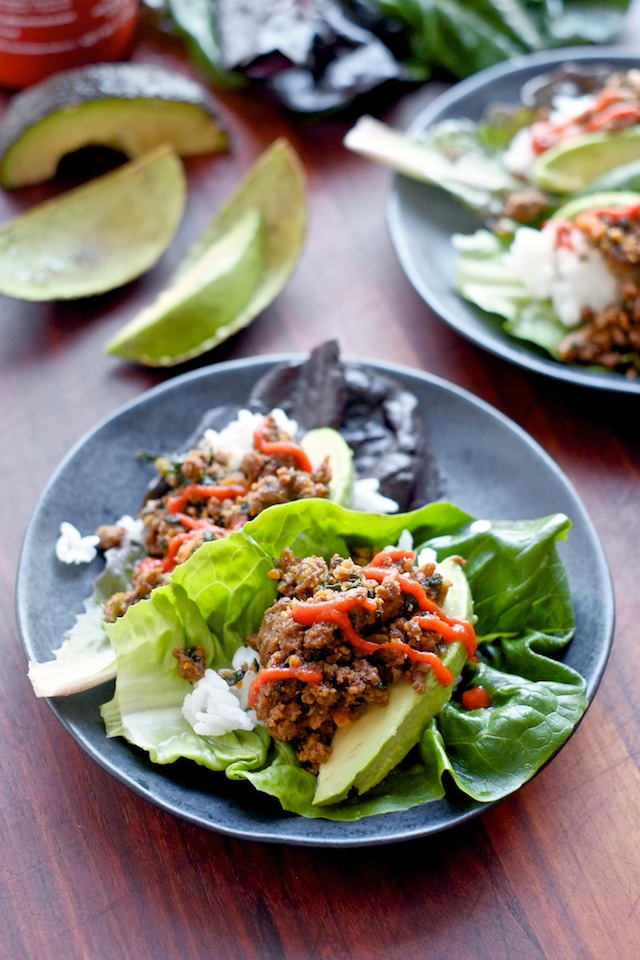
When I say “freezer friendly lettuce wraps” I mean the filling, of course. Do not expect to be able to freeze a leaf of lettuce and have it come out the other side remotely resembling lettuce. That said, if you make this filling in advance and freeze it, one day after you stick it in in the fridge to thaw you’re a washed lettuce leaf and a sliced avocado away from dinner.

You need one special ingredient for this recipe: gochujang (Korean red pepper paste) but the stuff  is delicious, lasts forever, and has the potential to be quite versatile. I was introduced to and quickly became obsessed with the Korean sesame/garlic/gochujang flavor combo while in Tanegashima, where we had a few Korean barbecue places within walking distance of our hotel. Gah, I miss real Korean barbecue (or, er…the Japanese interpretation we ate). But these lettuce wraps help.

I do hope I have time to make another batch and stick it in the freezer before I go into labor and (I’m assuming) neglect my kitchen for a who knows how long.

Freezer-Friendly Korean Lettuce Wraps


Freezer-Friendly Korean Beef Lettuce Wraps
serves about 6

Ingredients:
1 Tbsp neutral oil, like peanut
1 medium onion, diced small
1 box mushrooms (button, baby bella, shiitake, about 10 oz)
2-3 small carrots
2-3 cloves garlic, minced
1 lb ground beef
1 cup frozen spinach (I like the leaf spinach because you can measure out as much or as little as you want without thawing the whole package)
1 1/2 Tbsp gochujang (Korean red pepper paste)
3 Tbsp soy sauce
1 Tbsp toasted sesame oil
2 tsp honey
4 green onions, sliced
leaf lettuce or romaine, for wrapping
avocado slices
sriracha, for topping
optional: rice


Method:

1. In a large pan over medium heat, cook diced onion until translucent. Chop mushrooms and carrots very small (I like to use a food processor to make quick work of it) and cook them along with the onion. When most of the water has cooked out, add garlic and cook until fragrant.

2. Add ground beef and brown it in the same pan as the veggies, breaking up while cooking. When the beef is cooked, add spinach (straight from the freezer is fine) and thaw in the pan, stirring occasionally.

3. Add gochujang, soy sauce, sesame oil, and honey to the pan and stir until well incorporated. Taste for seasoning and add more soy sauce if it’s not salty enough for you.

4. To freeze for later serving, transfer the cooked filling to a freezer-friendly container, allow it to cool, label and store it in the freezer for up to 3 months. The night before you are ready to eat it, transfer the container from the freezer to the fridge to thaw. Reheat the filling in the microwave or in a pan until it reaches 165F.

5. Top with sliced green onion and serve with lettuce, sliced avocado, sriracha, and rice.

cancel reply

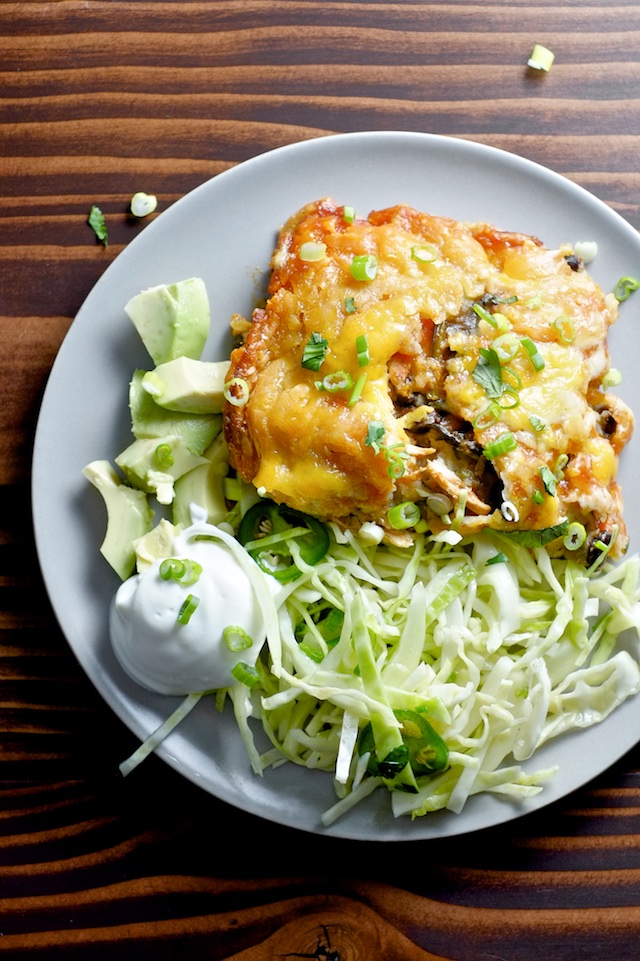
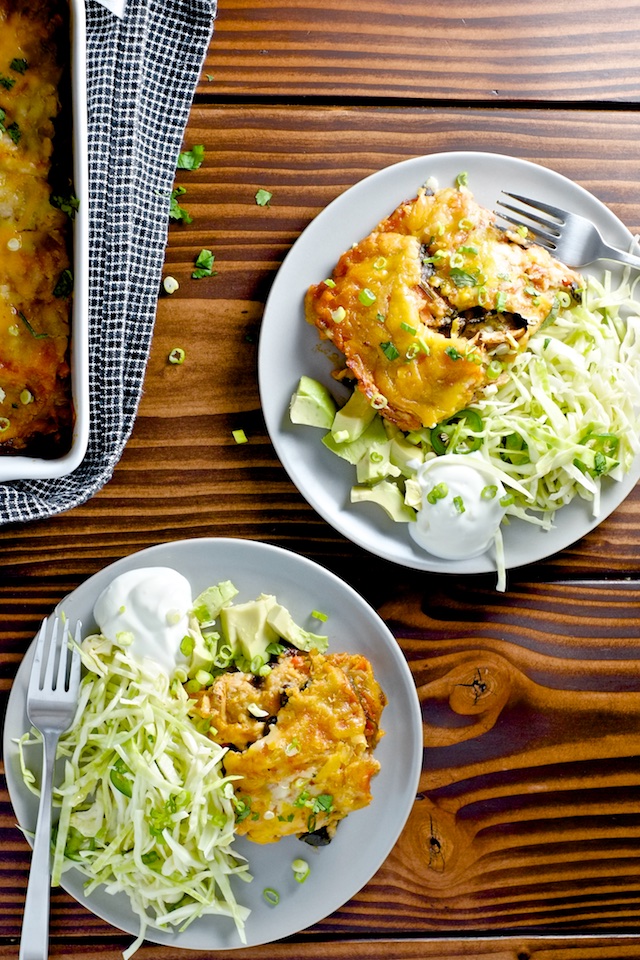
Veggie-Loaded Stacked Enchilada Casserole

Veggie-Loaded Stacked Enchilada Casserole

Does anyone in this world not love enchiladas? And with the exception of being sort of heavy, casseroles are objectively awesome. This casserole is comforting, delicious, and packs in a lot of healthy veggies that make it feel a touch lighter than your average “easy cheesy whatever bake”. But make no mistake, it is easy and cheesy and freezer-friendly, and also delightfully, golden-brown-and-deliciously baked.

I have grand plans to get a couple of these assembled and frozen before I go into labor (sometime in the next six weeks (eep!)) because I never get sick of the flavor of enchiladas (you could say I’ve tried) and it’s basically a complete meal on it’s own.

Veggie-Loaded Stacked Enchilada Casserole

It’s also flexible. Don’t like shredded chicken? How about some ground beef? Don’t like black beans, go for pinto. Have some corn you need to use up? Throw it in. You’re a vegetarian? Add more veggies and beans and get rid of the meat. The tortillas and enchilada sauce are responsible for holding everything together and imparting loads of flavor, so substitute veggies and meats as you see fit. Just make sure everything is pleasingly salted before it goes into the oven and you’re in the clear.

Veggie-Loaded Stacked Enchilada Casserole

On the topic of enchilada sauce, I love making my own, and have had success with Rick Bayless’ version (so delicious but kind of a pain) as well as this one from Gimme Some Oven. That said, I feel like making enchilada sauce and putting together a casserole in one night is kind of a lot to ask, so if you have a favorite store-bought version, use it. But next time it seems worthwhile to you to make enchilada sauce, make a double or triple batch and freeze some for later.

Veggie-Loaded Stacked Enchilada Casserole


Veggie Loaded Stacked Enchilada Casserole
makes one 9×13 pan

Ingredients:
1 medium onion, diced
1 medium to large bell pepper, diced
2 medium zucchini, shredded
2 medium carrots, shredded
1 tbsp olive oil
2-3 cups fresh spinach
1-2 cloves garlic, minced
1 tsp cumin
about 1 tsp kosher or sea salt (or more to taste)
3 cups red enchilada sauce (you can make your own or buy it)
1 can black beans
about 1 lb meat of your choice, cooked (shredded chicken, pork, ground beef, etc. all good OR add more veggies and an extra can of beans for a vegetarian version)
10-12 taco sized corn tortillas
2-3 cups shredded cheddar cheese

Method:

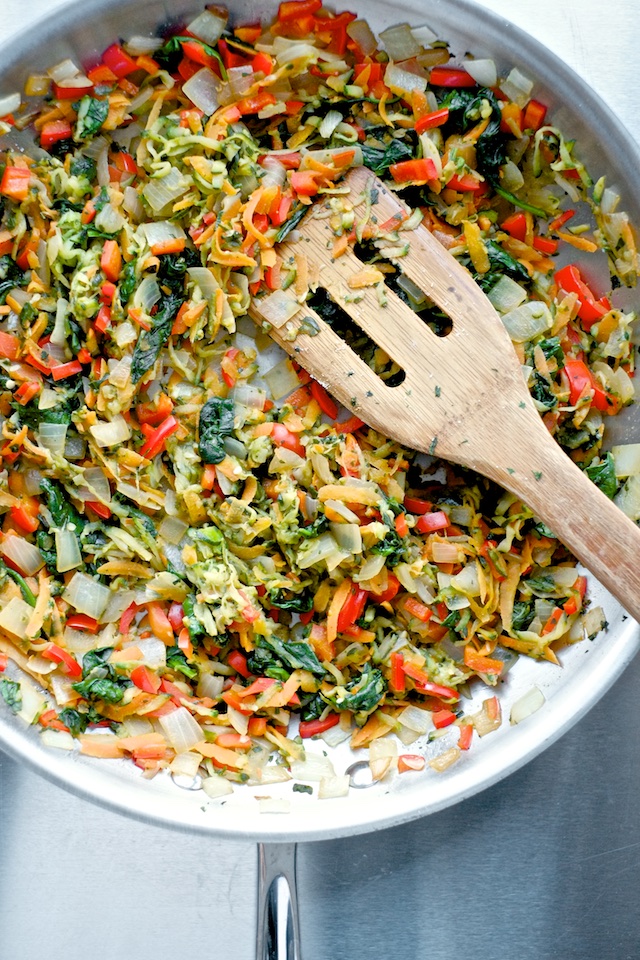
1. Dice onion and pepper and shred zucchini and carrots. Cook with olive oil in a large pan over medium heat until vegetables have softened and given off most of their water. Add garlic, spinach, cumin, and salt, and cook until the spinach is wilted. Taste for seasoning and set aside.

2. Cook the meat you are using if necessary, season to taste with salt and set aside.

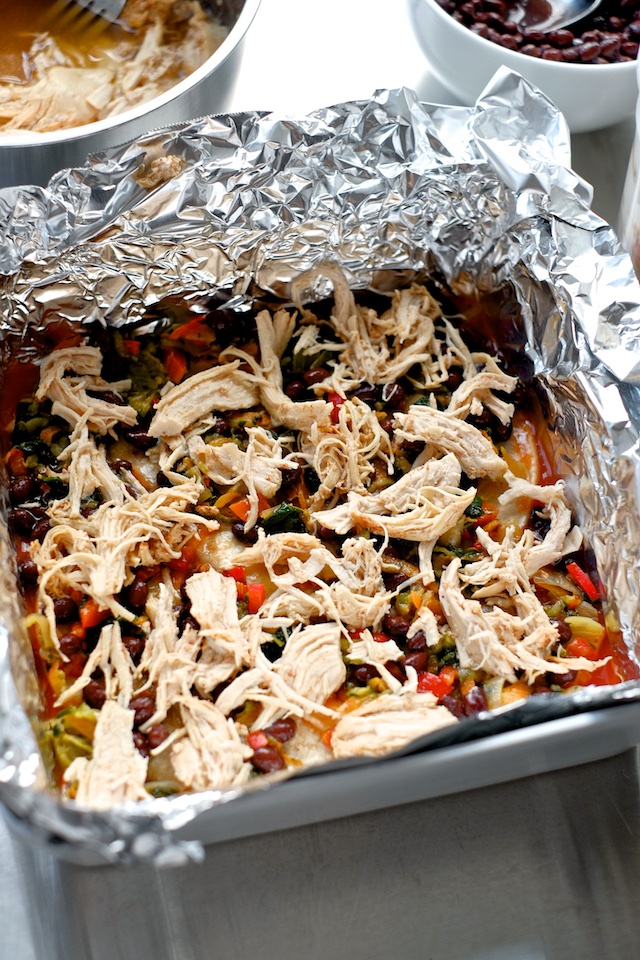
3. In a 9×13 casserole, spread a thin layer of enchilada sauce over the bottom. Use 3-4 tortillas (rip pieces to fill in gaps) and cover the bottom of the pan. If you intend to freeze the casserole, line the pan with foil before you start layering so you can pop the casserole out of the pan after it’s frozen for easier storage.

4. On top of the tortillas, layer 1/3 of the veggies, 1/3 of the meat, 1/3 of the beans, and 1/3 of the remaining enchilada sauce. Top with about 1/4 of the cheese (so you can have the heaviest layer on the top).

5. Repeat the layering process two more times, finishing with the rest of the enchilada sauce and a blanket of cheese.

6. If you want to freeze the casserole for later, cover it with plastic wrap and pop it in the fridge until it’s solid. Then lift the casserole out by the foil and peel the foil away being careful to not leave any shreds behind (heavy duty foil is best for this). Wrap the whole casserole in at least two layers of plastic wrap and label it.

7. If you want to bake and serve immediately, preheat your oven to 350 and bake for 30-40 minutes or until the casserole is bubbly around the edges and hot throughout.

8. To bake from frozen, preheat the oven to 300, pop the casserole back in it’s pan, and bake, covered with foil, for 2 1/2 to 3 hours, or until a thermometer inserted in the center reads 165 F.

cancel reply

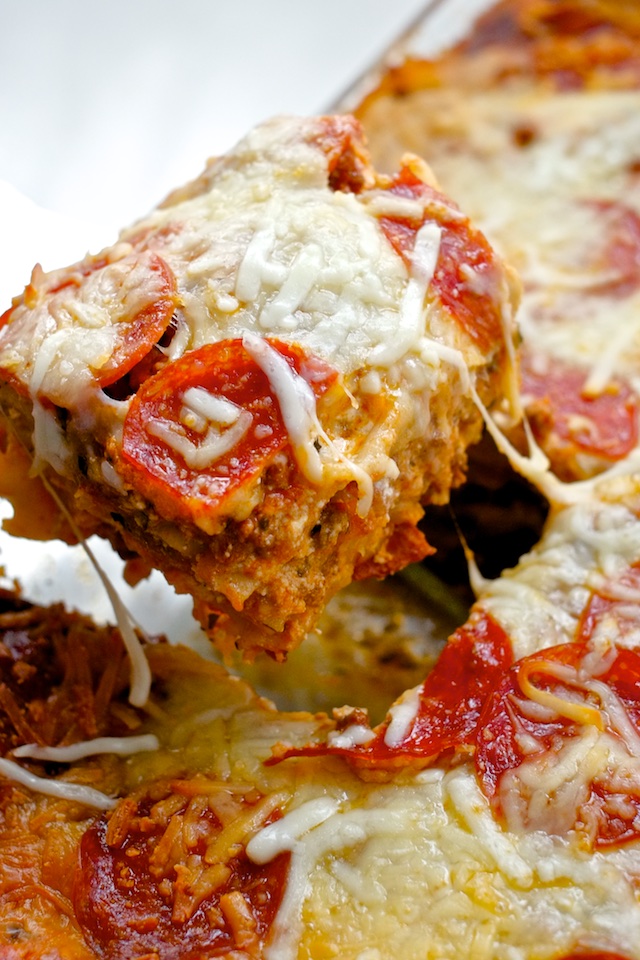
Pepperoni Lasagna

Pepperoni Lasagna

I got the idea for this over-the-top recipe from my very classy and sophisticated grandmother. My straightforwardly-palated grandpa doesn’t care for Italian sausage (it’s that fennel flavor) but beef-only lasagna is kinda boring, so my grandma cleverly and sneakily grinds pepperoni in a food processor and hides it in the sauce with the beef. If you have lasagna at her house you might not realize there is pepperoni in it, just that hers is somehow tastier than most. I am somewhat less classy and sophisticated than my grandmother, so I splash the pepperoni all over the top of my lasagna and turn it into it’s own deliciously pedestrian thing.

Pepperoni Lasagna

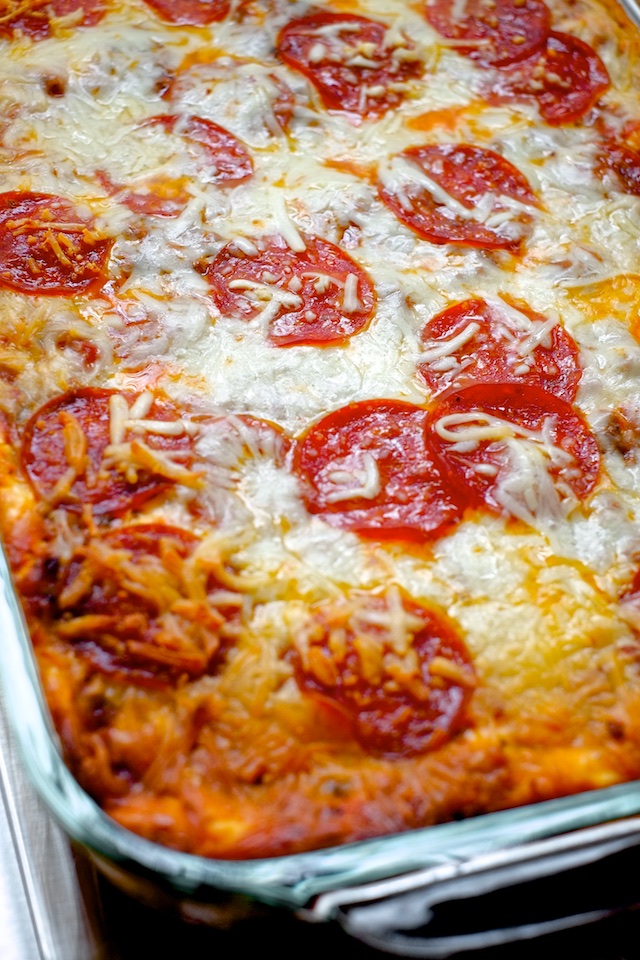
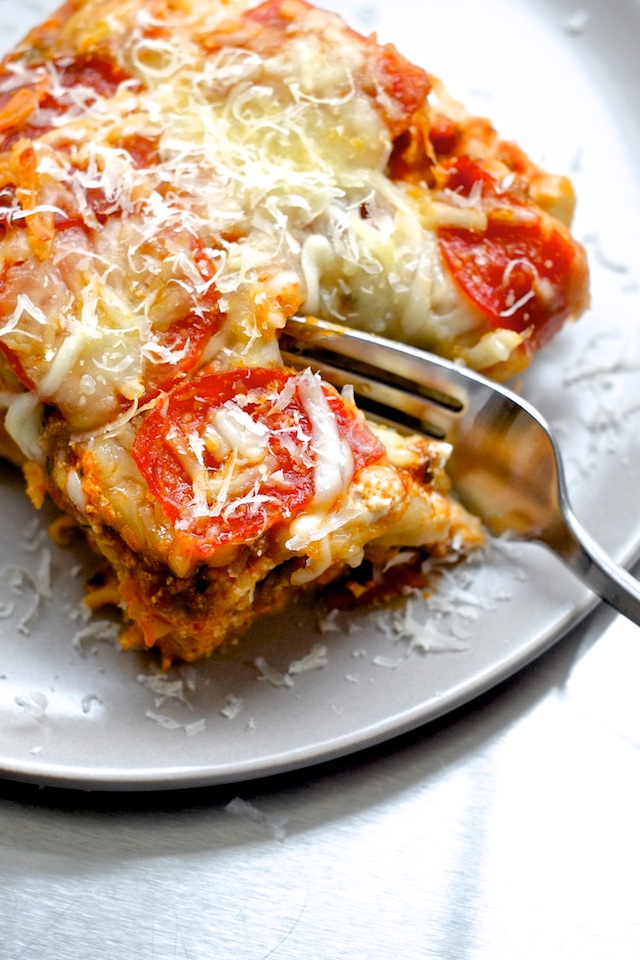
So, pepperoni inside, pepperoni on top, extra ricotta in-between, and a good blanket of mozzarella to bring it all together. Brazen? Maybe. Absurdly tasty? Yeah.

Pepperoni Lasagna


Pepperoni Lasagna
makes one 9×13 casserole

Ingredients:
-1 5-to-7 oz package pepperoni, divided (leave 1/3 in rounds to decorate the top, dice the rest for inside the lasagna)
-1 medium onion, diced
-1 lb ground beef
-1 24oz jar marinara sauce (use homemade if you have it, but I’m too lazy to make sauce and lasagna in one sitting)
-2 cups water
-2 15oz tubs ricotta (I like whole milk, but you can use skim or one of each)
-2 medium cloves of garlic, minced or grated
-1 tsp dried oregano
-1 tsp dried basil
-2 cups mozzarella cheese, shredded and divided into two 1-cup portions
-1 cup parmesan cheese, grated (plus a bit more for serving)
-salt and black pepper, to taste
-1 large egg
-12 flat no-boil lasagna noodles

Method:

1. In a large frying pan over medium heat, cook the diced pepperoni until some fat is released and the pepperoni is a bit crispy on the edges. In the fat from the pepperoni, cook the diced onion until translucent and slightly browned.

2. Add the ground beef to the pepperoni and onion and continue to cook over medium heat, breaking up with a wooden spoon or spatula until the beef is thoroughly cooked. Drain the beef/pepperoni/onion mix by tipping the pan at an angle and scooping out the fat.

3. Add the marinara sauce and water to the beef and pepperoni mix. Allow the sauce to come to a simmer, then taste for seasoning and add more salt as necessary. Set the sauce aside until you are ready to assemble the casserole.

4. In a large mixing bowl, combine ricotta cheese, garlic, oregano, basil, 1 cup of the mozzarella cheese, and all of the parmesan cheese. Taste and add salt and black pepper until you are happy with the flavor. Add the egg and stir well to combine.

5. In a 9×13 casserole dish, layer 1 1/2 cups sauce, 4 lasagna noodles, and 1/3 of the cheese mixture. Repeat this pattern three times and finish with the remaining sauce. Top with the reserved cup of shredded mozzarella and reserved pepperoni rounds.

6. At this point, you can choose to bake the casserole for immediate eating or freeze it for later. To bake it now, cover the casserole with aluminum foil, preheat the oven to 375F, and bake it for 40-45 minutes covered, followed by an additional 10-15 minutes uncovered.

7. If you freeze the casserole, cover it with plastic wrap and stash it in the fridge until it’s solid. Pre-lining the casserole dish with foil will make it easy to pop out of the dish after it’s frozen into a brick. Wrap it in a few layers of plastic and label it for future heating and eating.

8. To reheat from frozen, unwrap the casserole and pop it back into it’s original dish if necessary. Cover the casserole dish with foil and bake in a 300F oven for between 2:30 and 3 hours, or until a thermometer inserted in the middle of the casserole reads 165F. To crisp the top, remove the foil and broil the top for a minute or two.

  1. pepperoni in lasagna!! how genius of your grandmother :) this looks absolutely amazing!

    Amy l worthyoursalt — April 5, 2016
    1. Thanks Amy! She's a clever lady :)

      courtney — May 22, 2016
    2. reply
cancel reply

Real Food Chicken Divan

Real Food Chicken Divan

Sorry for disappearing for a bit there. Pregnancy and family coming to town and, oh, being diagnosed with gestational diabetes derailed my normal food blogging activities. The diabetes diagnosis is kind of surprising and kind of not – on the one hand my mom developed it when she was pregnant with my little sisters, but on the other hand I come from a naturally thin family and I’m typically ambivalent about sweets, so I guess maybe my chances of having it were kind of 50/50. Anyway, it’s ironic how diabetes has managed to increase my food obsession while sucking 95% of the fun out of it. I eat on a timer now, measure my portions, and test my blood four times a day to see if my carefully planned foods are cooperating with my pancreas. I went out to a Mexican restaurant on Wednesday and ate three chips from the bottomless basket. Three. And I cheered when I tested my blood sugar afterward and found out I got away with it.

To be honest, I’m making it sound worse than it is, but I want you to forgive me for being absent, and maybe fawn over me a bit. Pregnant ladies are allowed to ask that I hear.

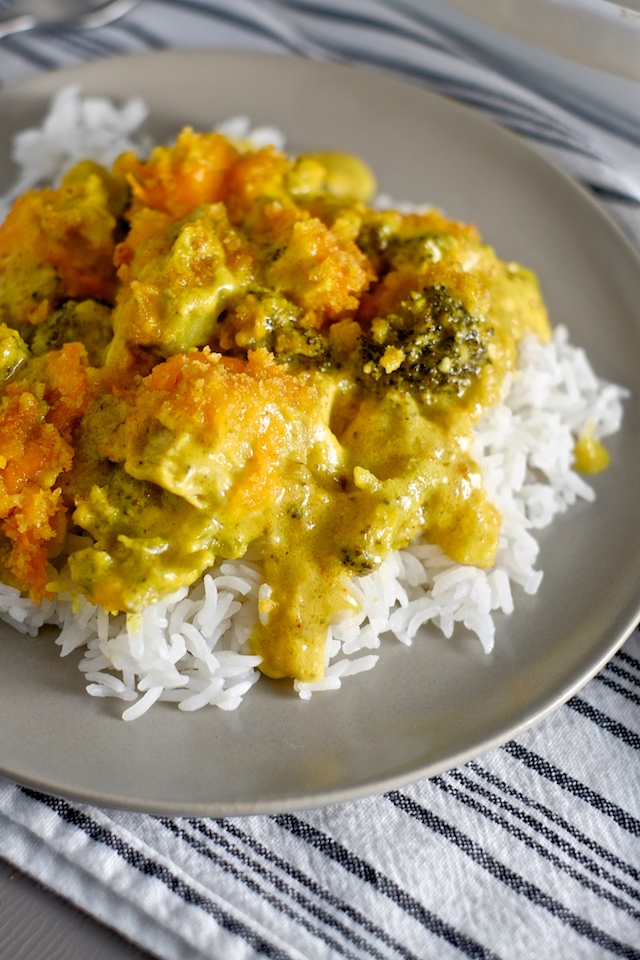
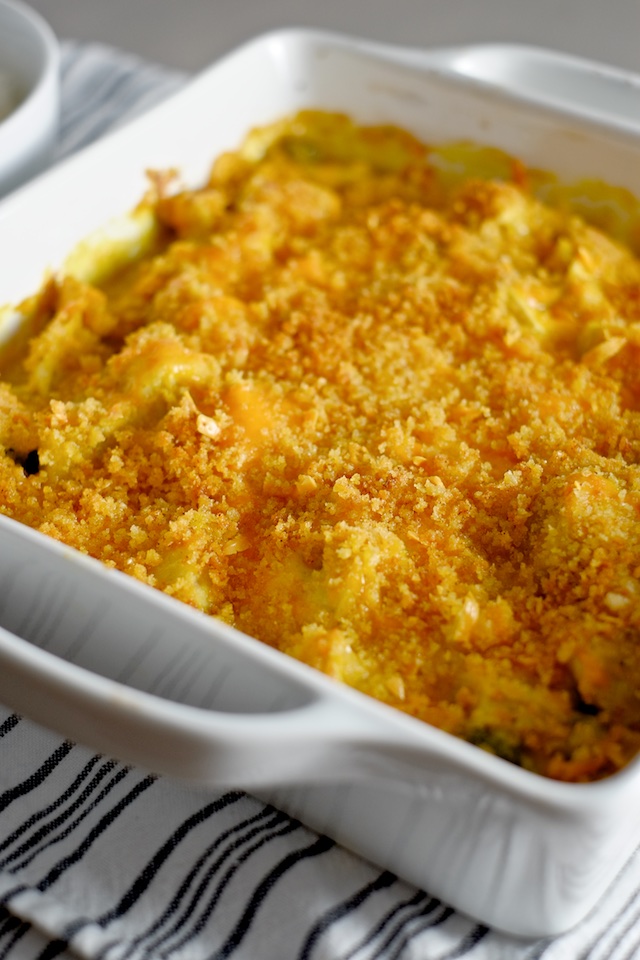
But now to the topic at hand: chicken divan. I think chicken divan is one of those mutant foods that started out as a 1950’s classy hotel dish and morphed into something very different as it worked it’s way into home kitchens. I grew up eating the cream soup version with generic yellow curry powder, mayo, broccoli, and cheese – it shouldn’t work at all, but it does, and I love it. This recipe is my (successful! IMO) attempt at recreating that nostalgic flavor while omitting the “cream of” soups. I thought about getting rid of the mayo too, but it just isn’t the same without it.

This casserole freezes awesomely and reheating is straightforward: right out of the freezer and into a low oven for about two hours. The end result is spicy, creamy, crunchy, and delightfully melty-mushy in the way only sauce covered, cooked-forever broccoli is (it’s a thing, I swear).

I can totally have this for a diabetes dinner too, with liiiiike a half cup of brown rice. Yaaay…?!

Real Food Chicken Divan

Real Food Chicken Divan
makes 6-8 servings, or one 9×13 casserole

Ingredients:

-1 lb. chicken breast, cooked and diced or shredded
-1/4 cup butter
-1/4 cup flour
-1 Tbsp yellow or madras curry powder (I like the hot kind, but use what you prefer)
-2 cups chicken broth
-1/2 cup sour cream
-2 tsp lemon juice
-1/4 cup mayonnaise (Hellmann’s is my favorite here)
-salt and pepper, to taste
-1 lb bag frozen broccoli florets (if you use fresh instead, add 1/2 cup extra broth to the sauce)
-2 cups shredded cheddar cheese
-panko breadcrumbs tossed with a bit of melted butter or olive oil and a dash of paprika

Method:

1. Cook your chicken (if it isn’t already cooked). I like to poach mine gently in salted water or chicken broth, dice it up, and use the cooking liquid (with a little bouillon if necessary) as the broth to make the sauce.

2. In a sauce pan or skillet, melt butter over medium heat. Add flour and curry powder and stir well. Add chicken broth and whisk until the sauce is thickened.

3. Remove the sauce from the heat and add sour cream, lemon juice, mayo, and salt and pepper to taste.

4. In your casserole dish, spread broccoli (leave it frozen if you’re freezing the casserole, microwave and drain it first if you plan to serve immediately), layer the chicken, and pour the sauce over everything. Blanket with cheese (!) and top with breadcrumbs.

5. Cover with plastic and freeze for up to 3 months (brick style is smart!), or bake immediately for 30 minutes in a 350F oven.

6. To cook from frozen, remove plastic and cover the casserole with aluminum foil. Bake in a 300F oven (covered! don’t forget or it will dry out) for about two and a half hours, or until a thermometer inserted in the center reaches 165F, removing the foil for the final 30 minutes of baking. Serve over white or brown rice.


cancel reply

The Ultimate Japanese Curry

The Ultimate Japanese Curry

Japanese curry is totally different from every other curry I’ve ever had. To be honest though, the first time I had Japanese curry in Japan I didn’t really like it. My introductory plate was kind of fast-foody and basic, with a cheap beef stew kind of texture. I could tell there were a lot of flavors going on in there, but they were all muddy and overly sweet for me. If you were reading back when I first landed in Japan, you know my first days eating Japanese food were a bit rough, and this sweet curry didn’t help. It was a few more meals before I’d find something I thought was really delicious, and a few weeks before I got accustomed to the general flavors and smells of Japanese food.

A couple of months later I decided to revisit curry at Machi-san’s cafe, and it was night and day different from my first bowl. This curry was complex, spicy, very clearly homemade, and just barely sweet. After flipping out over the deliciousness, returning, reordering, raving to every NASA person that would listen to me, and raining a million “oishii’s” on Machi-san, I asked her if she would share the recipe. She said yes, and spent some time having a friend help her translate it into English for me. On the way home after my four months in Tanegashima, I made a point to stock my bags with packs of her recommended brand of curry flakes and a giant red tin of S&B curry powder.

When I got home I made her curry with chicken according to the handwritten and illustrated recipe she wrote for me and it tasted exactly right. It was really weird, smelling such a familiar Japanese smell in my Maryland kitchen, but it made me happy. I felt “transported” the way some people say food can do, especially when you have a specific memory attached to a particular dish. This recipe, for me, is a place, a time, a phase of my life, and a treasure.
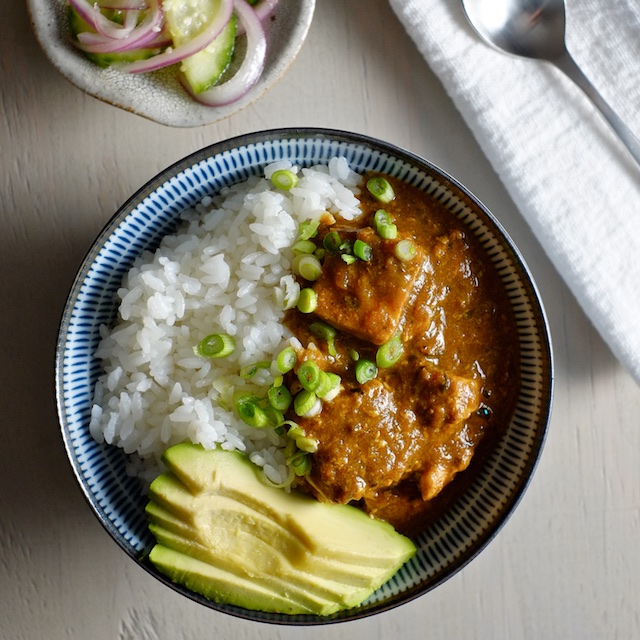
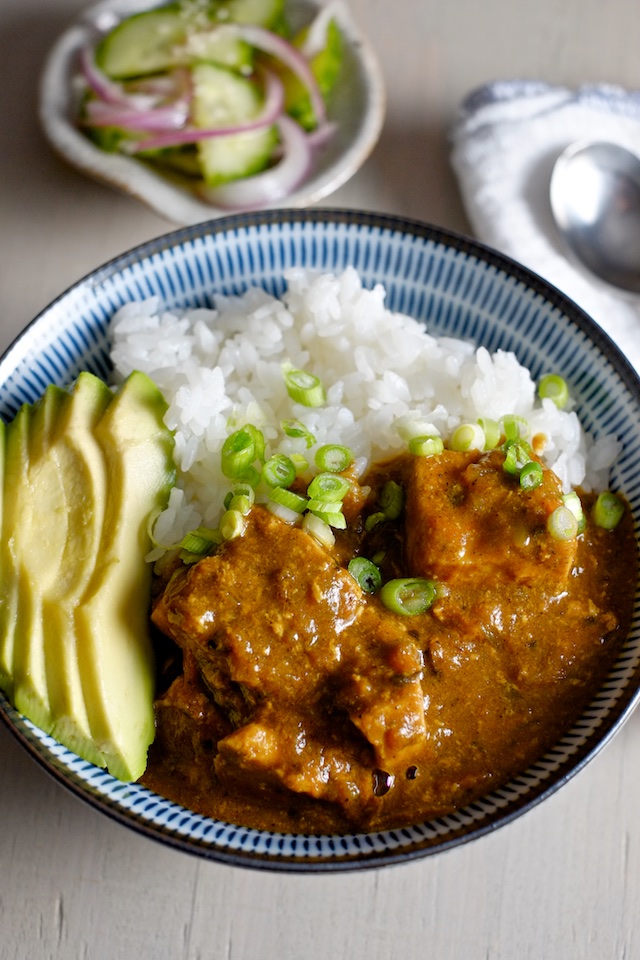
The Ultimate Japanese Curry

Even if you can’t bring yourself to order the exact, spicy curry roux flakes that Machi-san recommends (which I’ve found here on Rakuten), I’d recommend at least finding some S&B curry powder, which is a bit easier to track down. If you don’t want to have to find curry roux flakes at all, Japanese curry tablets will do. Use enough to thicken 6 cups of liquid.

Because this recipe is a bit of a hassle to collect ingredients for, I recommend making a gigantic batch and freezing the sauce for future dinners (freezing is smart!). I swear, it tastes even better when you have time to forget making it.

The Ultimate Japanese Curry
makes a ton (probably would serve 12-14 at once, half it if you don’t want freezable leftovers)

Ingredients:

Group 1:
-3-4 Tbsp butter
-4 medium onions, diced
-2 large carrots, grated
-2 medium cloves garlic, minced or grated
-2 inch piece fresh ginger, peeled and minced or grated

Group 2:
-2 tsp nutmeg
-4 tsp dried oregano
-4 tsp dried basil
-4 tsp allspice
-2 tsp ground cinnamon
-2 tsp coriander
-1/4 tsp cloves
-3 bay leaves

Group 3:
-5 cups chicken broth
-1 can tomato puree (sauce will also work)
-6 Tbsp S&B curry powder (red can)
-2 180 gram bags Yokohama Hakurai-tei curry flakes, or your favorite curry flakes (or enough of your favorite curry tablets to thicken 6 cups of broth (read this for a taste comparison of some easy to find tablets))
-3-4 Tbsp mango chutney

-white rice (preferably Japanese) and your choice of protein: chicken, slow cooked pork or beef (with carrots and potatoes if you want), or tofu
-optional toppings include: avocado, green onion, a fried egg, even cheese (they do it in Tokyo!)

Method:

1. Collect your ingredients. This recipe has a lot of them, a few of which can be tricky to track down. Before you set yourself on curry, make sure you have all your bits in order. If you have everything, you can dice your onions, mince your garlic and ginger, and grate your carrots.

2. In a large stock pot over medium heat, cook onions and carrots in butter until soft and slightly caramelized. Add garlic and ginger and cook until fragrant.

3. Add all the spices in group 2 and stir. Lower the heat if the garlic or spices brown too much.

4. Add chicken broth, tomato puree, and curry powder and bring to a simmer. Allow to cook for about 30 minutes.

5. Turn off the heat and add the curry flakes and mango chutney. Turn heat to very low and allow the curry to thicken for 10 minutes.

6. Serve on top of your choice of meat or protein (or veggies) and rice. Top with avocado, egg, cheese, green onion, or feel free to get creative (they do in Tokyo).


Freeze leftovers in pint or quart tubs (or freezer bags). Reheat over low heat and stir stir stir until it is returned to its former glory.
  1. Or you could bring your pal some of those left overs to try....

    courtneyh — February 24, 2016
    1. reply
cancel reply